

Walkthrough Menu
Introduction
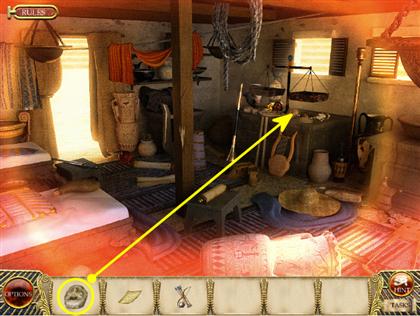
- Romance Of Rome Game WalkthroughRomance of Rome game includes seven episodes each with four-six locations to visit.
- There is no timer in the game; you can take your time and enjoy the game at your own leisure.
- There are no penalties for clicking randomly in the scenes.
- The hints in the game are unlimited, but you have to wait for a hint to recharge before you can use it again.
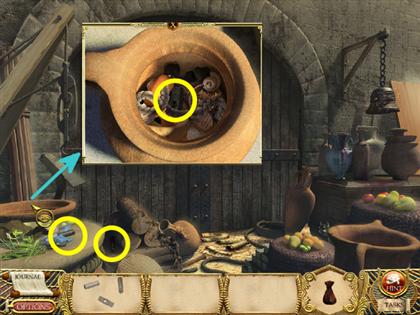
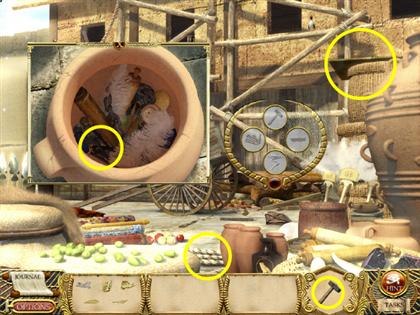
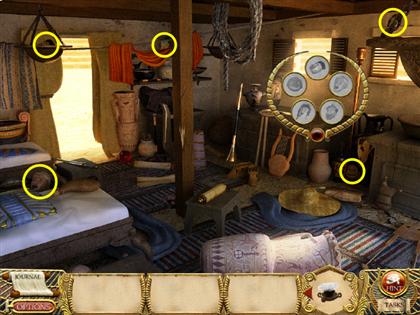
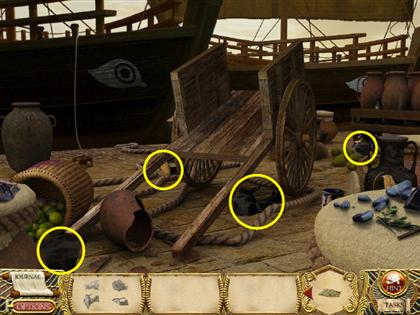
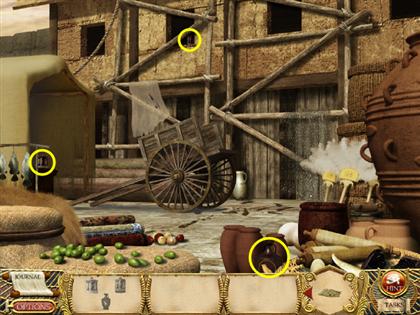
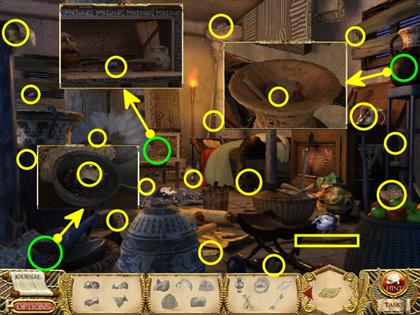
- Every Location contains a number of items that have to be found.
- Some of these items have a green background. When discovered, these items go in your inventory.
- Use inventory items to interact with yellow outlined items on the scene.
- For every item you find, you earn money. You can spend it at the market.
- You can also collect coins that bring you extra money. There are five coins at each location.
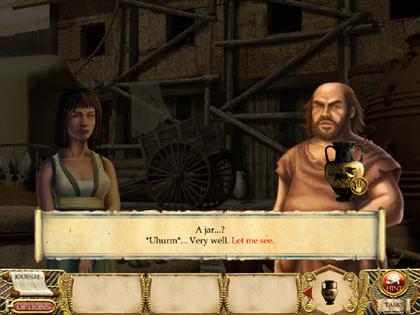
- Remember to visit the hero’s screen to buy new stuff for Marcus.
- To learn more about an item at the market, move your mouse over a product. Press and hold the mouse's right button to get more details.
- Trace your progress by pressing the Status button.
- Your status in Rome depends on the way you look.
- Fulfill the tacks from the citizens of Rome to increase your status.
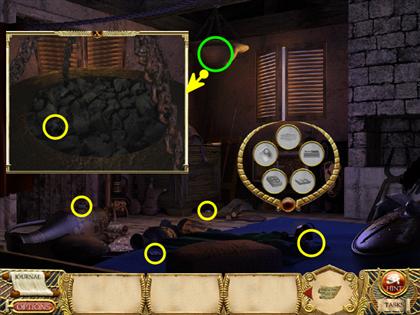
- Use your interactive items to find Imperial Relics.
- You can synchronize your game achievements with your Awem account.
Screenshot Guide
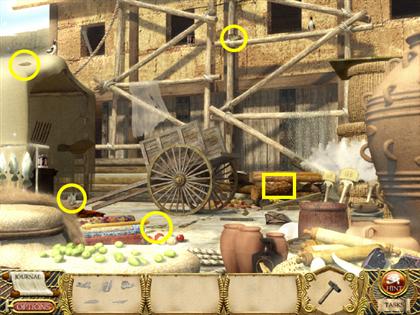
- Items you need to find are highlighted in Blue.
- Interactive items are highlighted in Yellow.
- Coins are highlighted in Green.
- Places with Imperial relics are highlighted in Red.
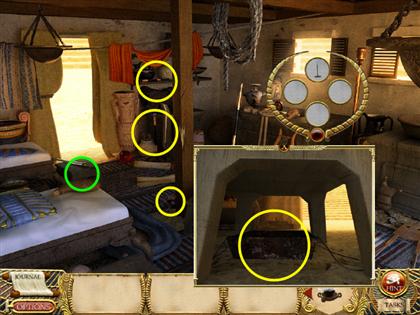
- On some locations you’ll see blue circles in yellow squares. It means that items are hidden inside. First you should interact with yellow outlined items with the help of your inventory. Then you’ll find the rest hidden items.
Solutions
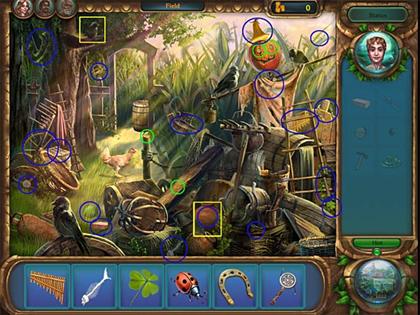
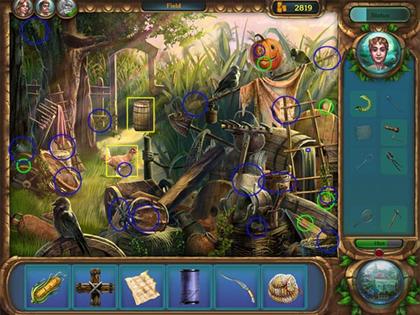
Episode 1. Field
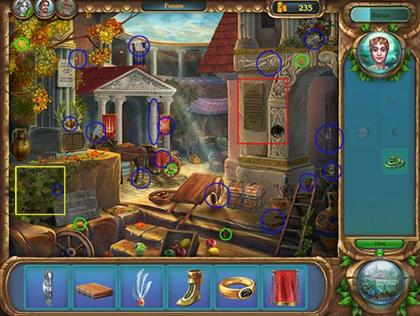
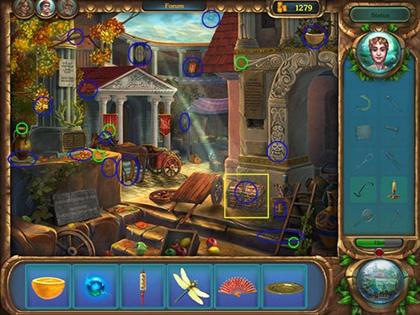
Episode 1. Forum
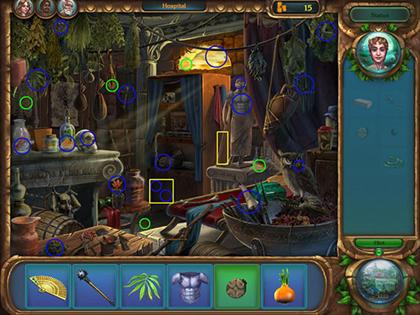
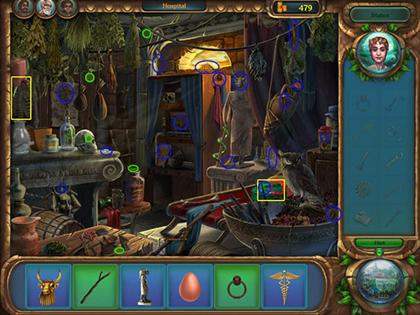
Episode 1. Hospital
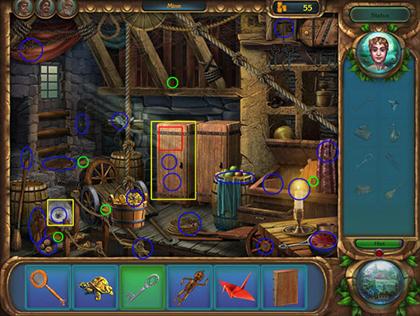
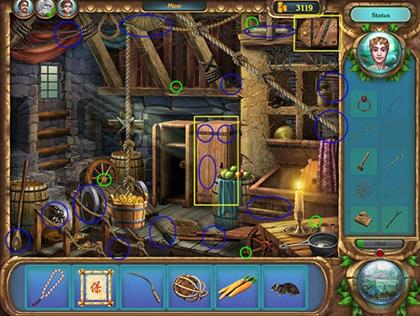
Episode 2. Mine
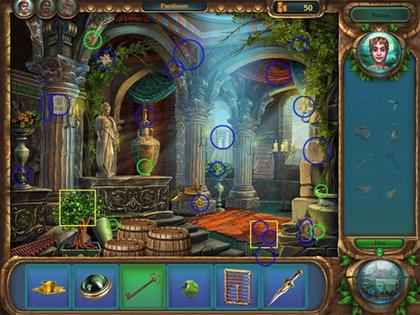
Episode 2. Pantheon
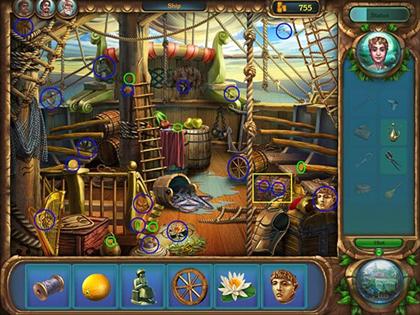
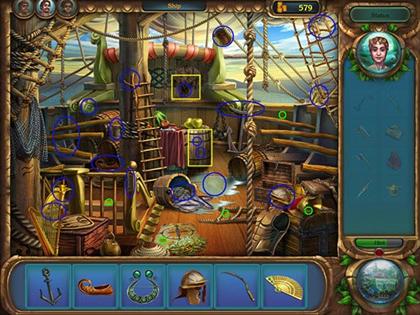
Episode 2. Ship
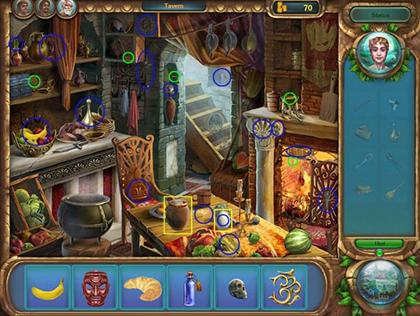
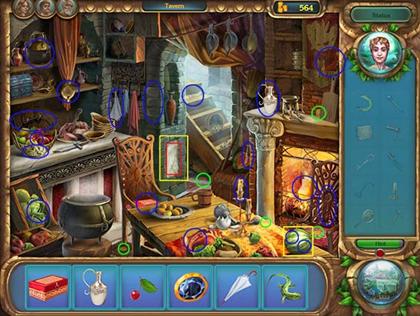
Episode 2. Tavern
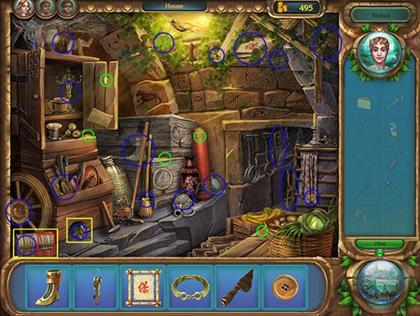
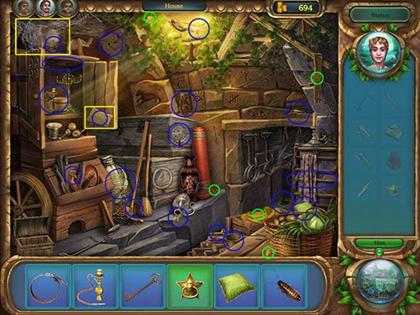
Episode 3. House
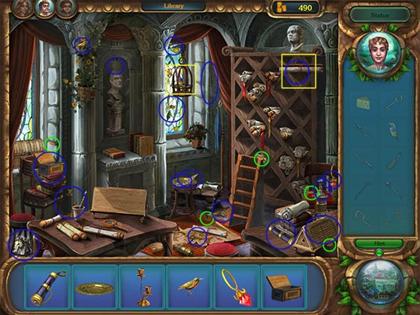
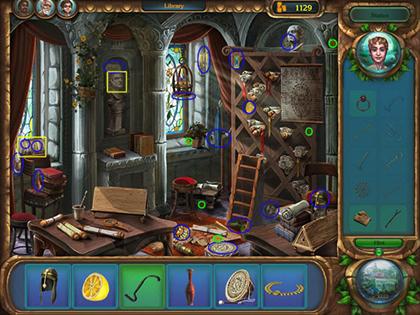
Episode 3. Library
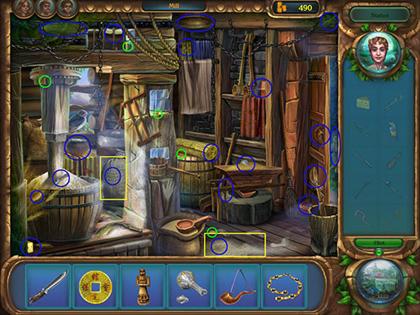
Episode 3. Mill
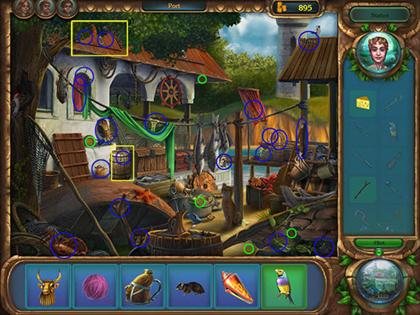
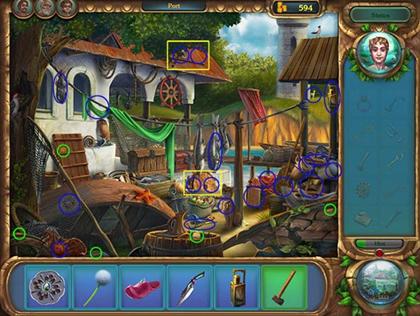
Episode 3. Port
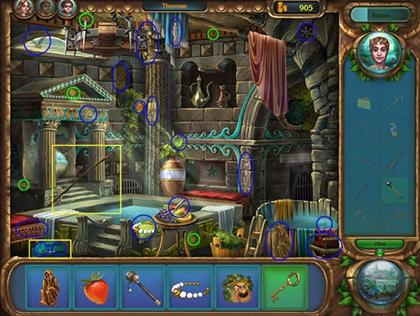
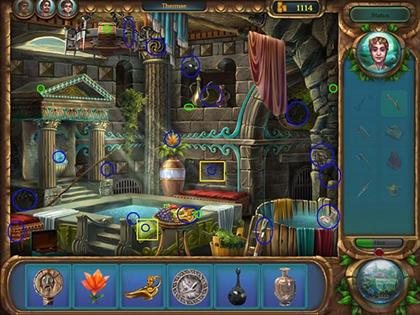
Episode 3. Thermae
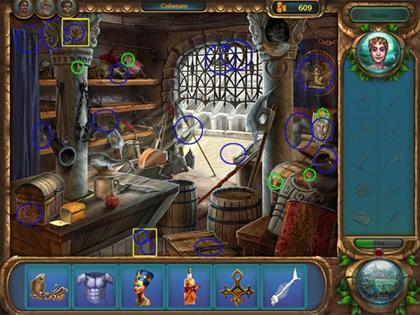
Episode 4. Coliseum

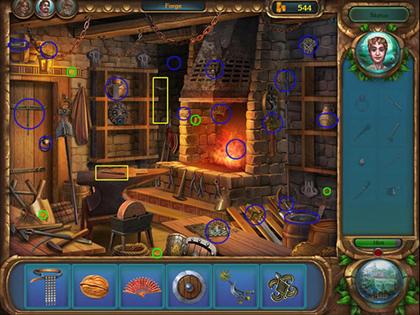
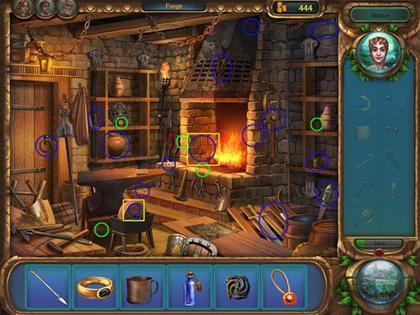
Episode 4. Forge
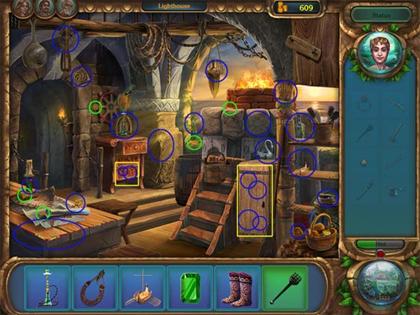
Episode 4. Lighthouse
Episode 4. Sawmill
Episode 5. House
Episode 5. Ship
Episode 5. Thermae
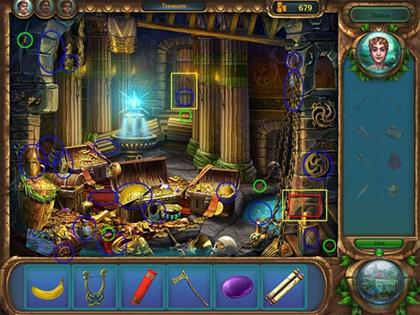
Episode 5. Treasury
Episode 6. Coliseum
Episode 6. Hospital
Episode 6. Library
Episode 6. Mine
Episode 6. Port
Episode 7. Field
Episode 7. Forge
Episode 7. Forum
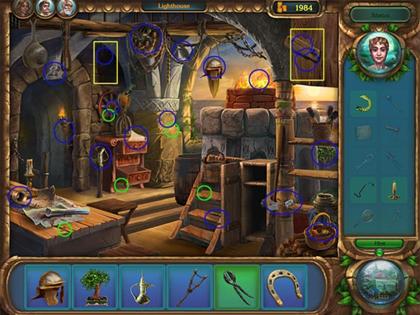
Episode 7. Lighthouse
Episode 7. Tavern
 ]]>
]]>
Created at: 2009-10-17
Walkthrough Menu
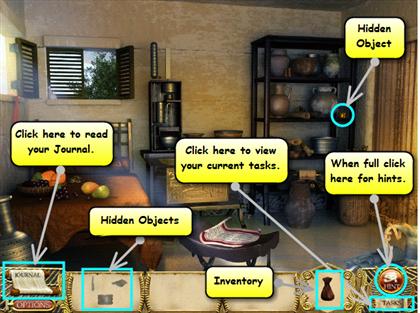
- Game Basics and General Tips
- Chapter 1: Palace
- Chapter 2: Docks
- Chapter 3: Library
- Chapter 4: Theater
- Chapter 5: Barracks
- Chapter 6: Pharos
Game Basics and General Tips
- You may play this game in full screen or windowed mode by pressing “Alt + Enter”.
- You can have up to five different profiles.
- Click on Options to change the sound configuration, play in full screen or windowed mode and to enable or disable the tutorial.
- This game can be played in Casual Mode or Advanced Mode.
- Casual mode will automatically place objects on their corresponding places and the hint meter will recharge faster.
- It is recommended to play Casual Mode first and move to Advanced once you have beaten the game.
- An in-game tutorial is available and can be disabled when you first begin the game.
- You must click through dialog to advance.
- Make sure to take all historical scrolls.
- You may skip the mini-games once the skip meter is full.
- Select the Journal to read the notes your character has taken, and view the historical scrolls that have been collected.
- If you have more than one inventory item, an arrow will appear to allow you to scroll through your items.
- Hovering your cursor over a hidden object will show the name of the item.
- If the name of an item is in yellow, it is not yet available.
- Click on the Task button to read the current task you must complete.
Chapter 1: Palace
- Click on the sparkling scroll and find out that you have to see the Queen.
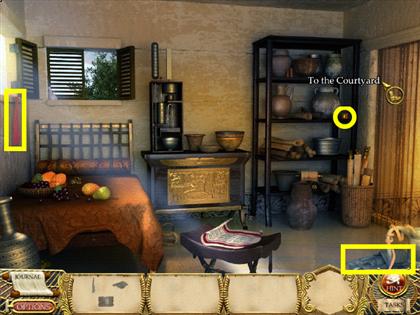
- Select the sparkling curtains to go to the Courtyard to discover you have to change into something more suitable.

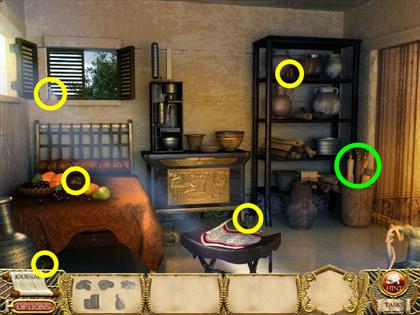
- Notice that some hidden objects to find have appeared next to the Journal.
- Find the three clothing items.
- Go to the courtyard by clicking on the curtains.
- Pick up the scroll from the floor.
- The scroll will automatically open for you to read.
- Click on the scroll to close it for now.
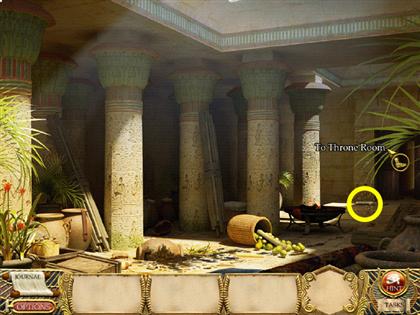
- Click on the sparkling doorway to enter the throne room.
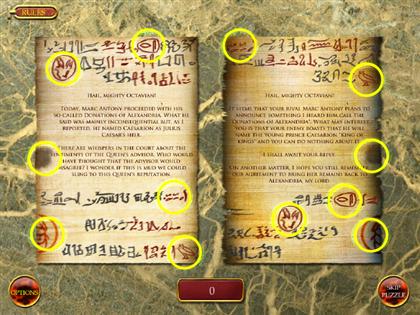
- Once you enter the throne room.
- The object of this mini-game is to find the six pairs of similarities on the two scrolls.
- Click on a symbol on one side of the scroll then find the matching symbol on the opposite side.
- Click on the scroll and go back to your room for provisions.

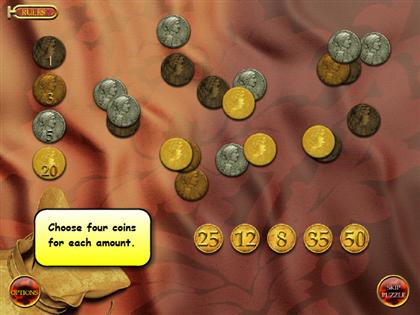
- Inspect the scrolls inside the basket and gather your coins.
- The object of this mini-game is to match the coins to the amounts listed along the bottom of the screen.
- You must use four coins each to reach each value.
- Click on four coins in a row, then click on the total value at the bottom.
- If you make a mistake, click on an empty area to remove the coins from your cursor.
- The solution for the five sets of coins is: 25 = 20+3+1+1, 12 = 5+5+1+1, 8 = 3+3+1+1, 35 = 20+5+5+5, 50 = 20+20+5+5.
- Head to the Docks by clicking on the curtains.
Chapter 2: Docks
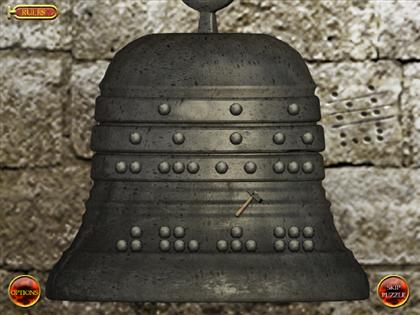
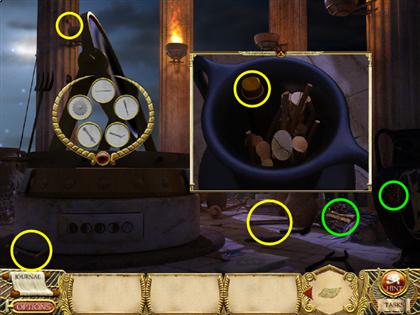
- You try to call Genolus, the dock master by clicking on the bell's bracket.
- A bubble will appear, showing the missing bell pieces.
- Gather the bell pieces.
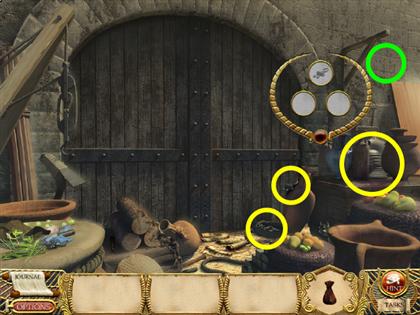
- To sound the bell you need a hammer.
- Gather the hammer pieces.
- Use the hammer on the bell and a mini-Game will appear.
- There is a clue on how to solve this mini-game etched into the right wall.
- Rotate the three rings so the if the dots were to fall, they would match the pattern below.
- Hit the bell once the dots are arranged correctly.
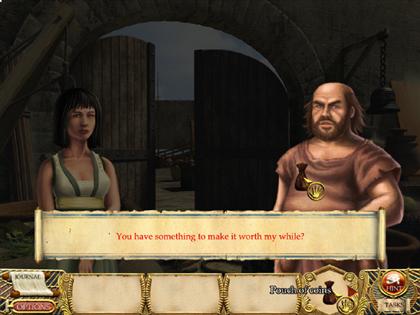
- Give Genolus the pouch of coins and head to the Dock Wharf.
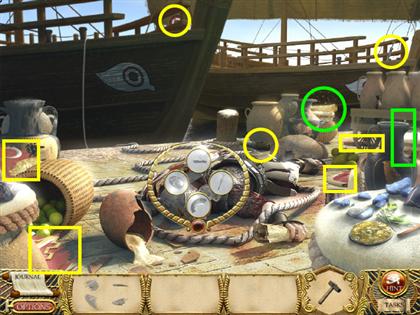
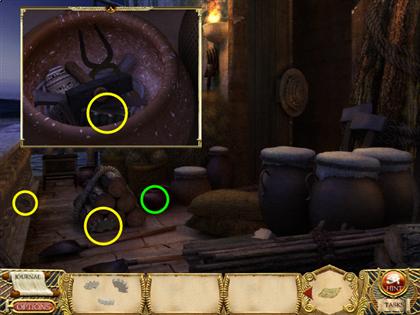
- Select the victims head to activate the hidden objects bubble.
- Collect the four shield pieces.
- Click on the shield in the inventory to add to the hidden objects bubble.
- Take the historical scroll from the urn.
- Take the scroll from the soldier’s hand.
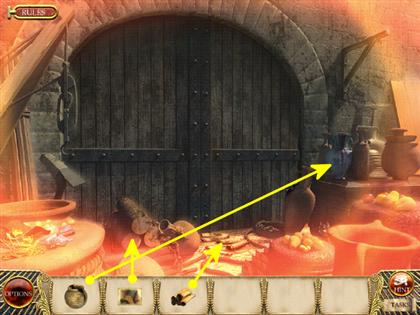
- Click on the sparkling area to the right to head to the warehouse.
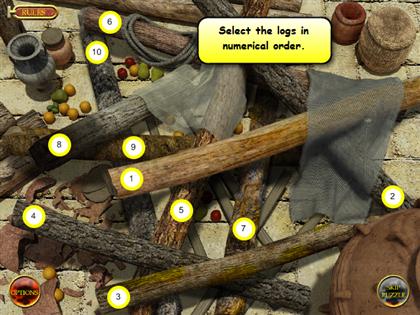
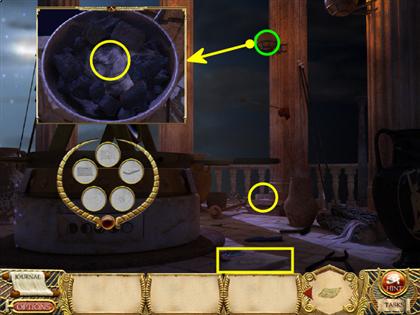
- Click on the logs to bring up the hidden objects bubble.
- Locate the hidden objects.
- Click on the urn to look inside.
- Find the nails inside the urn.
- Click on the hammer from your inventory.
- Collect five of the scroll pieces.
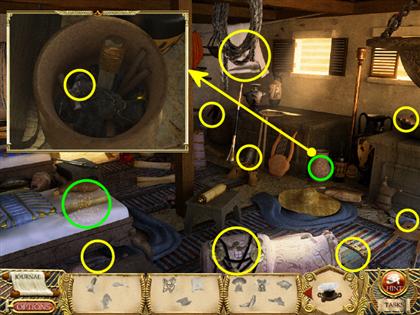
- Collection of the logs hidden objects will trigger a mini-game.
- The object of this game is to remove the logs in the correct order.
- If the log highlights in yellow, you are off by one log.
- If the log highlights red, you are incorrect by two or more logs.
- Green indicates you have selected the correct log.
- Click on the logs in numerical order.
- The final piece of the scroll in now in your inventory.
- Click on the scroll piece to trigger a jigsaw-style mini-game.
- Reconstruct the scroll by correctly arranging its pieces.

- You are automatically transported to the courtyard.
- You need to prove that the fight took place in the courtyard.
- Place the pair of muddy prints on the broken pot with the mud.
- Place the cape with soot onto the fire.
- The satchel missing its strap is placed onto the strap.
- You are automatically back at the docks.
- Go to the Library to have the scroll deciphered.
Chapter 3: Library
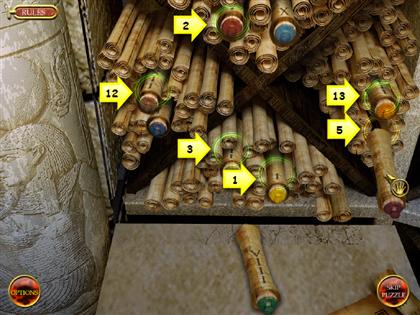
- Click on the scrolls to the right for a new mini-Game.
- Place five of the scrolls in their correct pigeon hole.
- Scrolls with numbers closest to each other cannot be placed side by side.
- Two odd or two even numbers cannot be placed across each other.
- Moving clockwise and starting with the first quadrant, place the following numbered scrolls: 2, 10, 13, 5, 1, 3, 6, 12.
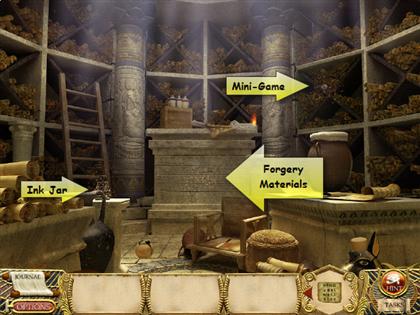
- Grab the bottle from the floor and place it on top of the ink jar to create the ink bottle.
- Gather the rest of the forgery materials to complete the document.
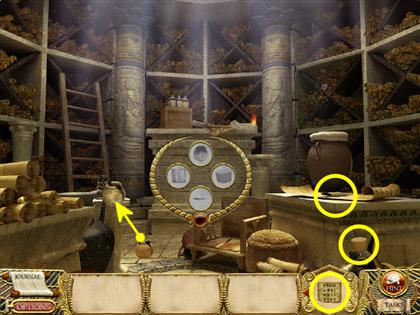
- Give the forged Dock scroll to Gregorios so he can validate it and head to the Scroll Chamber.

- Place the Dock scroll on the table and look for the research materials.
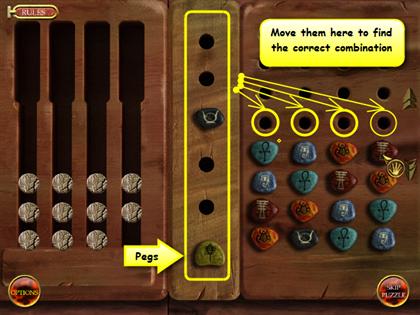
- Try to open the Armaria Chest only to find out you need to put the key together first.
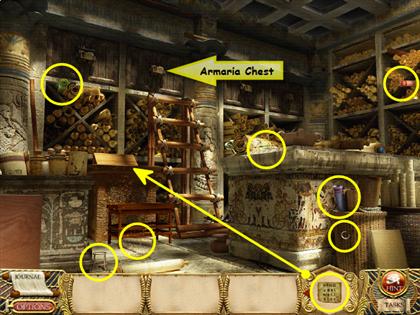
- Use the Armaria key on the chest to trigger a mini-game.

- The object of this mini-game is to find the correct combination of stones.
- A black peg indicates that there is a stone with the correct color and position selected.
- A white peg indicates that there is a stone with the correct color selected but placed in the wrong position.
- The black and white pegs do not indicate the positions of the correct stones.
- Drag the center stones to the holes on the right and then read the pegs on the left.
- This puzzle is randomly generated, so your solution may vary.
- You need some light to see inside the Armaria.
- Put together a Makeshift Lamp and use it on the Armaria only to find out its empty.
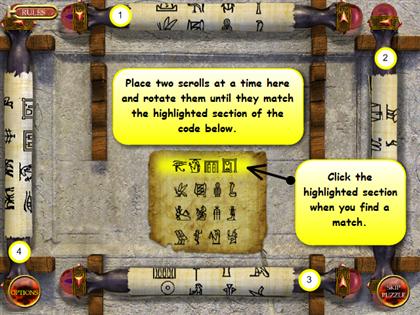
- Go to the Lecture Hall and put together the Cipher.
- Collect the Cryptology Materials and a mini-game will open up.
- Select two scrolls, place them in the middle of the board, and rotate them to match the highlighted section of the code.
- The top of each scroll show the bottom half of some symbols, while the bottom has the opposite.
- When you have found a match, click the highlighted section on the scroll.
- Place scrolls 4 and 3 for the first part of the text.
- Scrolls 1 – 4, 4 – 3, 3 – 2 are needed for the next three parts of the text.
- Go to the Overseer’s Office and talk to him.
- Go to the Docks and place the ink splatter, the wine spill and a pile of scrolls on their respective associated object at the scene.
- Head to the Theater to look into the actor’s identity.
Chapter 4: Theater
- You need to prove that the actor’s costume was made of wood, to restore a helmet and to restore a breastplate.
- Show Crysanthos the Costume to prove the actor’s identity.
- Gather all the masks to create a Masks Stand.
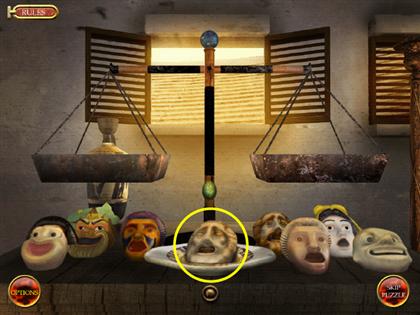
- Put together a Weighing Scale to find out which mask contains the evidence.
- The object of this mini-game is to use the scale and find the heaviest mask.
- Place your choice on the platter and press the button to submit.
- Place half the masks on each side and press the button.
- Remove the lighter set of masks.
- Repeat this process until you find the heaviest mask.
- Place the heavy mask ion the center bowl and push the lower button.
- Click on the mask to realize you need something heavy to break it with, and then use the hammer to find out what’s inside.
- You find a scroll inside the mask that says that messages bound for Rome are stored at the docks.
- Go to the Docks and place the falcon design, the bull design and the horse design on their respective associated object at the scene.

- You conclude that the actor is a Roman spy.
- Go back to the Docks and find out that the city guard has moved the body.
- Gather the jar pieces to fix it.
- Head to the Docks Warehouse and show Genolus the Black Jar.
- Find the other jars in the yard.
- You find a scroll in one of the jars and head to the Barracks.
Chapter 5: Barracks
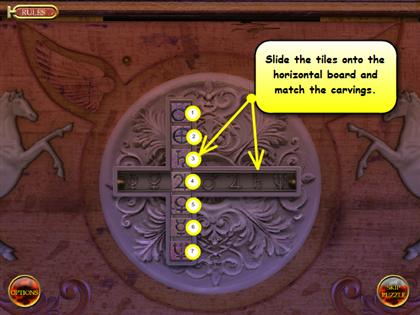
- Click on the chest to find out its locked and missing tiles that seem to be part of its lock mechanism.
- The object of this mini-game is to slide the tiles onto the horizontal board and match each to the carvings.
- Slide the tiles 4R-3D-3R-5U-6L-5L-7U-3D-4D-7R-4U-3R-4R-2D-1R-2U.
- Look for the Marshal’s armor.
- Use the Marshal’s bloody uniform as a disguise and head to Pharos.
Chapter 6: Pharos
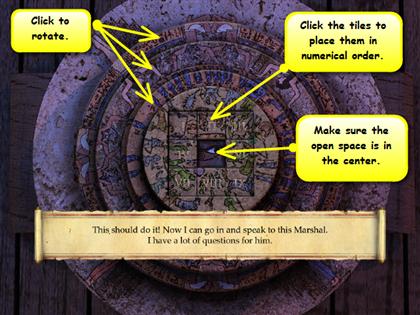
- You need to open the alternate entrance to the lighthouse but first you have to find the tiles missing from the locking mechanism.

- Find the circles missing from the locking mechanism.
- Once complete place the Ring on the door lock.
- Place the Tiles on the door lock to open up a Mini-Game.
- Complete the image by realigning the circles and rearranging the tiles in the middle.
- Click closest circle to the tiles 6 times, 4 times the next circle and 6 times the last one.
- Click the center tiles in this order: 6, 7, 9, 3, 8, 4, 1, 2, 3, 8, 7, 6, 4, 7, 6, 9, 8, 6, 9, 4, 7, 9, 4, 7, 8, 6, 4, 9, 7, 8, 6, 4, 9, 7, 8, 9, 6.
- Make sure the open space is in the center.
- This puzzle is randomly generated so your solution may vary.
- Click on the lock to find out you need light.
- Use the Makeshift Lamp on the torch.

- Ask Valerius for an explanation concerning the bandaged hand, the bloody cloth and the breastplate and place them on their respective associated object at the scene.

- You find out Valerius killed the actor.
- Show Valerius proof that his beloved, the Ephesian, is the spy.
- Gather the missing pieces needed to fix the beacon.
- Find the large gear replacement and attach it to the beacon.
- Find the missing Zodiac Plates for the beacon.
- Go the Keeper’s Shack to find more Zodiac Plates.
- Head to the alternate entrance to find the last of the Zodiac plates.

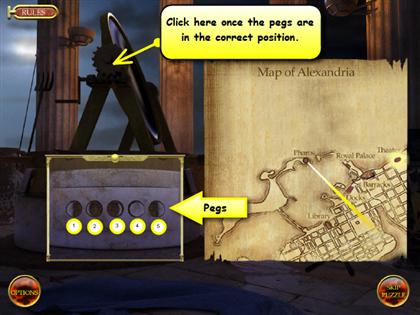
- Place the plates on the beacon to trigger a mini-game.
- The object of this mini-game is to arrange the pegs so that the light of the beacon will shine directly to the theater.
- The first quarter, last quarter, first and last half pegs point the beacon toward its respective direction.
- The full moon peg copies the peg before it.
- Place the pegs in this numeric order: 2, 1, 5, 3, 4.
- You discover that the light points towards the servant’s quarters and head to the Royal Palace.
- Find evidence that will explain the informant’s activities.
- Restore the Amphora and the Mask.
- Head to the Throne Room and report your findings to the Queen.
- Defend yourself from Kathya’s accusations by placing the Jar, the Cipher, the Masks, the Love Letter and the Bow on their respective associated object at the scene.
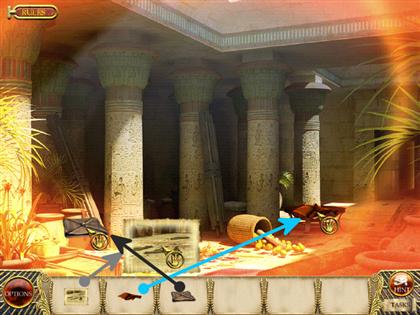
- You are automatically transported to each location after placing the previous item.

 Congratulations! You have completed Mystery of Cleopatra!
Created at: 2009-10-20