

Walkthrough Menu
- General Tips
- Chapter 1: The Black Lake
- Chapter 2: Black Lake Castle
- Chapter 3: The Dungeon Guard
- Chapter 4: The Healer and Priest
- Chapter 5: Four Knights
- Chapter 6: The Astrologer
- Chapter 7: The Myth Tree
- Chapter 8: Chamber of the Witch
General Tips
- The Revenge is a Hidden Object Adventure game.
- The best way to use this walkthrough is by clicking on the 'CTRL' and 'F' keys on your keyboard to simultaneously bring up a search box.
- Type the keyword into the search box at the bottom of your screen and click on 'NEXT' to find the section you need help with. Clicking 'NEXT' again will bring up all instances in which that keyword was mentioned in the guide.
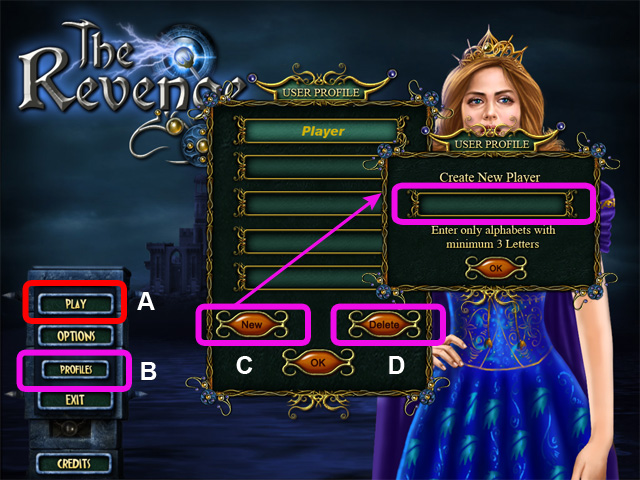
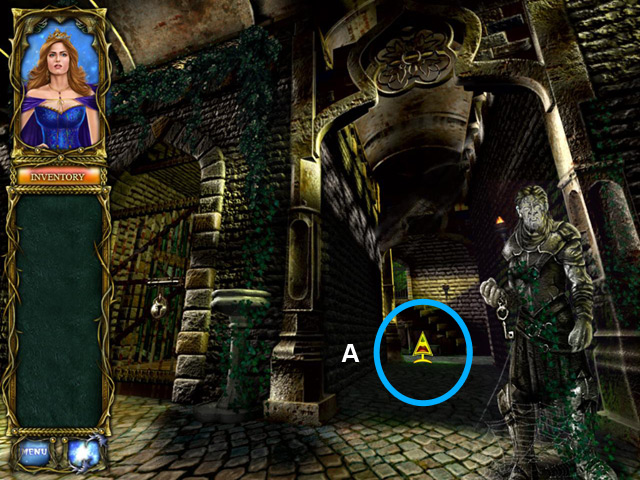
- Click on PLAY (A) to begin your adventure.
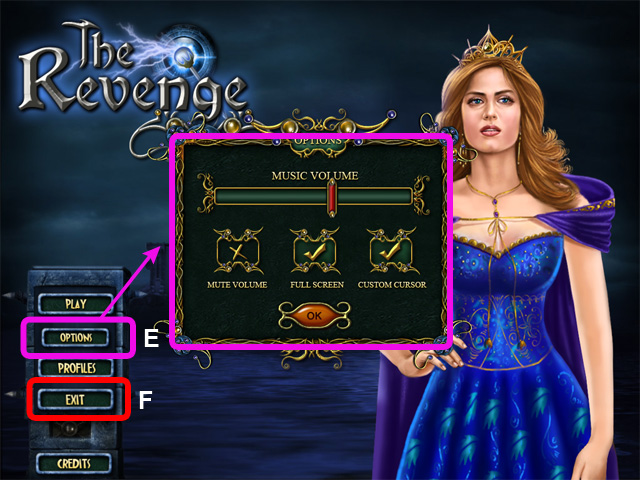
- The OPTIONS (B) button allows you to adjust the environment, effects, music, cursor and sound.
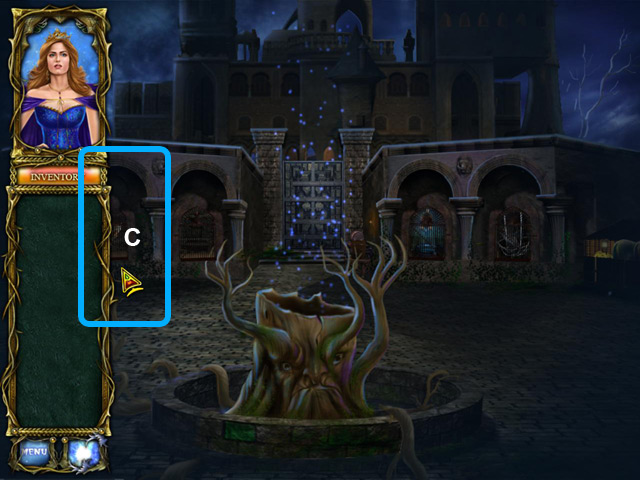
- The CHANGE PLAYER button (C) can be used to manage your profiles in the game.
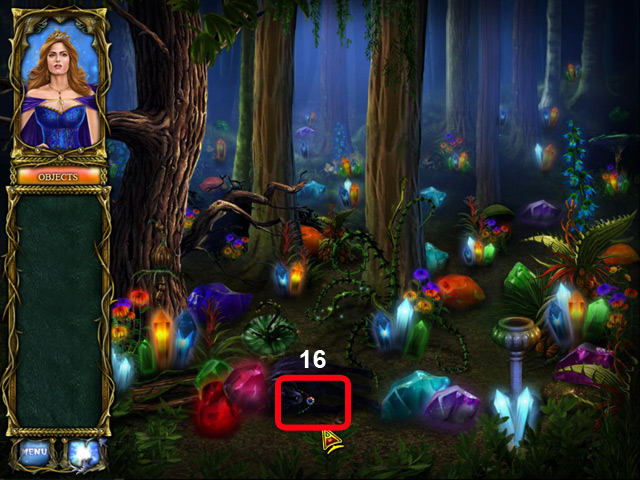
- Yellow color signs are used to indicate the Hidden objects.
- Red color signs are used to indicate the inventory items.
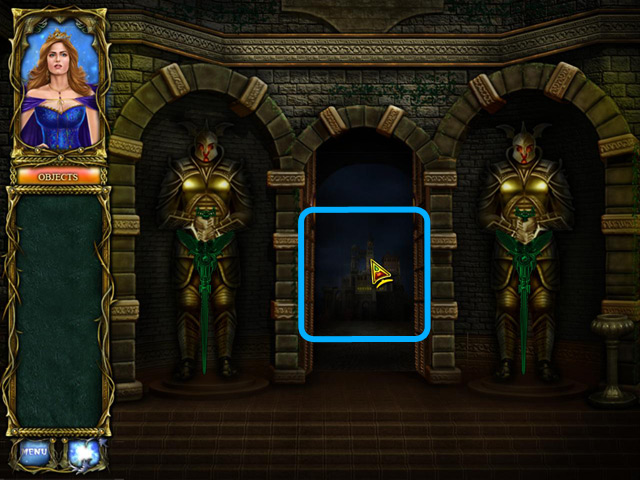
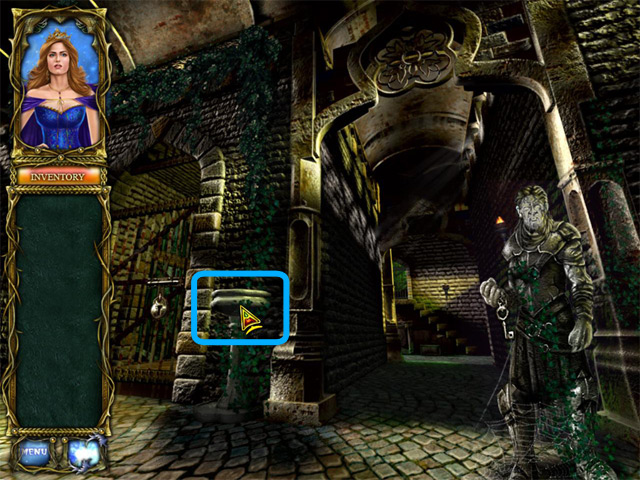
- Blue color signs are used to indicate the Navigations.
- Green color signs are used to indicate the information gathered by the queen , you can click the queen on the left side panel of the screen to view the task again.
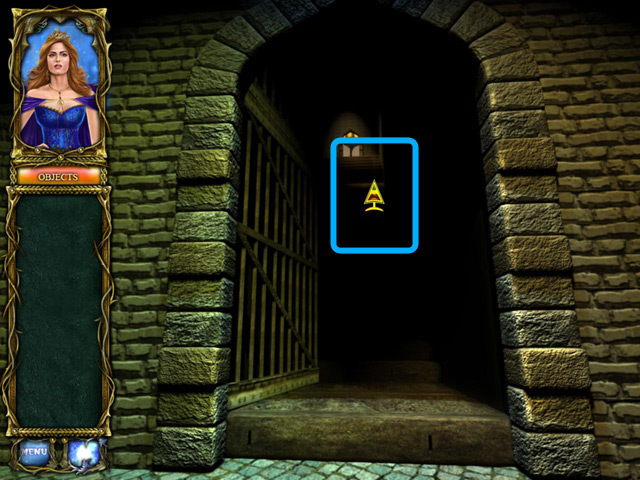
Chapter 1: The Black Lake
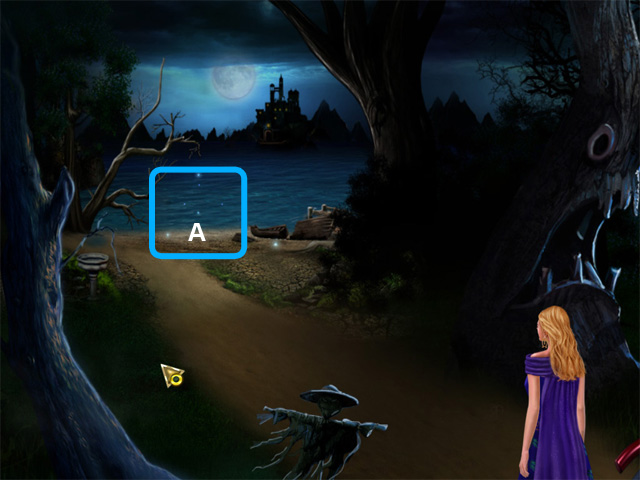
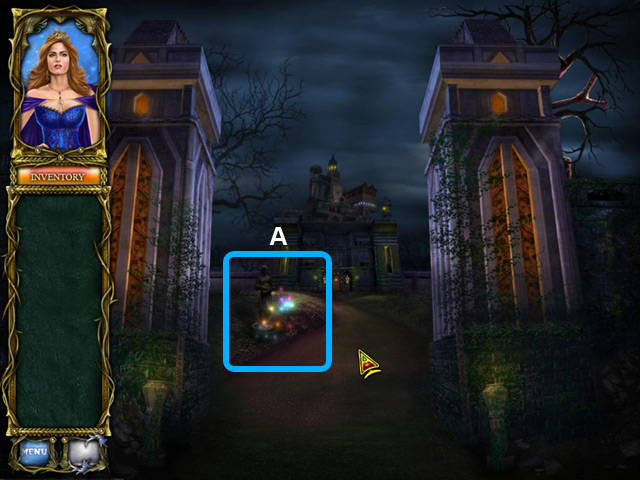
- (A). Enter the lake area.
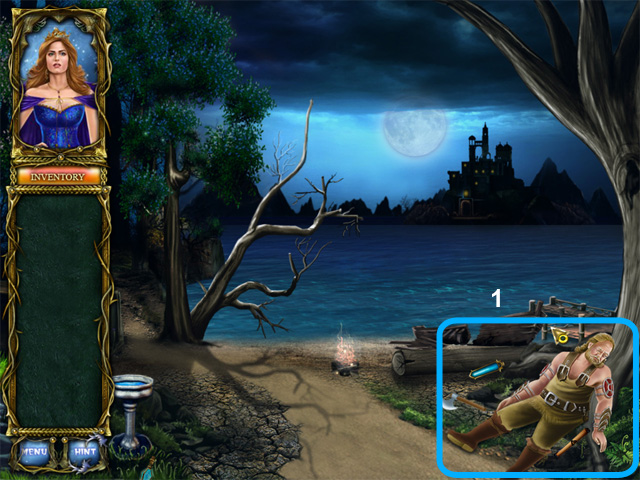
- (1). Speak with the guard.
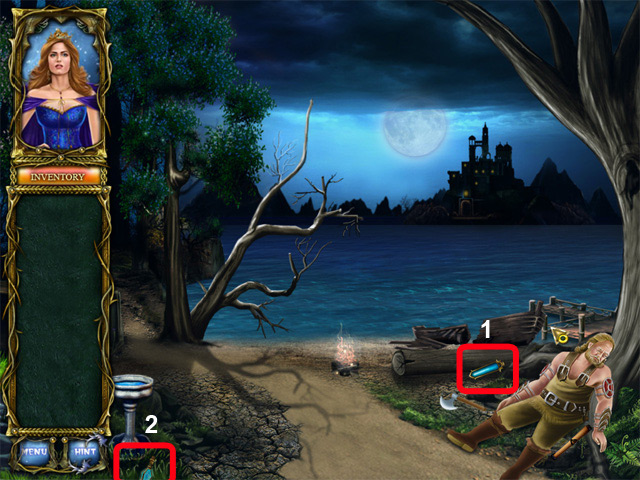
- (1). Collect the Revelation Power.
- (2) . Collect Liqua Quest.

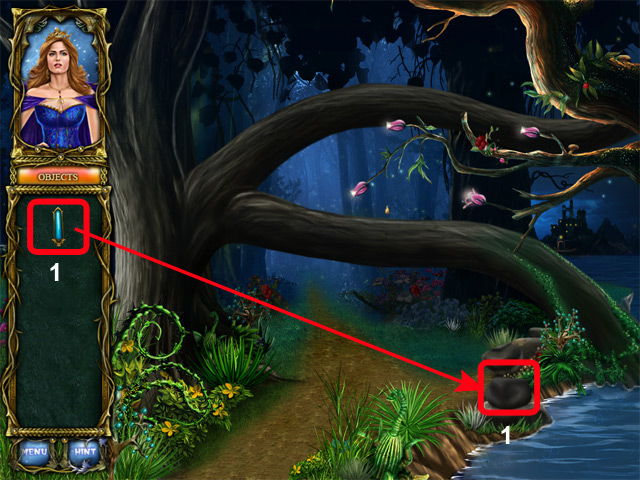
- (1). Retrieve the Liqua Quest in Inventory.
- (2). Pour the Liqua Quest in the inventory into stoup to receive some enlightenments.

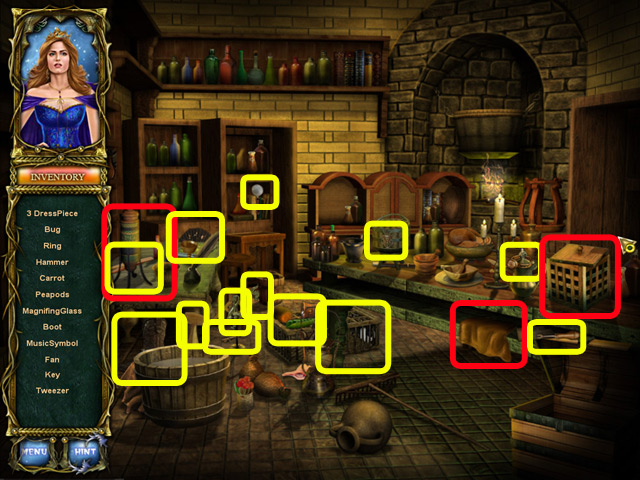
- Collect the scroll.
- To review current tasks, Click on the Queen.
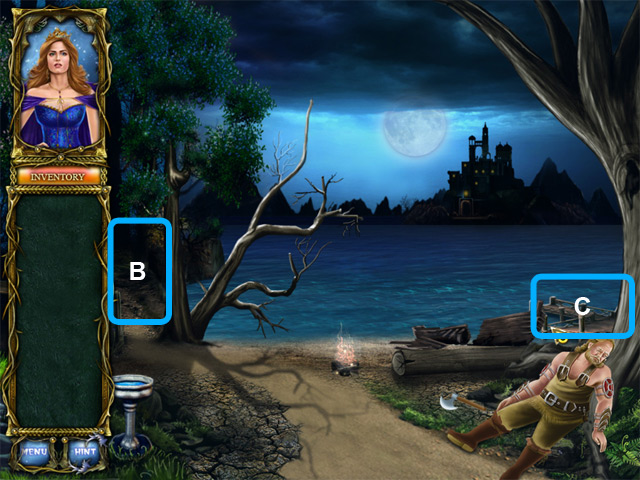
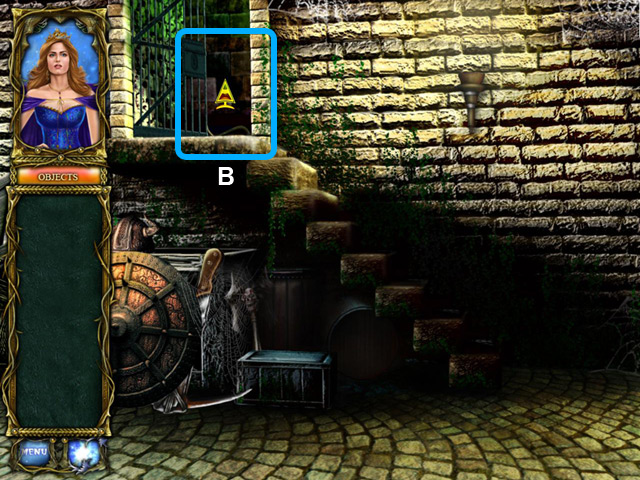
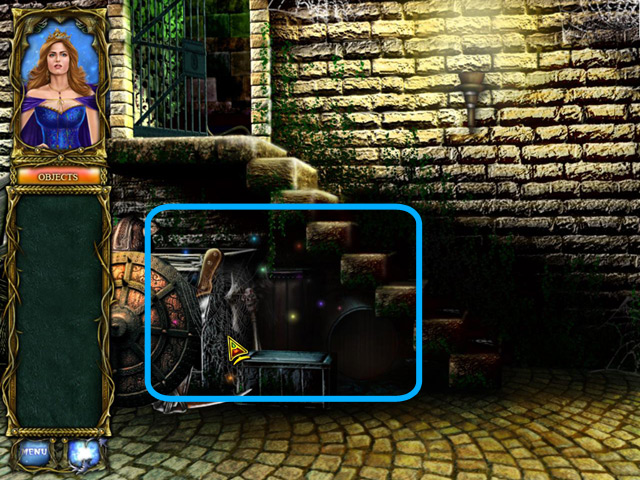
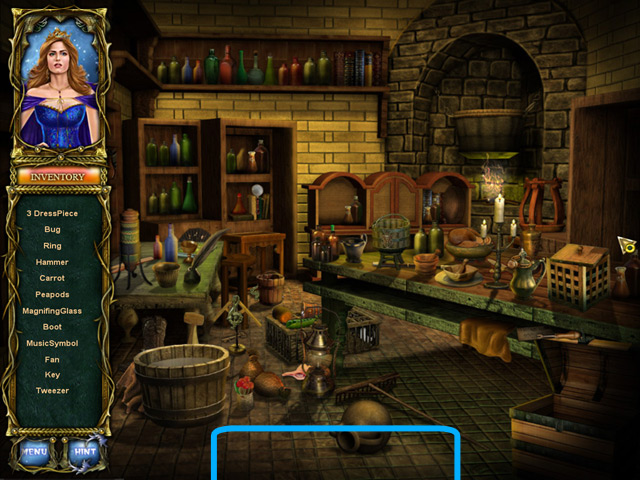
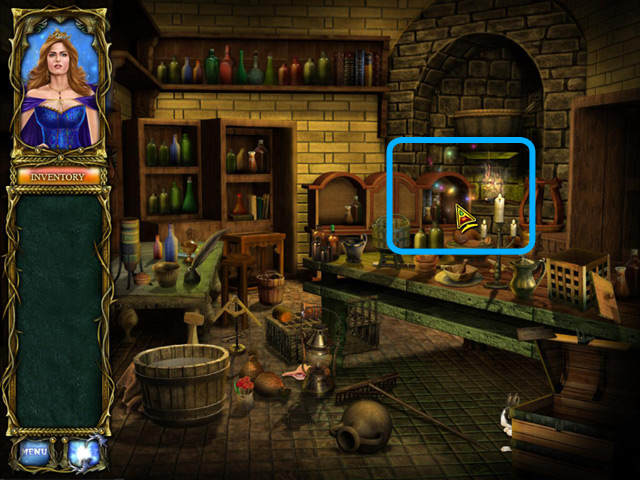
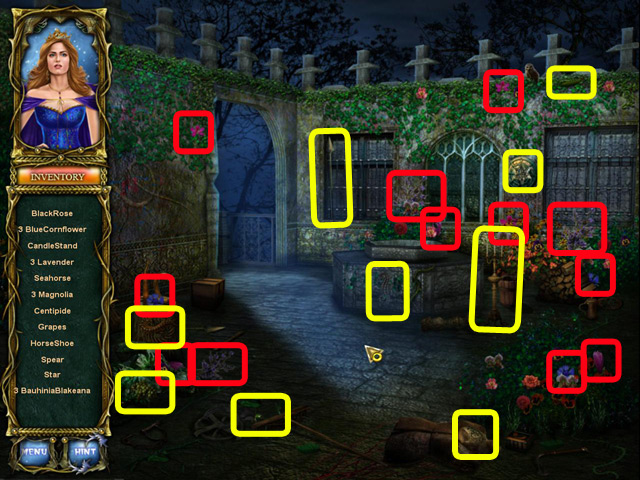
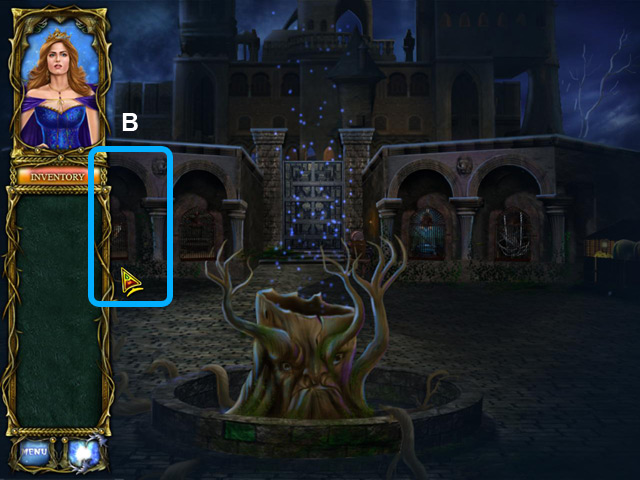
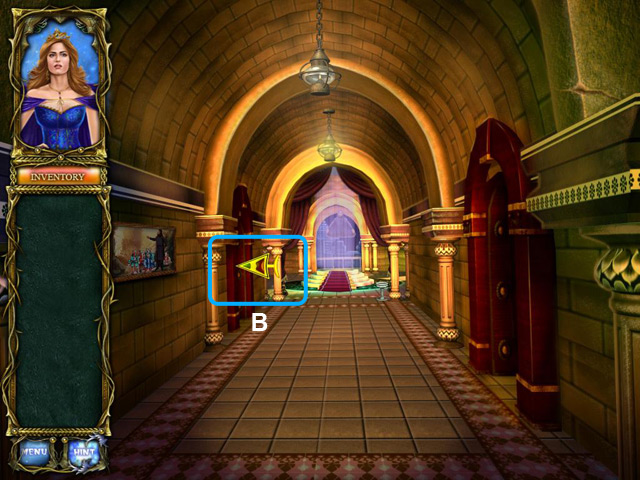
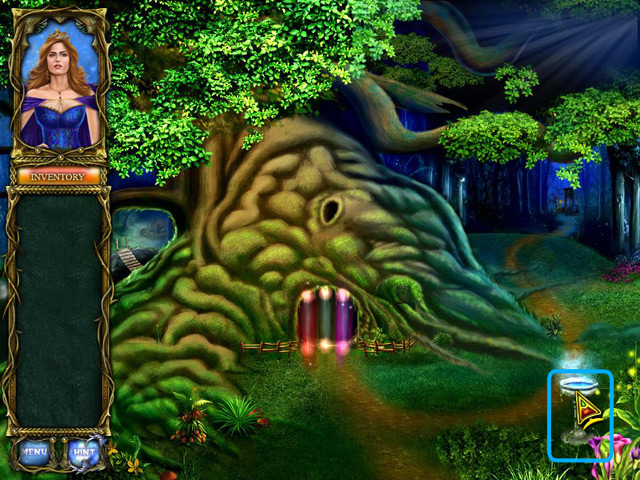
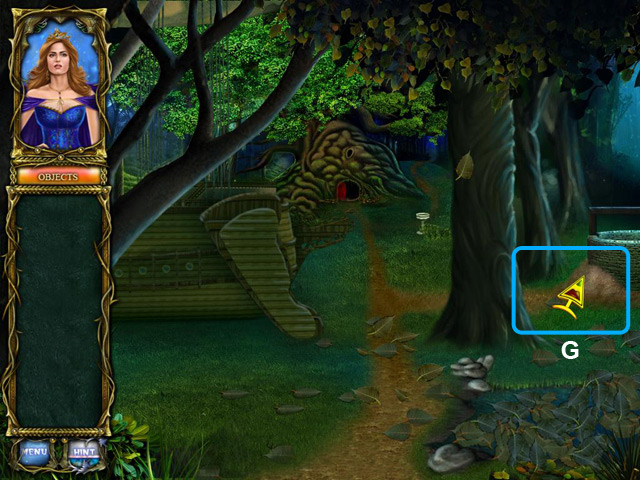
- (B). New location for exploration; enter the forest.
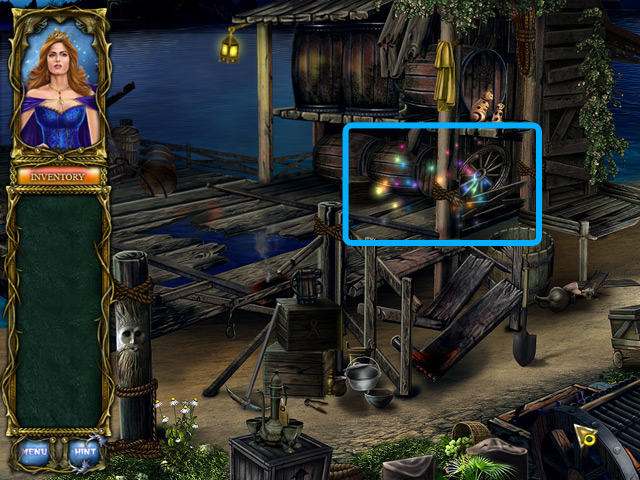
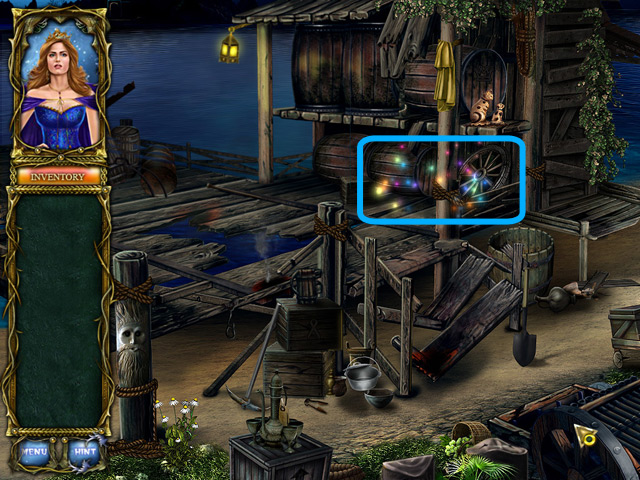
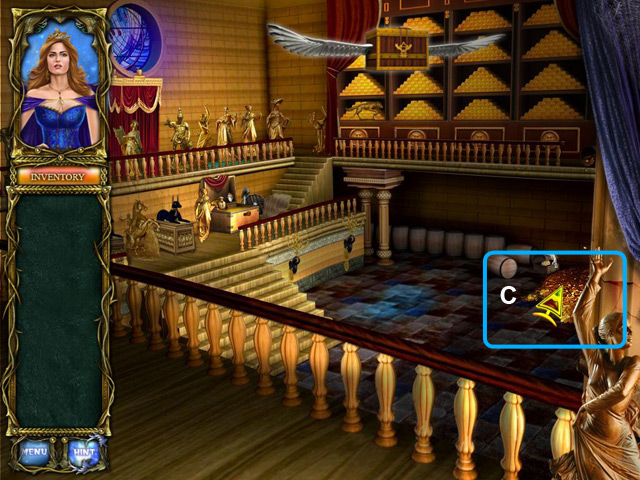
- (C). New location for exploration; go to the pier.
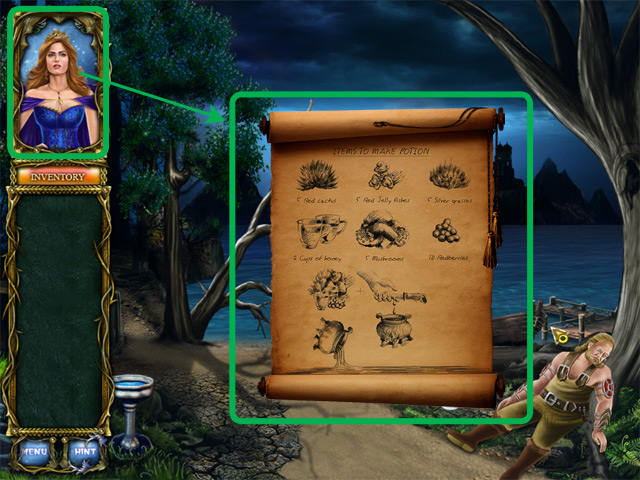
- Locate all the ingredients to make the potion.
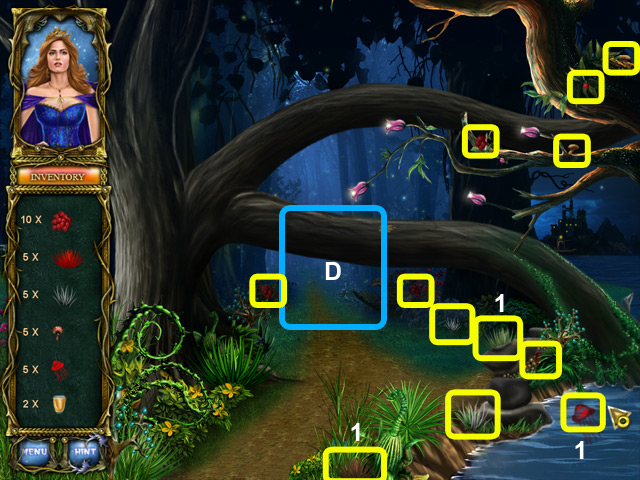
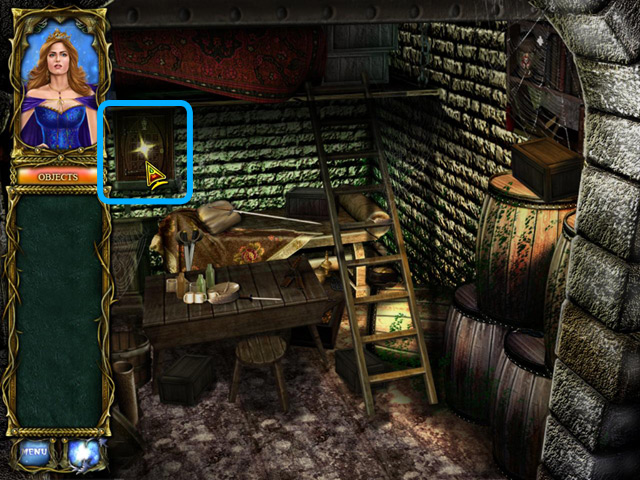
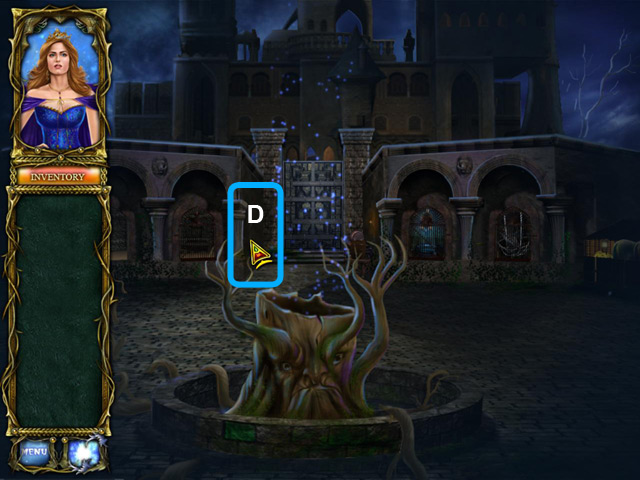
- (D). Forward into a new area to explore (Within the forest).
- Ingredients marked with (1) are part of the forest’s magical plants. It changes color from time to time; you may collect them when they appear to be the right ingredient that you’re looking for.
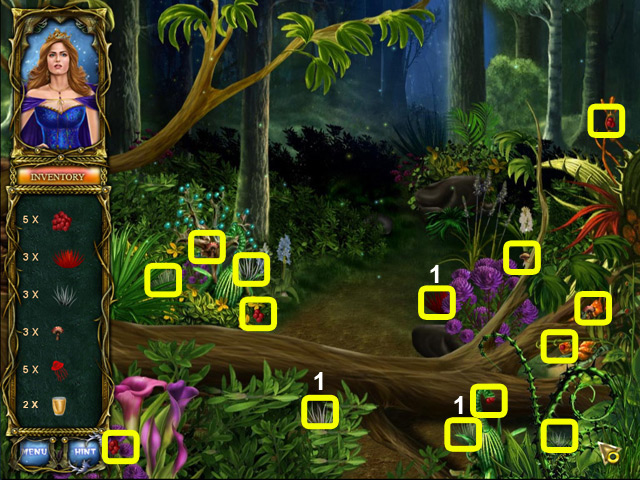
- Ingredients marked with (1) are part of the forest’s magical plants. It changes color from time to time; you may collect them when they appear to be the right ingredient that you’re looking for.
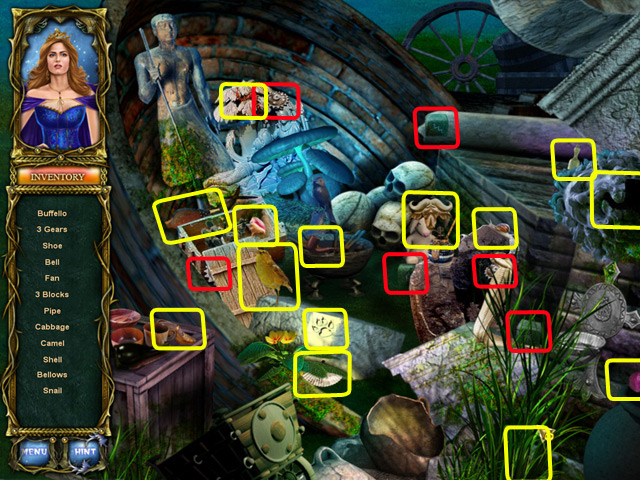
- Locate all the required ingredients.
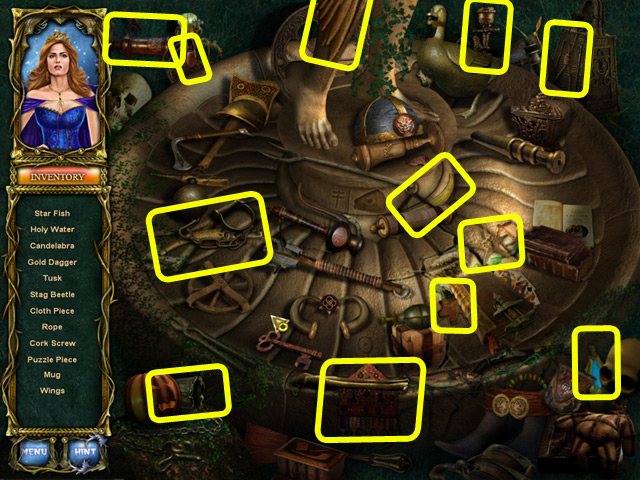
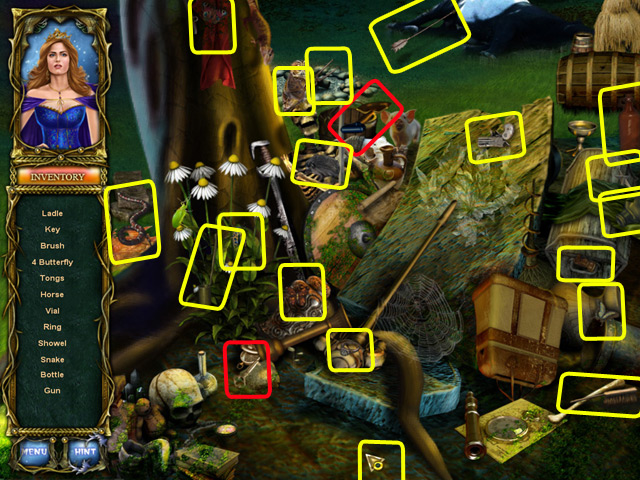
- Enter the HO scene to search for more items.
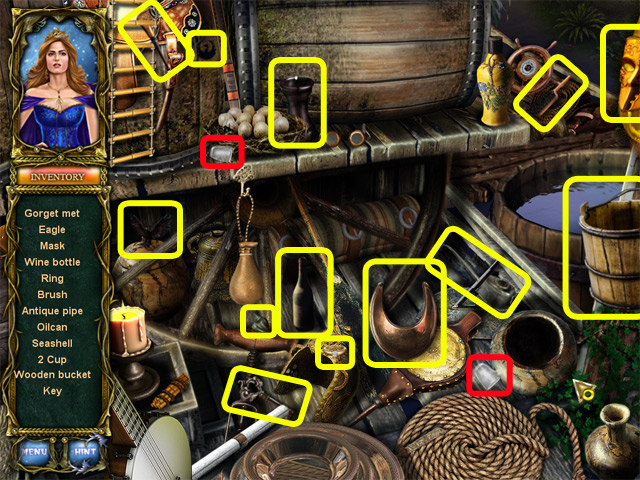
- Locate all the items that are listed as well as the two cups that are needed to collect honey with.
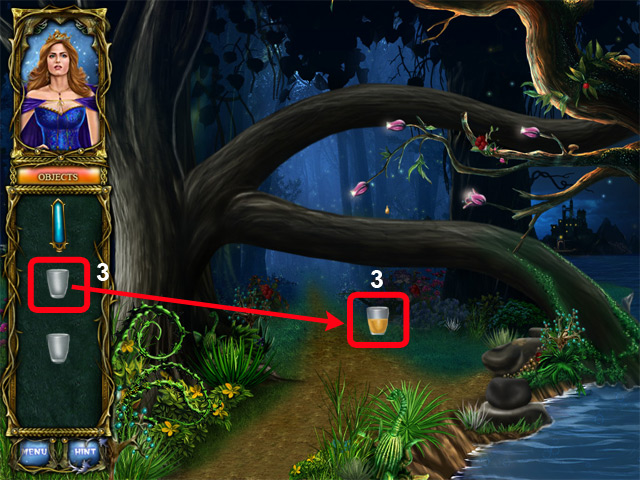
- Go to inventory and locate the cups for the honey.
- (3). Pick up the cup and hold it beneath the blossoms to catch the honey as it drips.
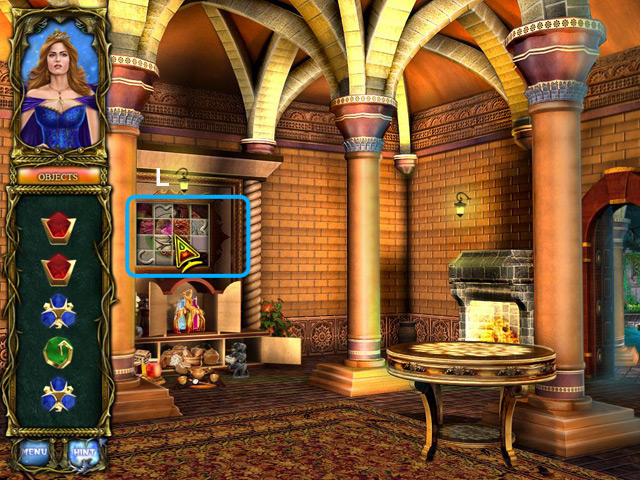
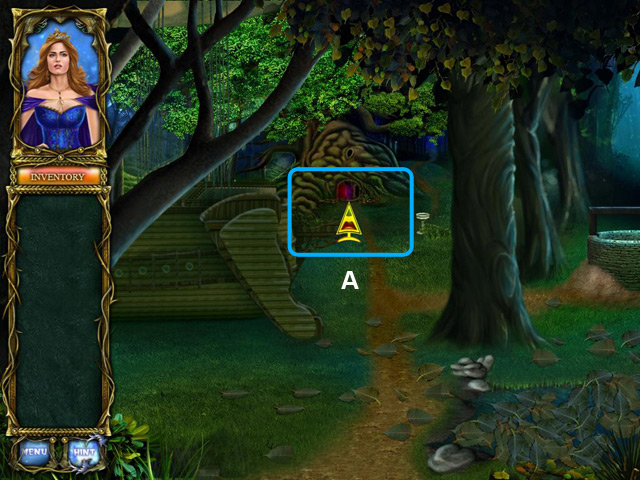
- (1). Use the crystal in your inventory on this stone. It will reveal the hidden object.
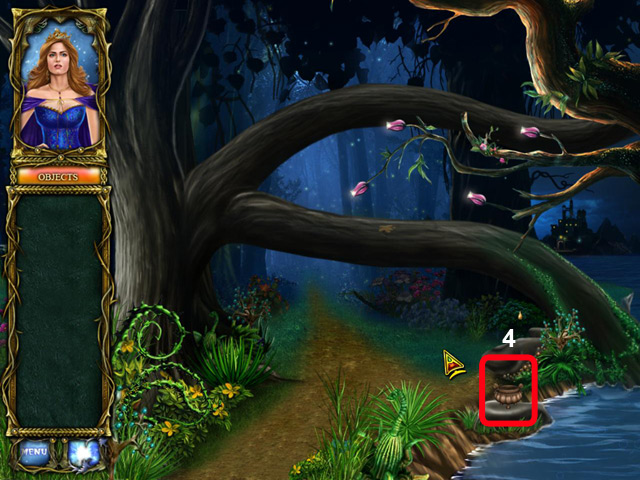
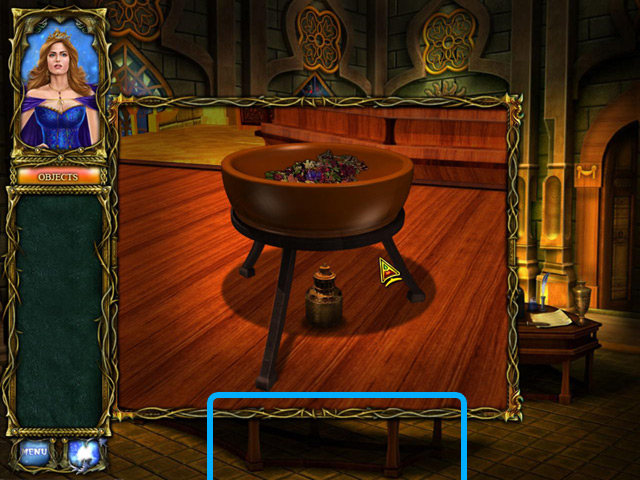
- (4). Locate the Cauldron to make the potion.

- (4). Place the cauldron on the fire to make the potion.
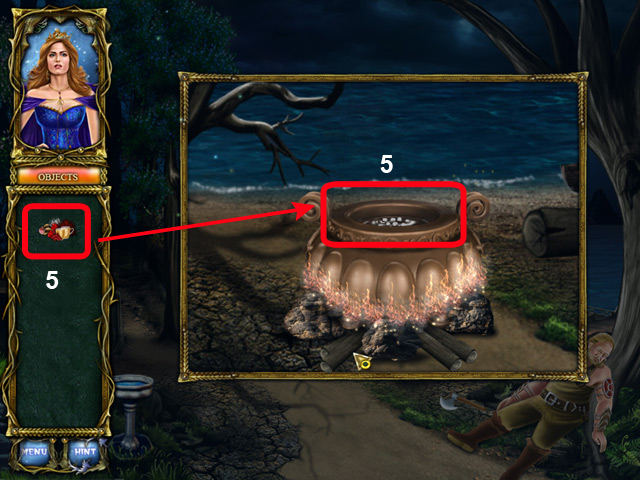
- (5). Add all the ingredients found into the cauldron.
- Enter the HO scene to locate for items.
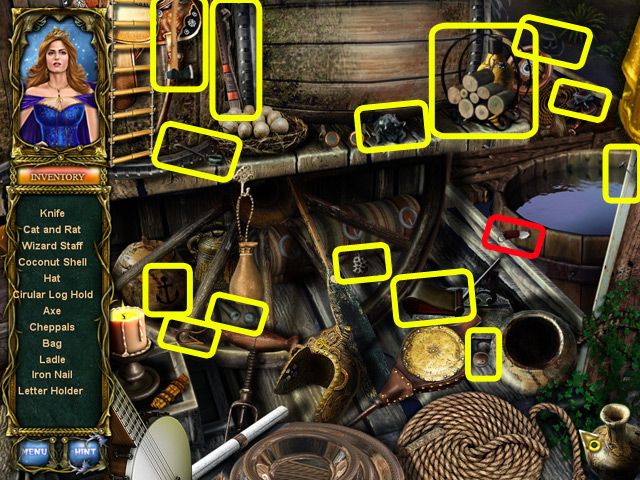
- (1). Locate all the objects listed and retrieve the knife.
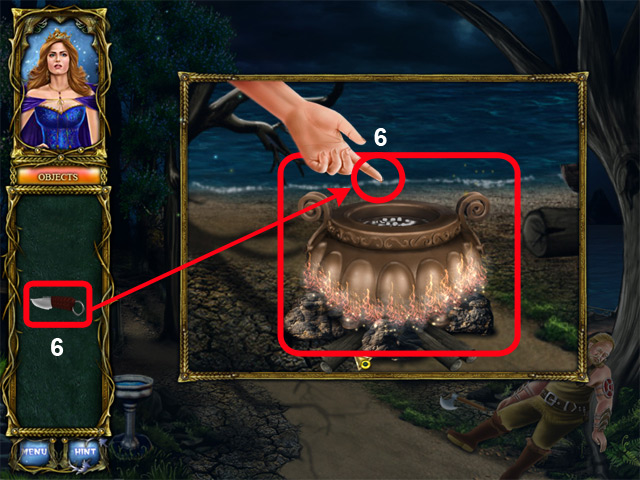
- (6). Retrieve the knife in inventory and use on Queen’s finger to have 2 drops of royal blood dripped into the cauldron mix.

- (7). Collect the cauldron.
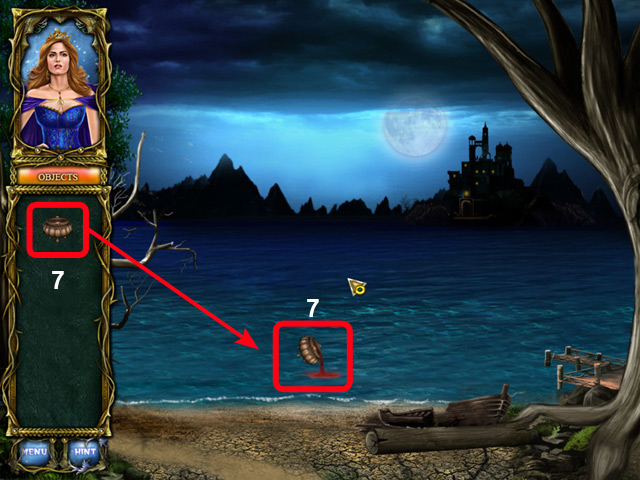
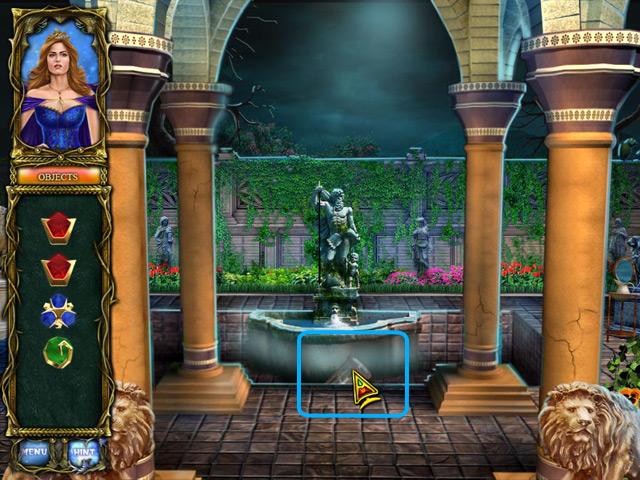
- (7). Pour content in cauldron into the lake to summon the mermaid.
Chapter 2: Black Lake Castl
e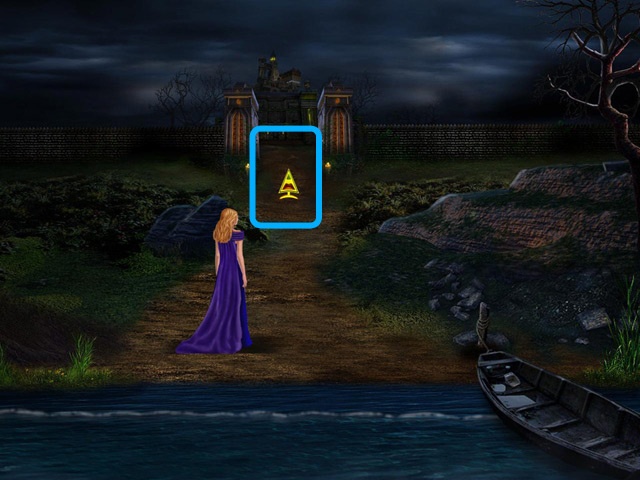
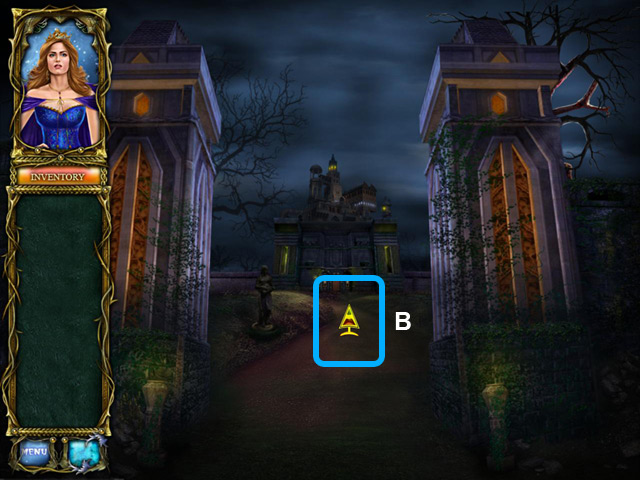
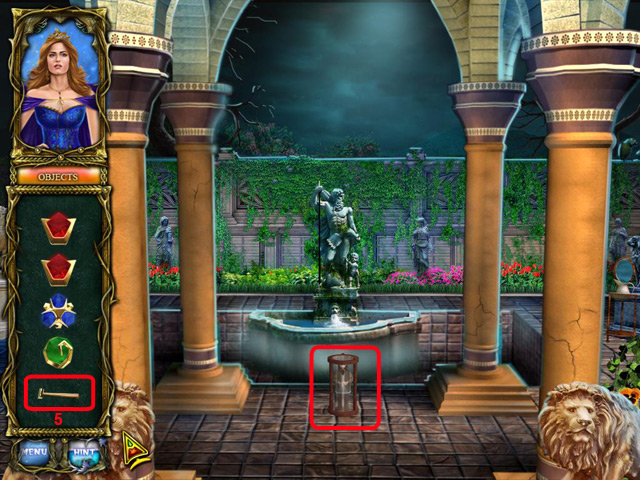
- Move Forward to Black Lake castle.
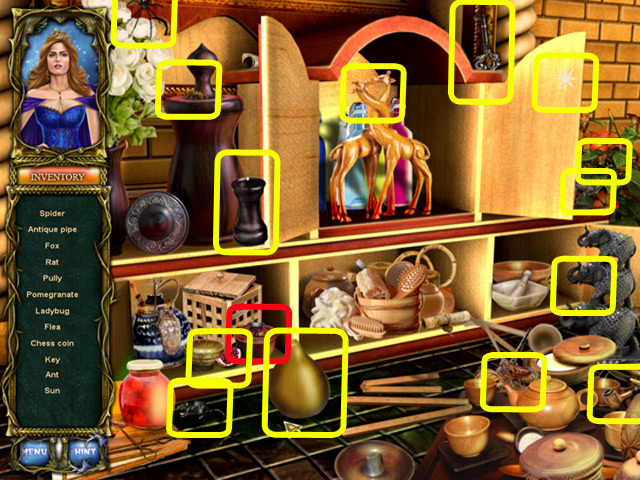
- (A). Enter the HO area to locate objects.
- Locate all the objects listed.
- (B). Move forward to Black Lake Castle.

- (c). Move forward towards Black Lake Castle.
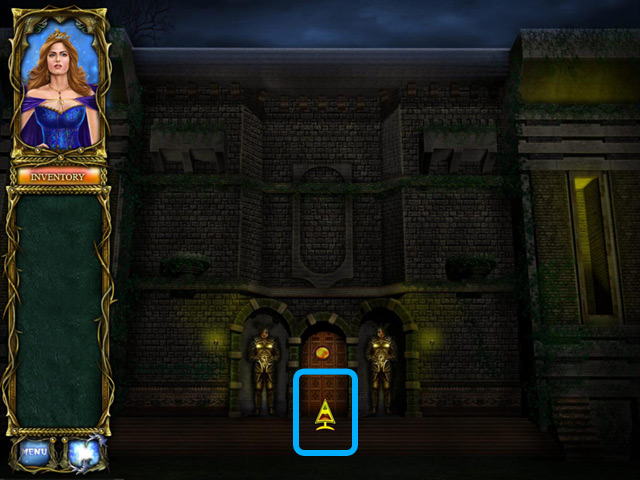
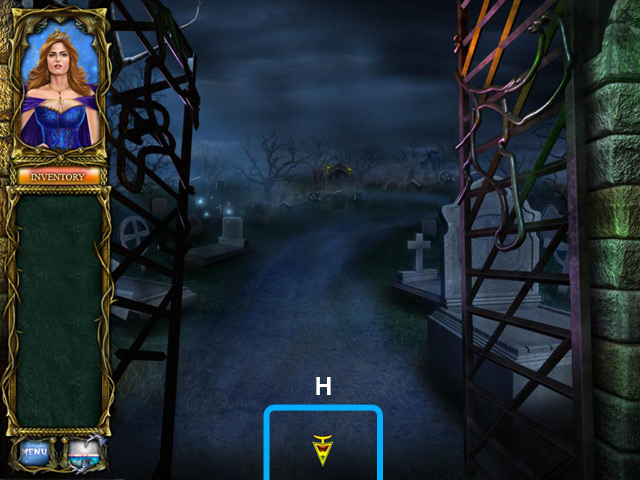
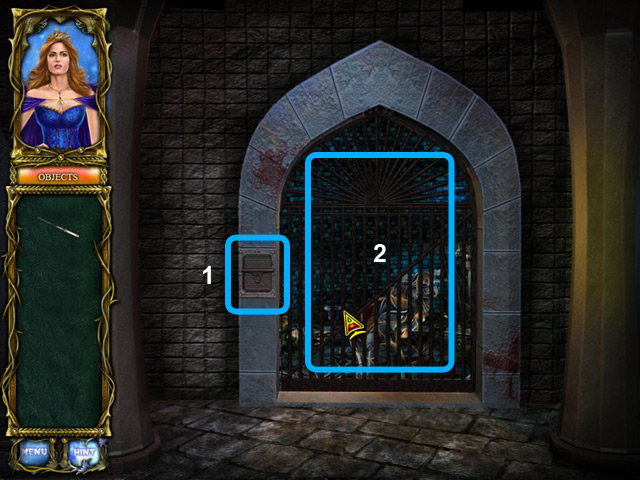
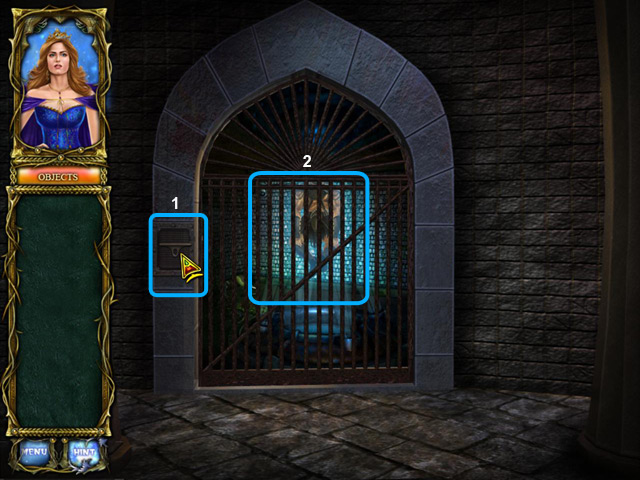
- Examine the door to Black Lake Castle.
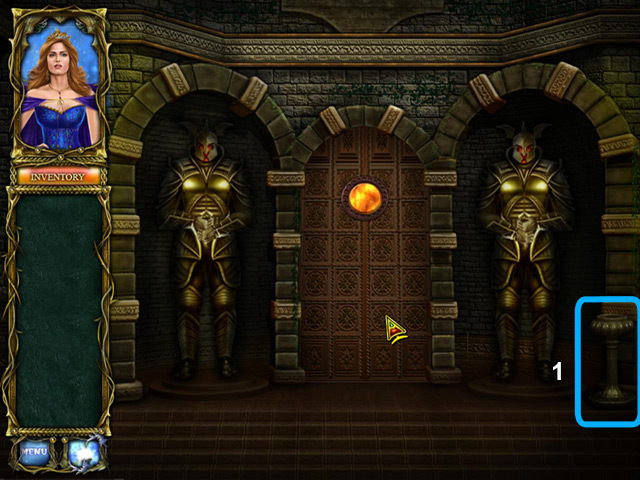
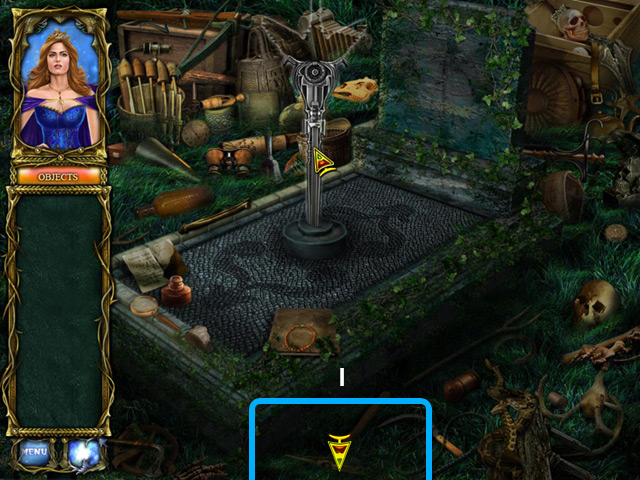
- (1). Touch on the stoup for information.

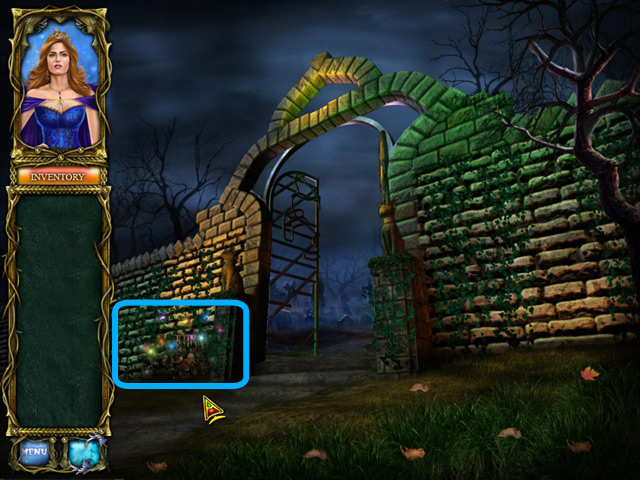
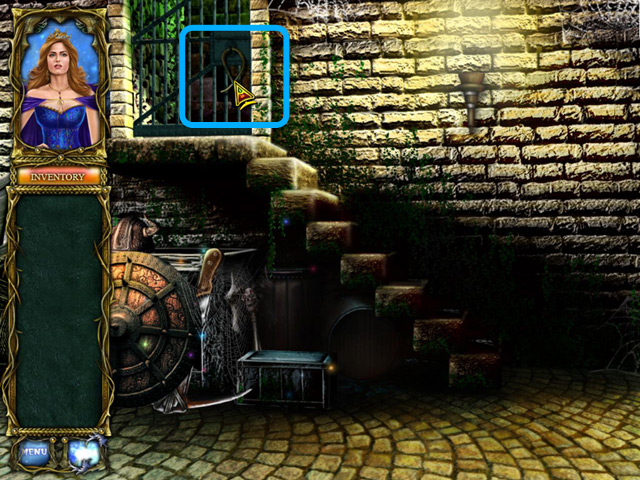
- (E). Enter the graveyard area through the gate on the right side of the area.
- (3). Examine the gate.

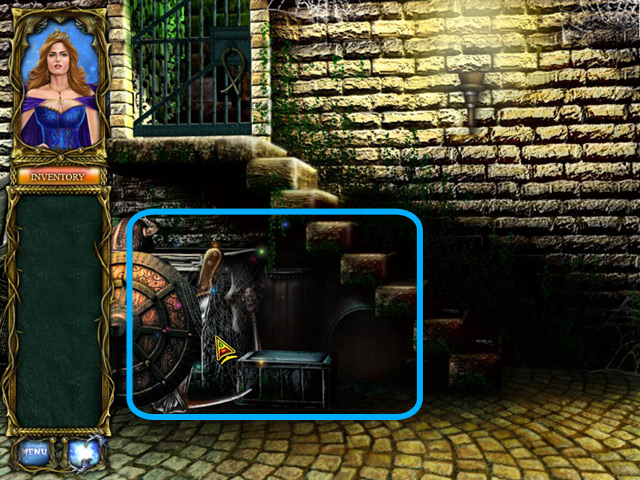
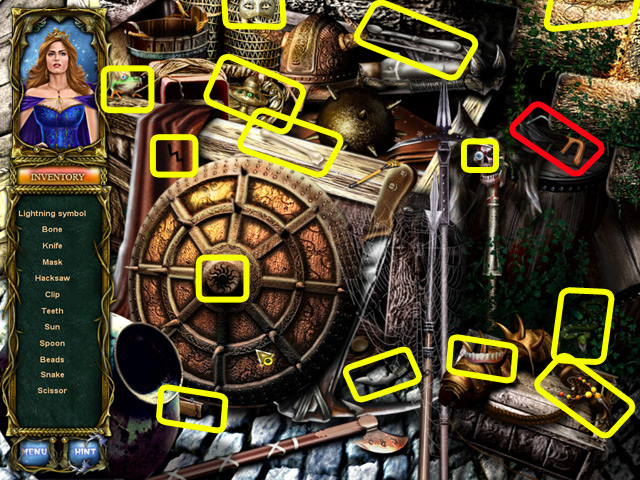
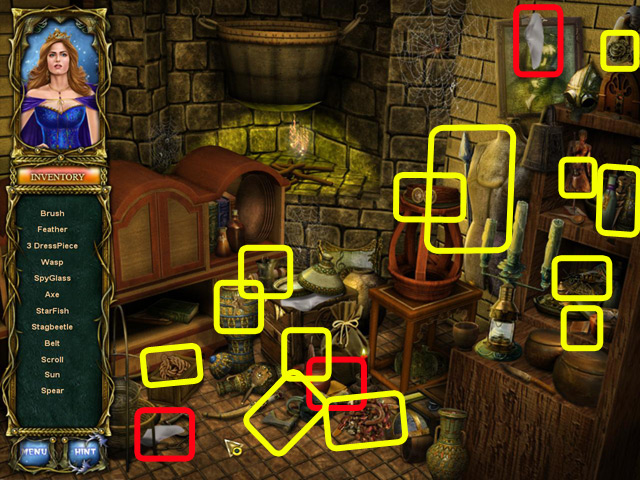
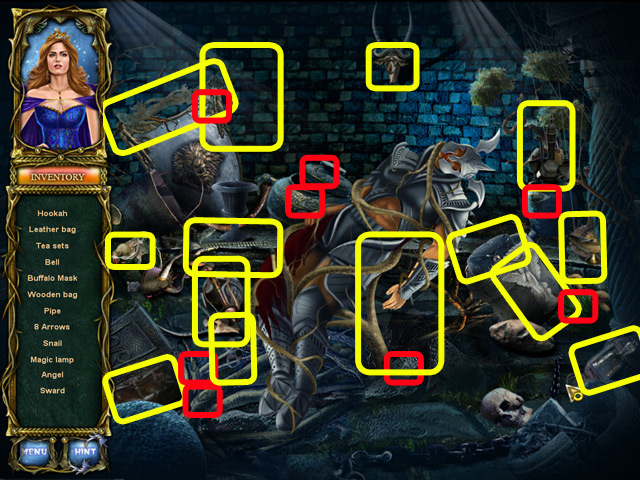
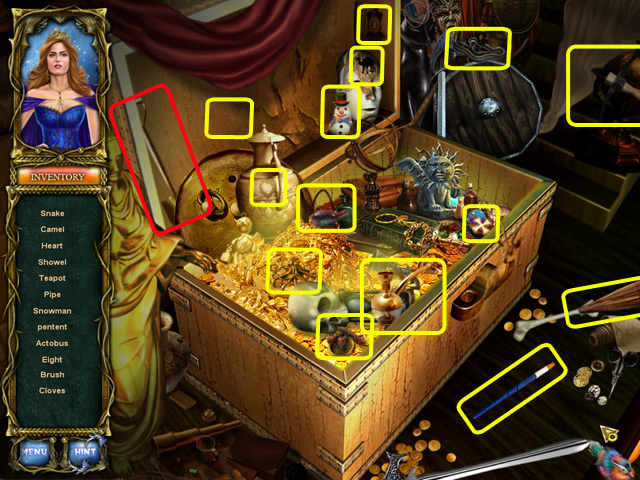
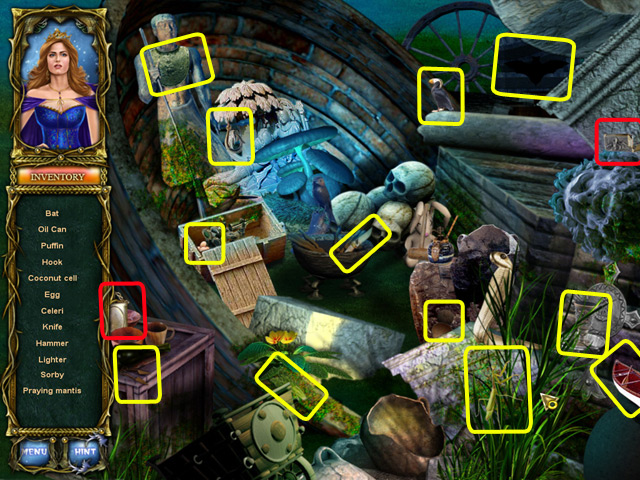
- Enter the HO area to locate all items listed.
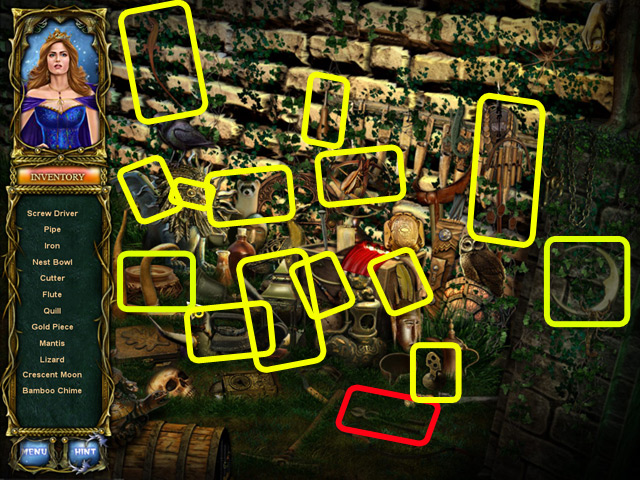
- Locate all the listed items as well as a tool to unlock the gate.
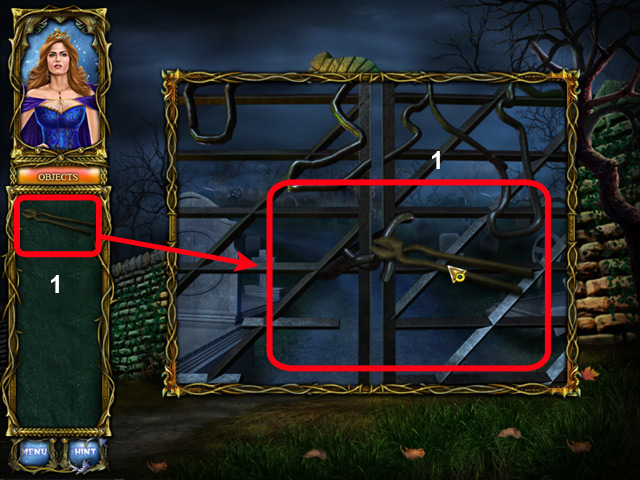
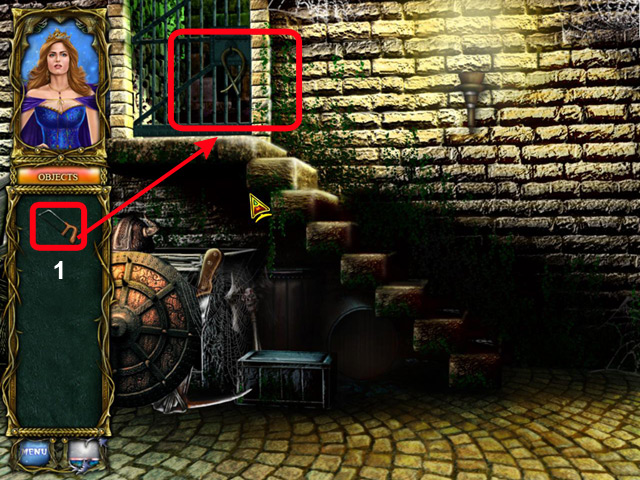
- (1). Use the tool found in inventory to unlock the gate.
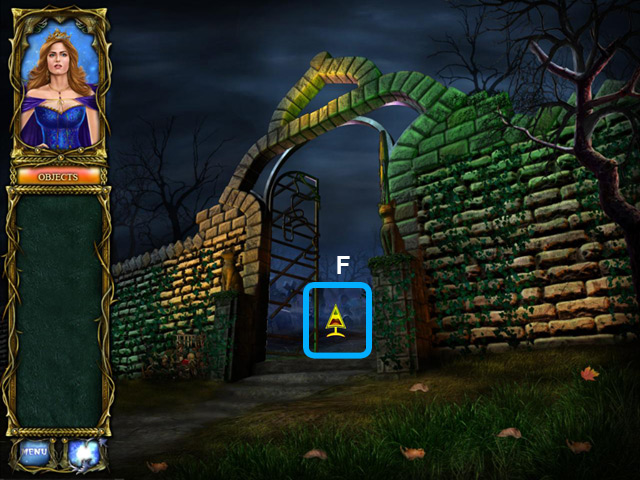
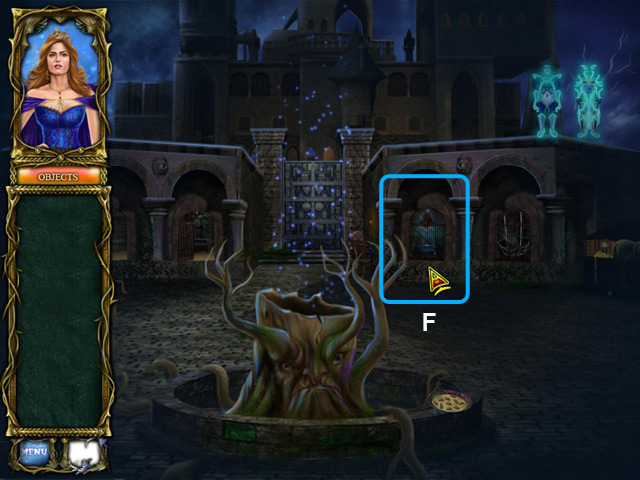
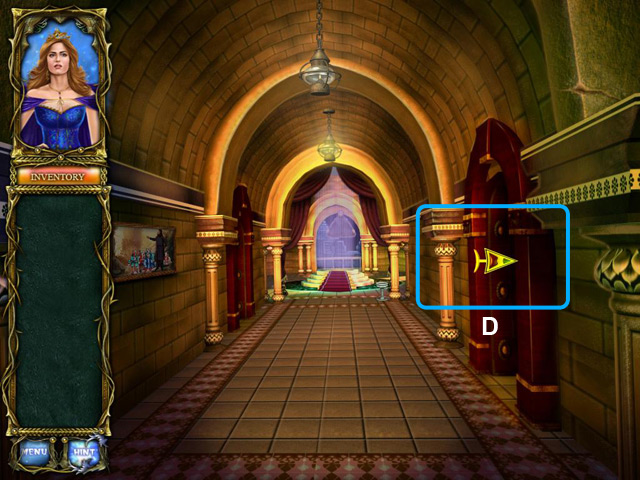
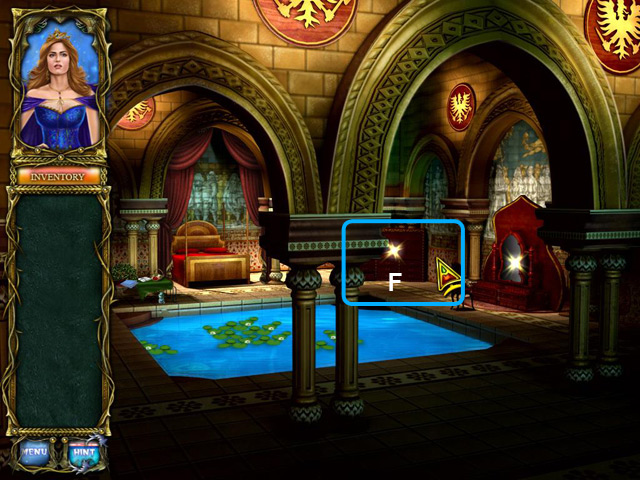
- (F). Enter into a new area to explore.
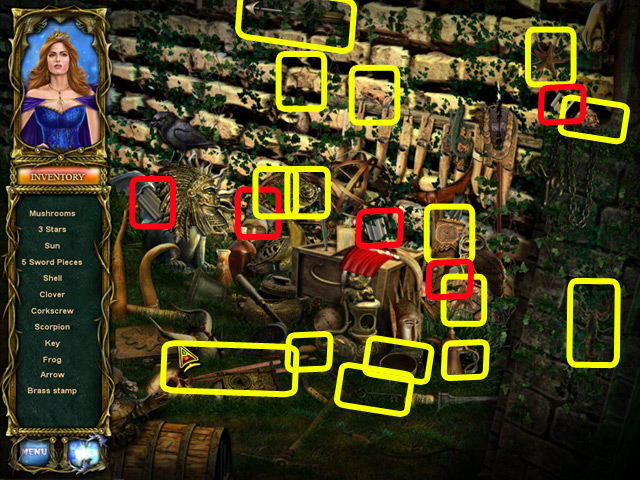
- (G). Enter HO area to locate all objects listed.
- (4). Find out more by touching the sword’s outline.
- Locate all the objects listed and collect the 5 piece of a broken sword.
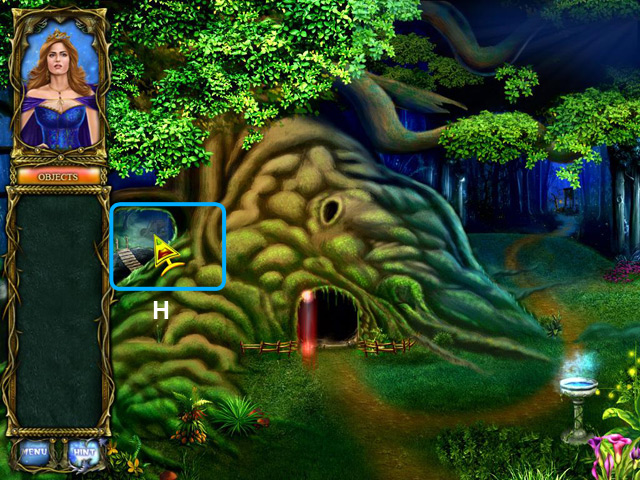
- (H). Back out of this area.
- Enter the HO area to locate all the objects listed.
- Locate all the objects listed and collect the remaining 5 pieces of the broken sword. They can be found in your inventory.

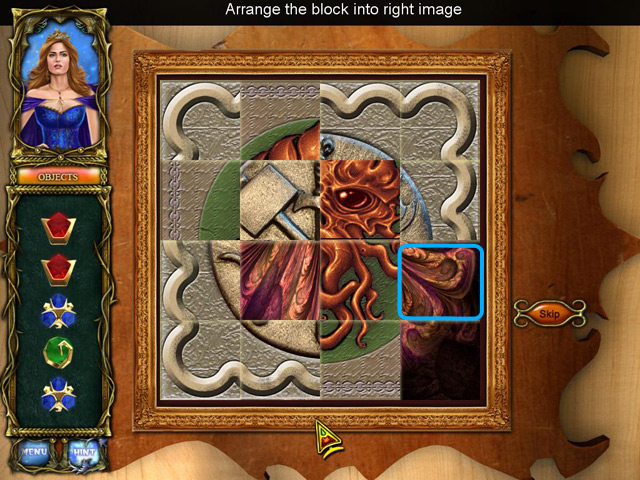
- (2). Rearrange the pieces and repair the broken sword.
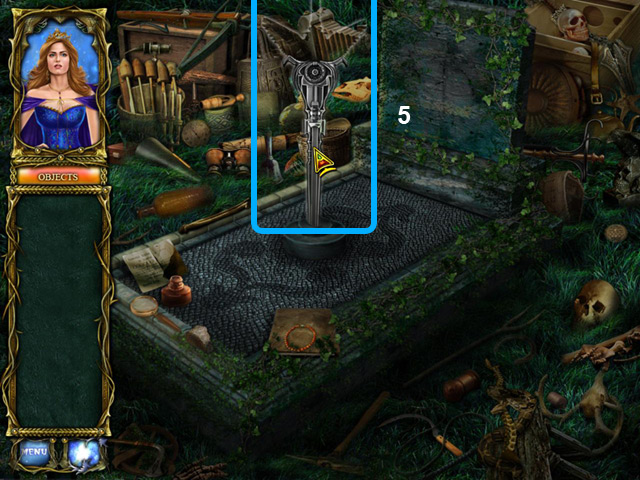
- (5). Touch the sword.
- (1). Return to previous location.

- (J). Return to previous location.
- (K). Return to previous location.
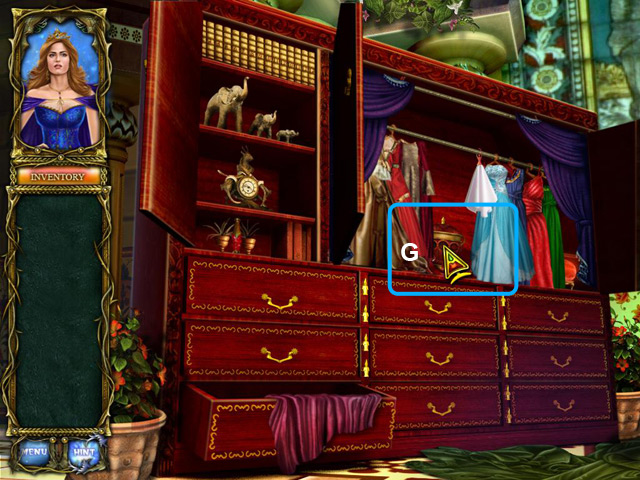
- Enter HO area to locate items listed.
- Locate all listed items and retrieve the sword’s handle.
- (3). Repair the handle to the sword and try to retrieve the Sword.
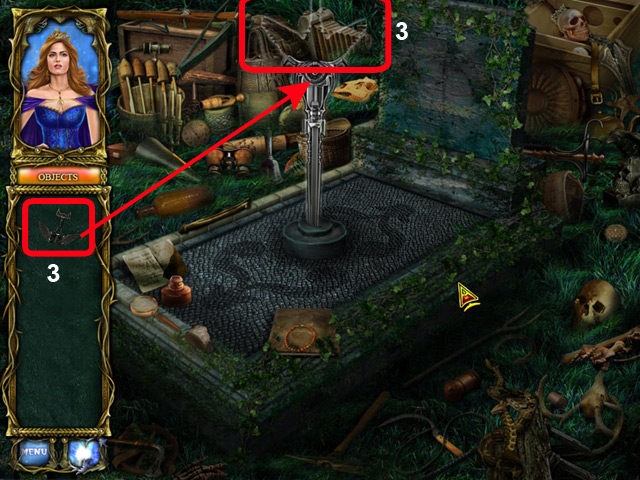
- Touch the Sword.
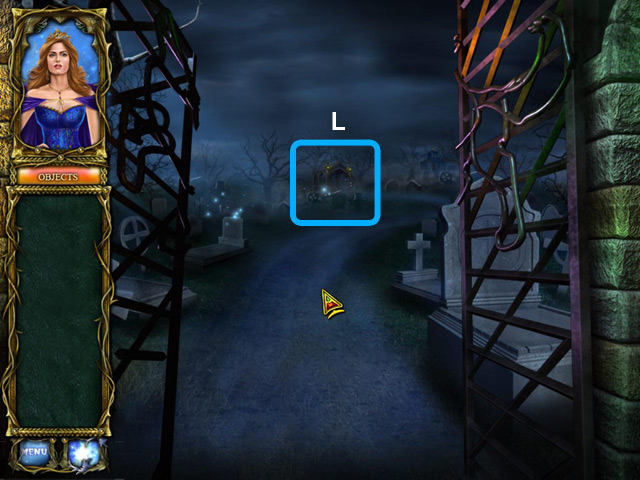
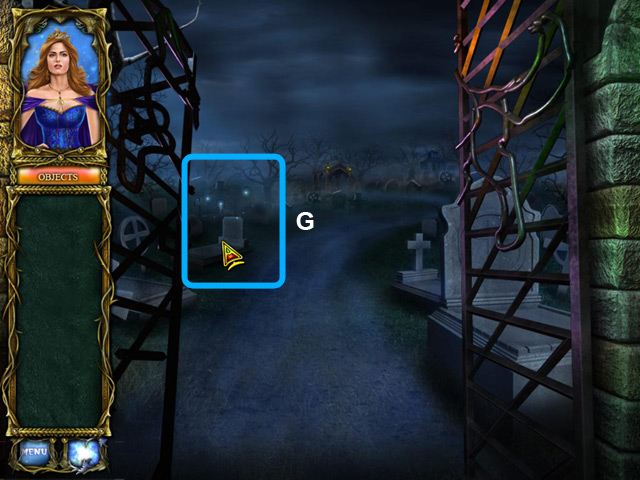
- (L). Move toward the crypt within the graveyard.
- (1). Missing iron ball. Guess I’d better look for it. Must be around here somewhere.
- (2). Hmm.. I need to locate a handle to activate this.
- Enter HO area to locate listed items.
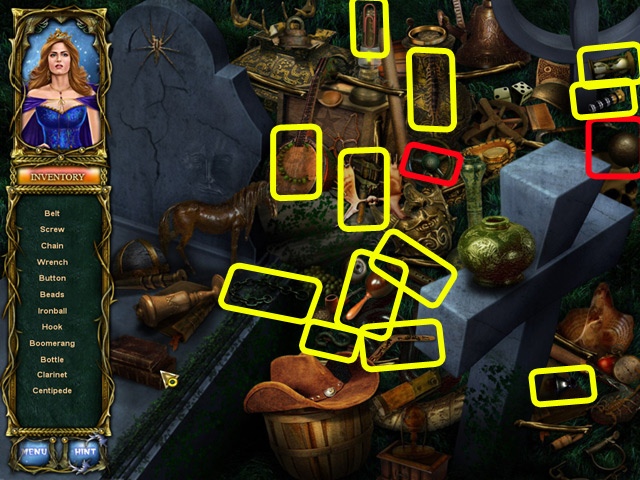
- Locate all listed items and retrieve iron ball and handle.
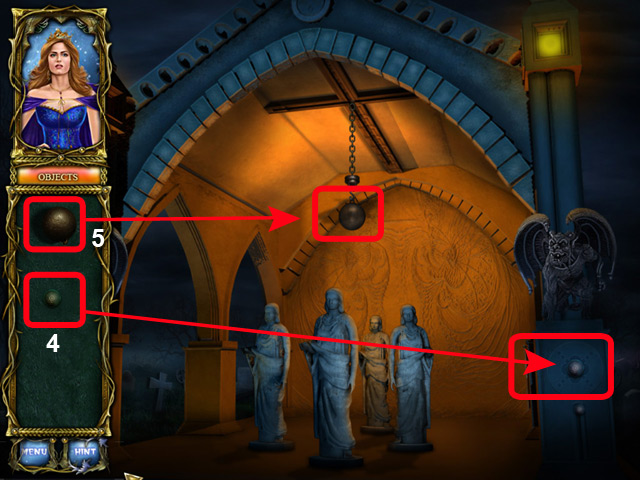
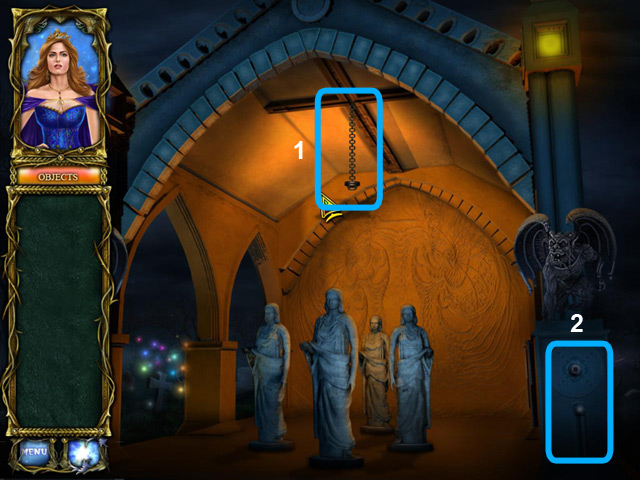
- (5). Repair iron ball to the chain hanging above the statues and (4) handle to the mechanism on the pillar on the right.
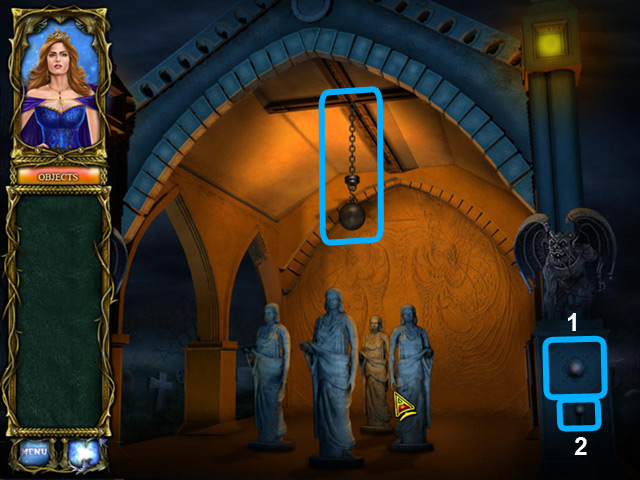
- (1). The upper handle navigates the ball while (2) the lower handle drops the iron ball unto the desired area.
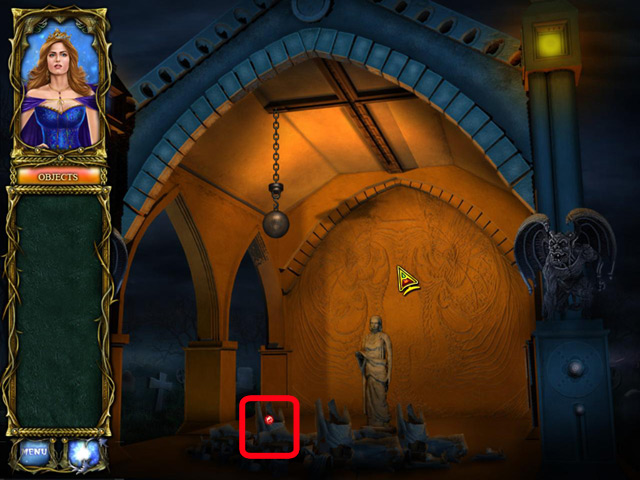
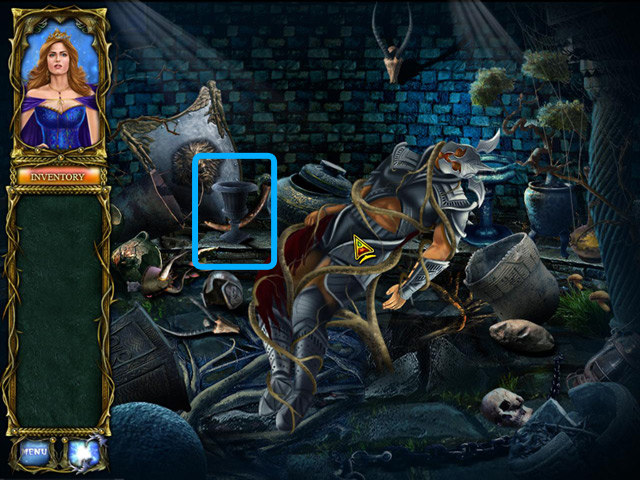
- Retrieve the crystal from the ruins.
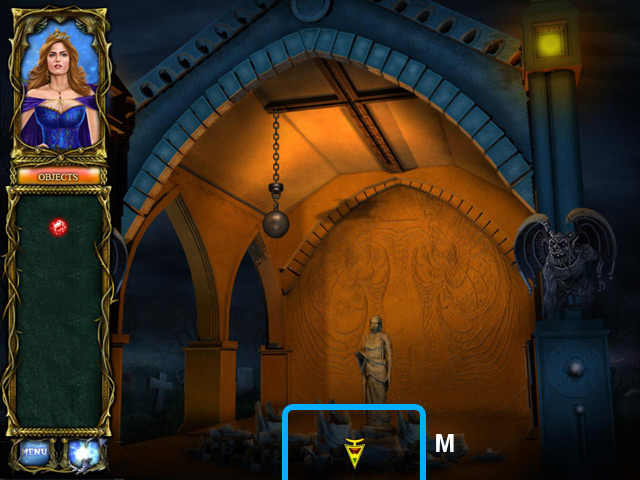
- (M). Return to previous location.
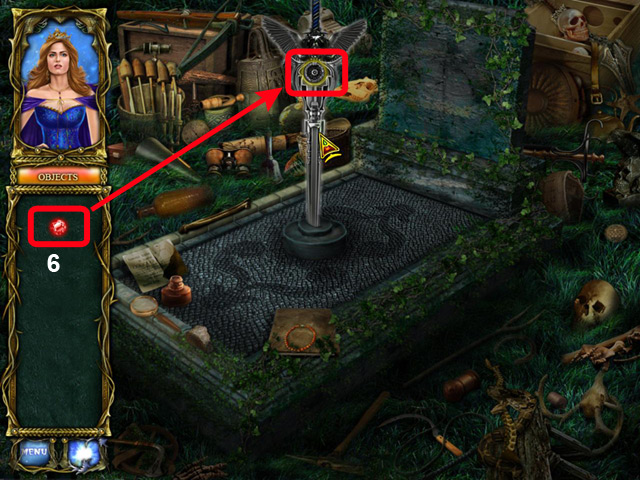
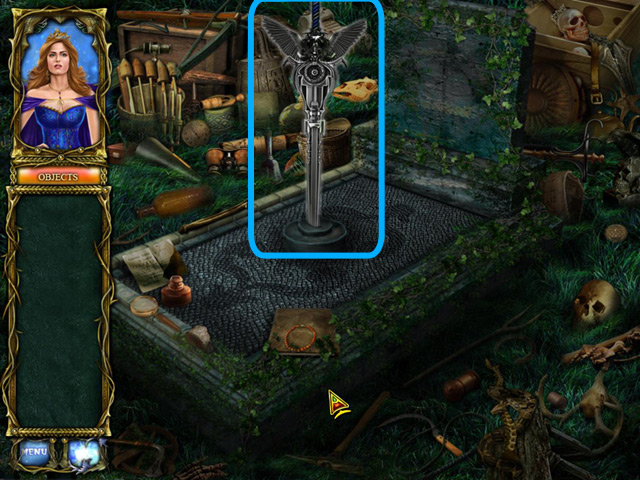
- (6). Affix the crystal to the Sword.
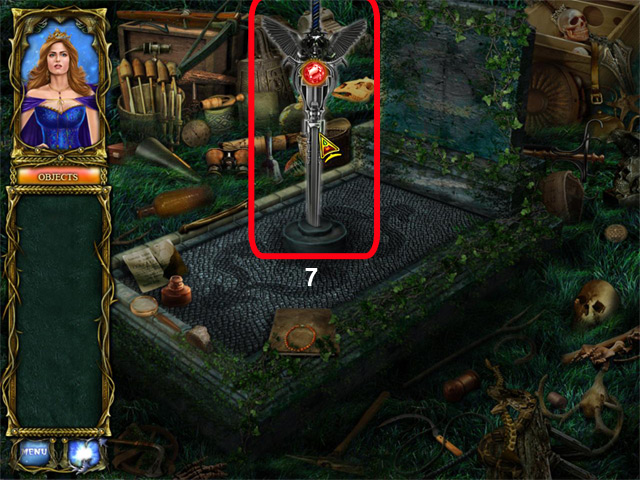
- (7). Retrieve the Magical Sword.
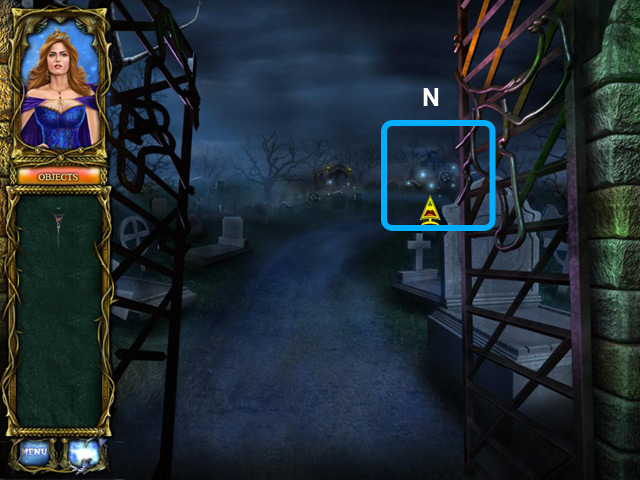
- (N). Explore the new area.
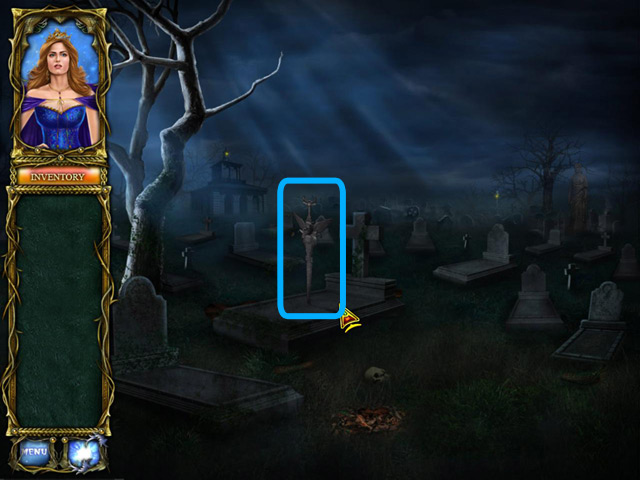
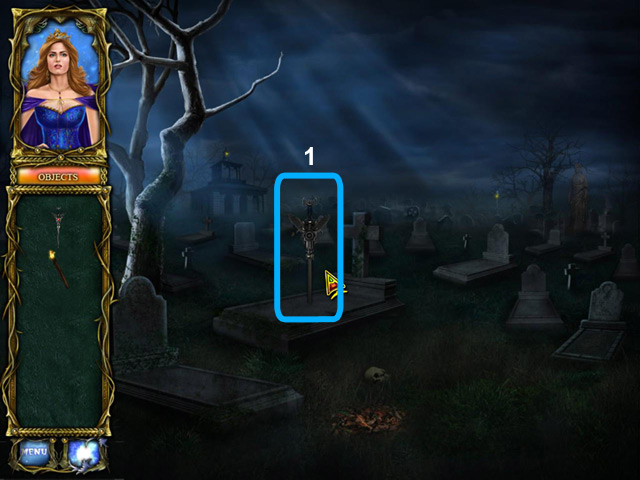
- Touch the sword found above one of the grave.
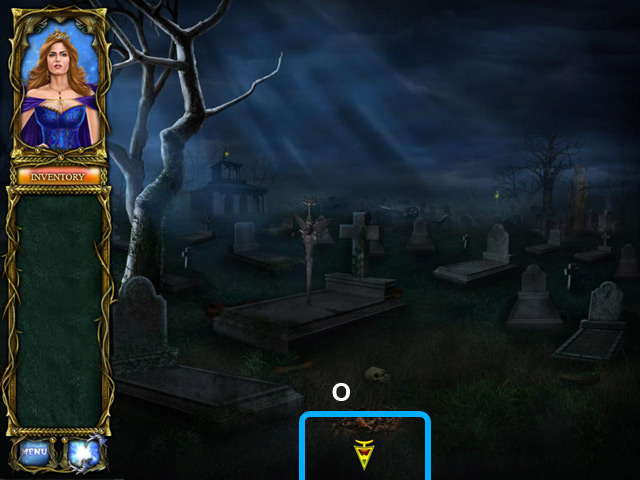
- (O). Return to previous location.
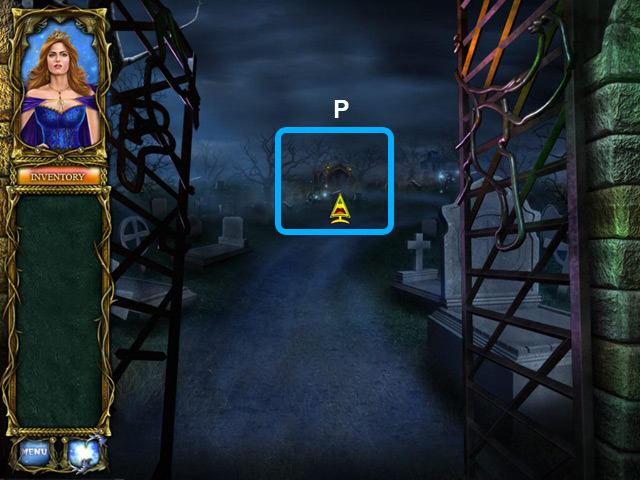
- (P). Return to HO area beside crypt.
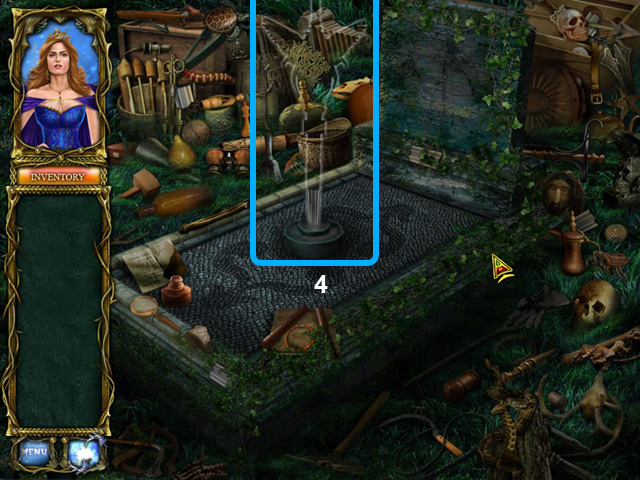
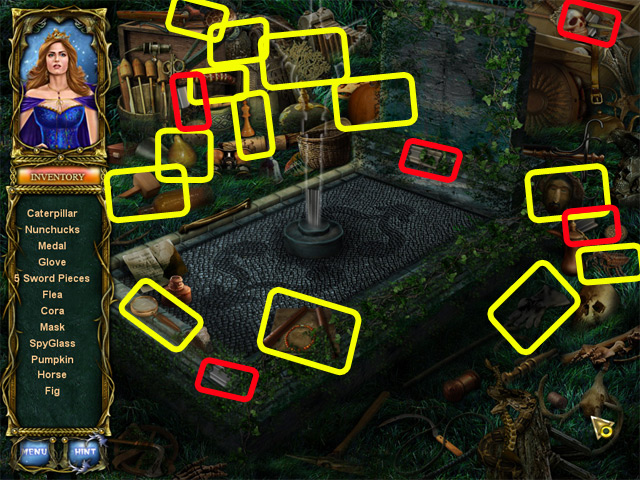
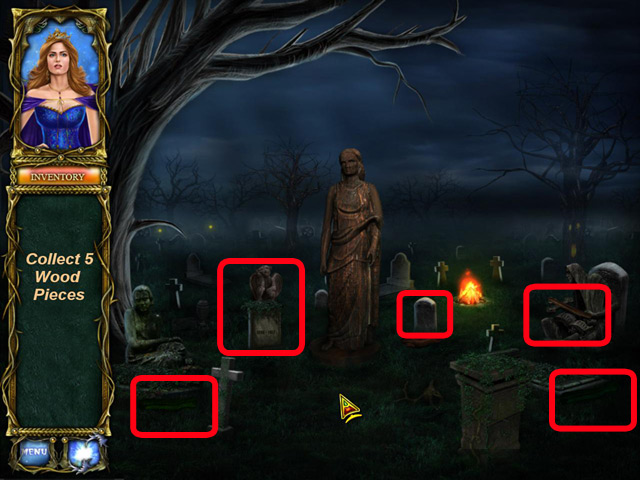
- Enter HO Area to locate for listed items.
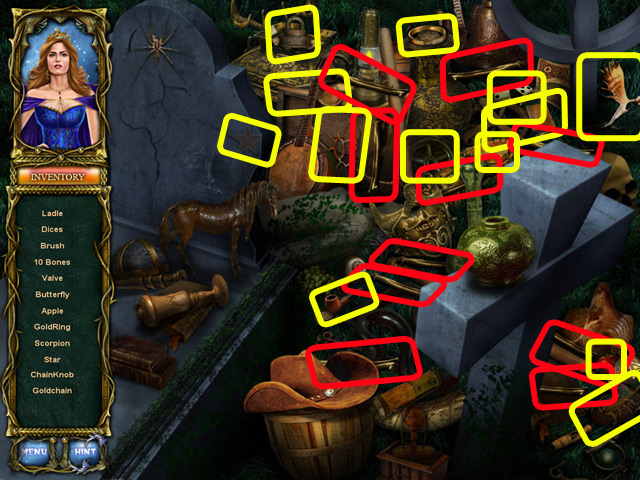
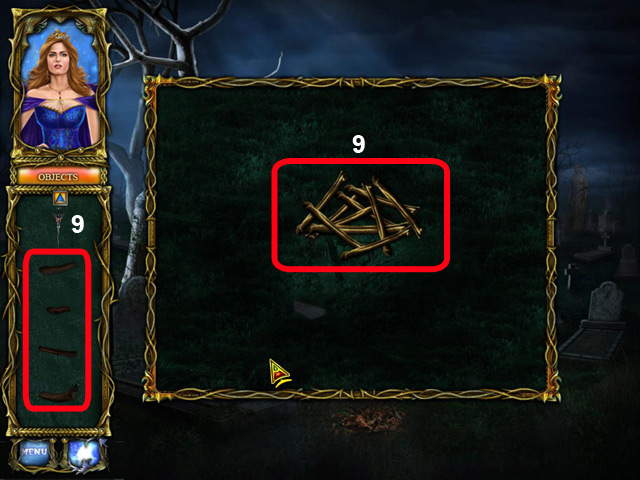
- Locate all listed objects and also the 10 bones needed.
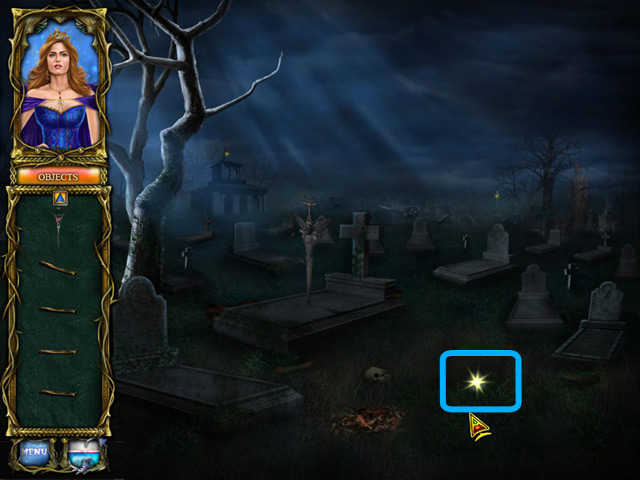
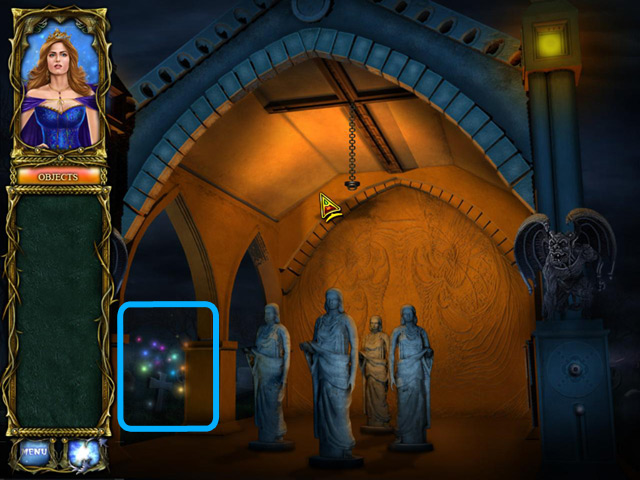
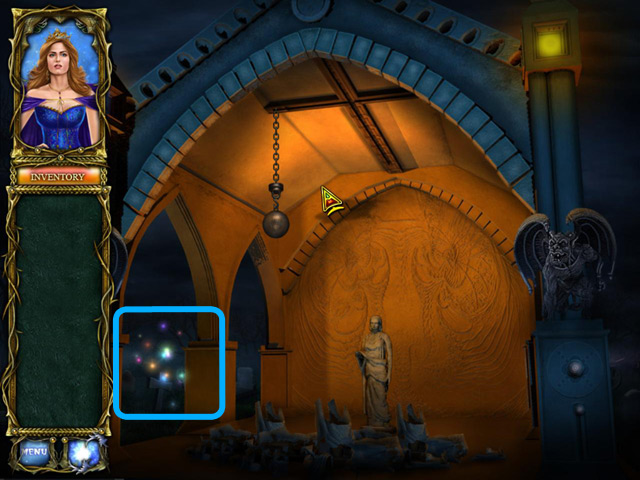
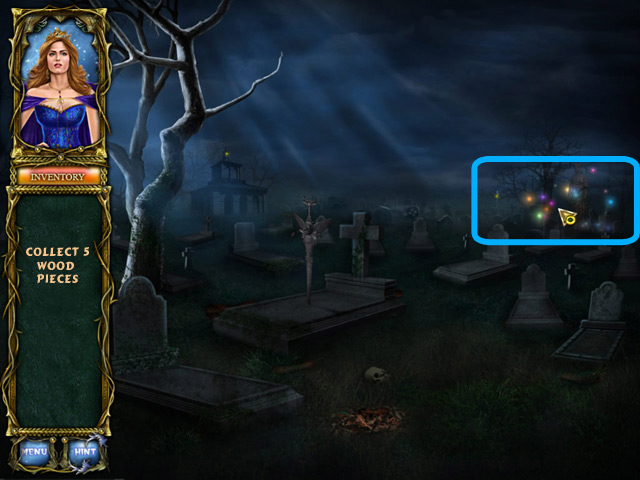
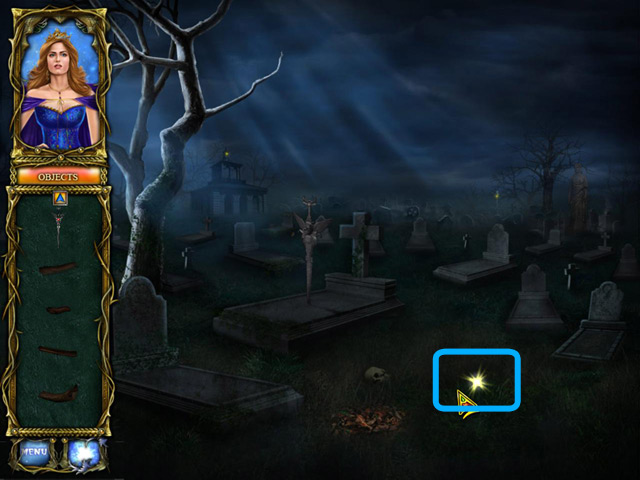
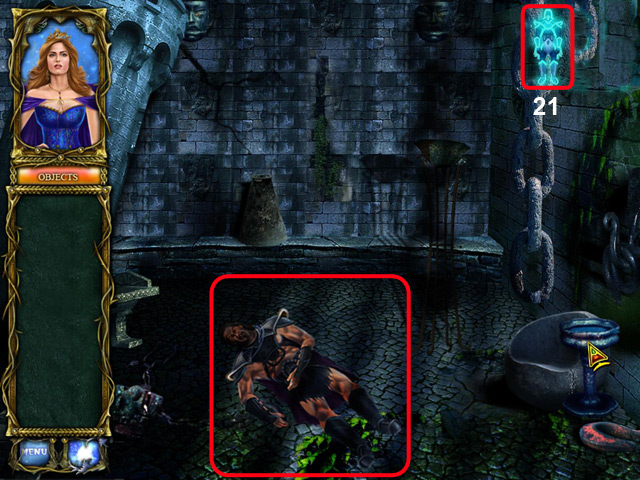
- Explore the blinking star.
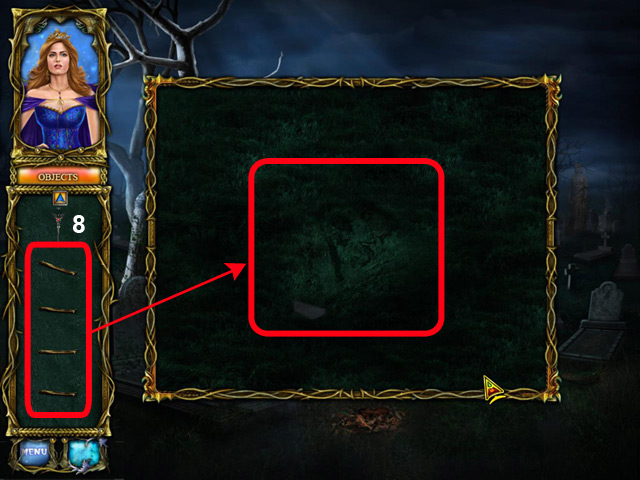
- (7). Place all the 10 bones found in inventory unto the area.
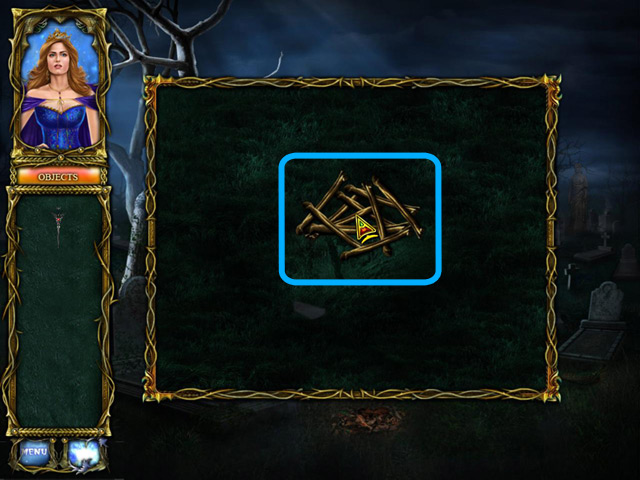
- Touch the bone piles.
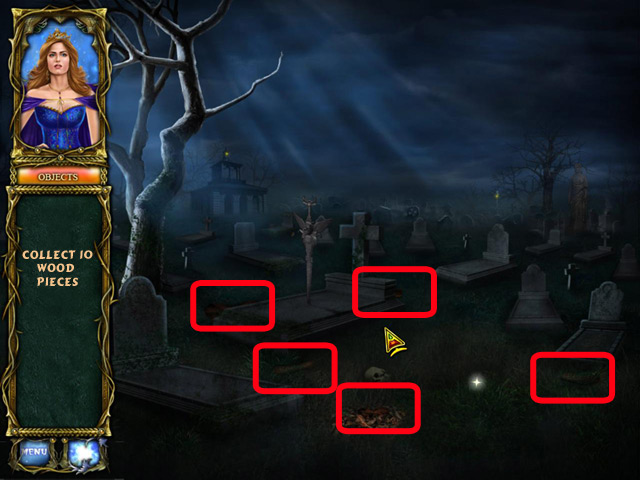
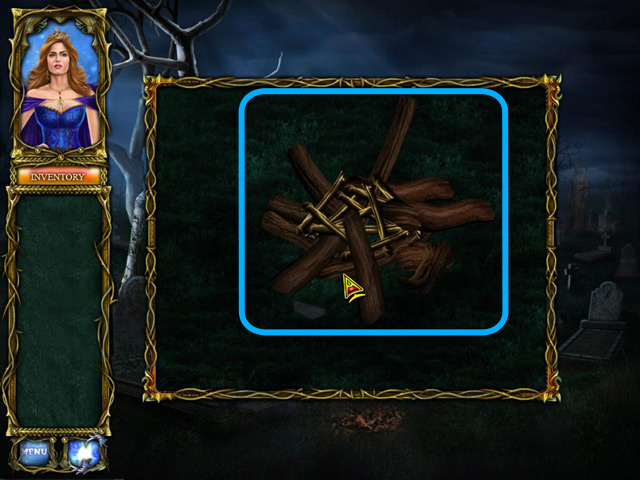
- Collect 5 pieces of firewood found in this area.
- Explore the area for more firewood.
- Collect the remaining required firewood pieces found in this location.
- Return to the bone pile.
- (9). Place all the firewood pieces with the bone pile.
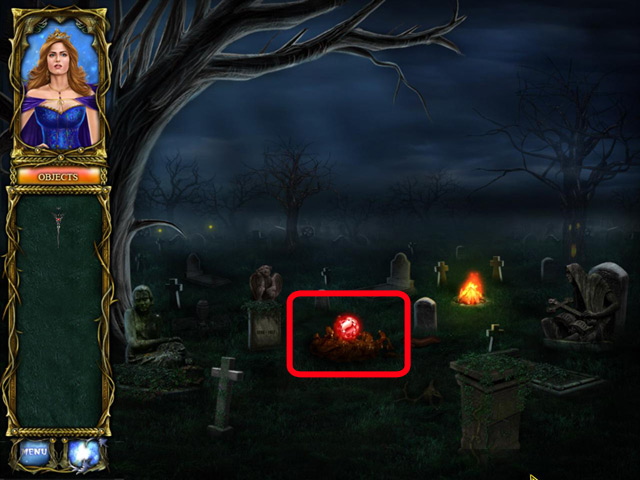
- Touch the bonfire pile.
- Return to the grave area to look for some fire.
- Pick up a burning stick .
- (10). Light up the pile of bone and wood.
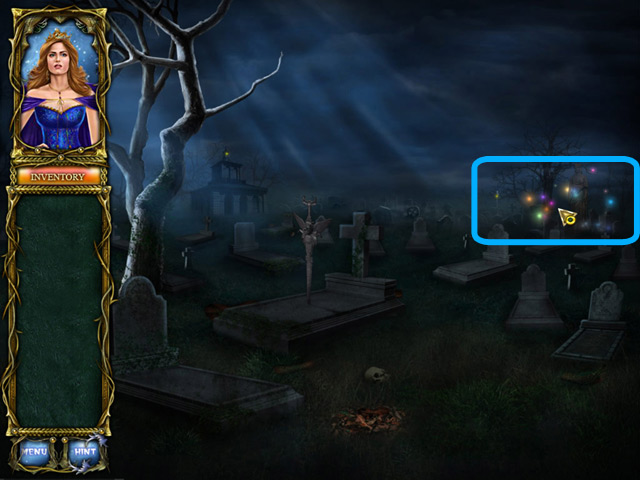
- Collect the ashes.
- (11). Place the ashes found in inventory unto the second sword’s outline. It will bring the sword out of its accursed state.
- (1). Touch the sword.

- Explore the grave area.
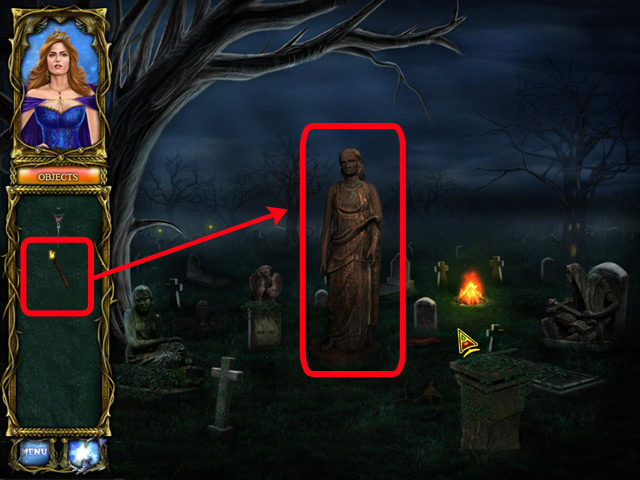
- Use the torch in inventory to burn this statue.
- Retrieve the crystal.

- (12). Affix the crystal unto the sword.
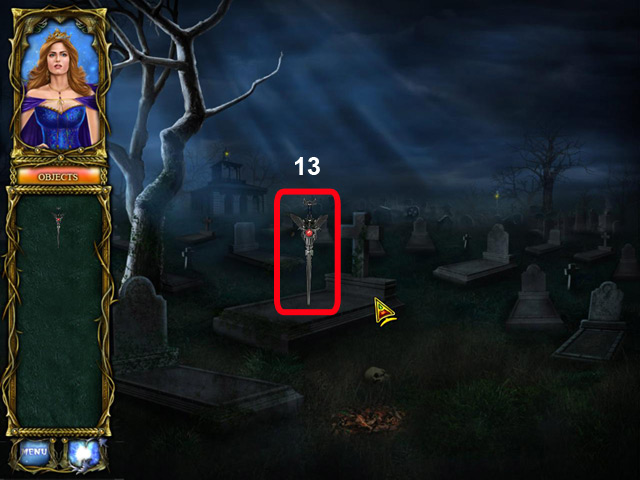
- (13). Retrieve the second Sword.
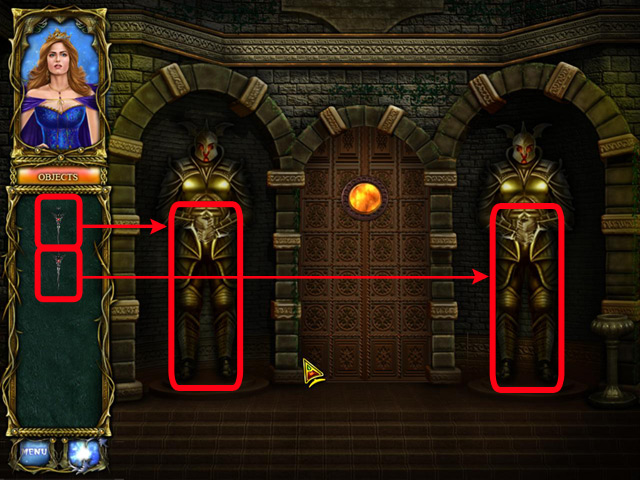
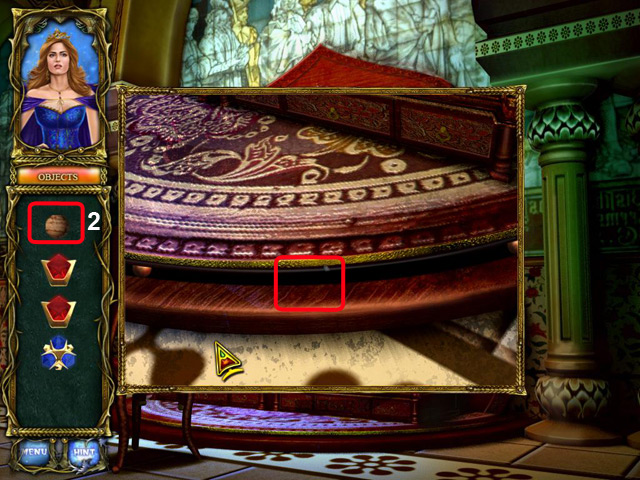
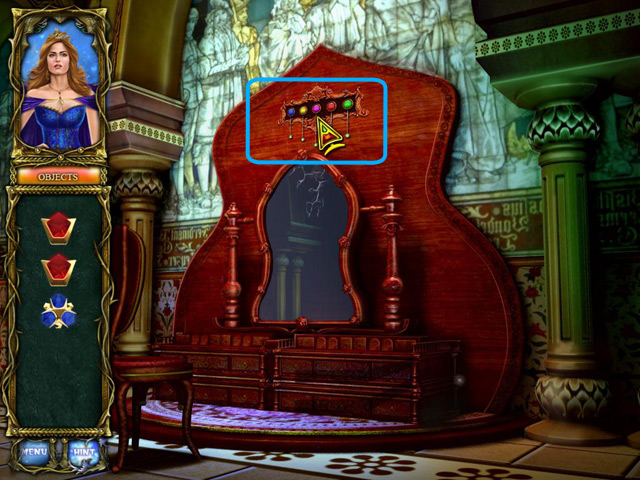
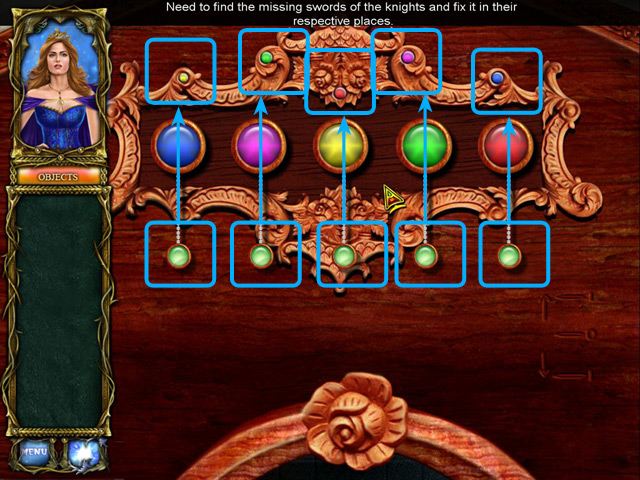
- Replace the swords to the knights.
- Explore the door to Black Lake Castle.

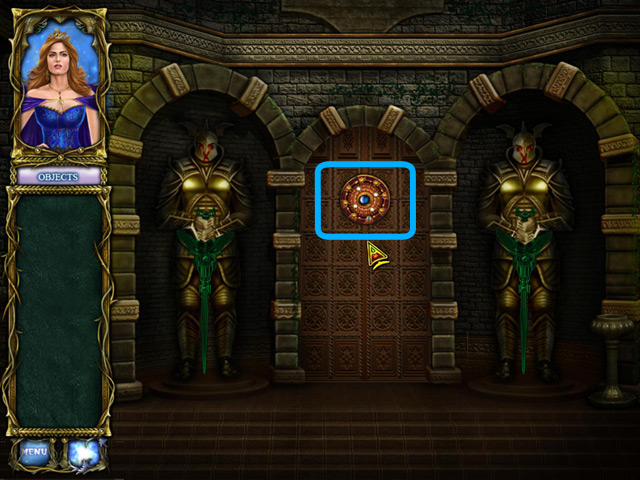
- Touch the emblem.
- (Q). Explore the area.
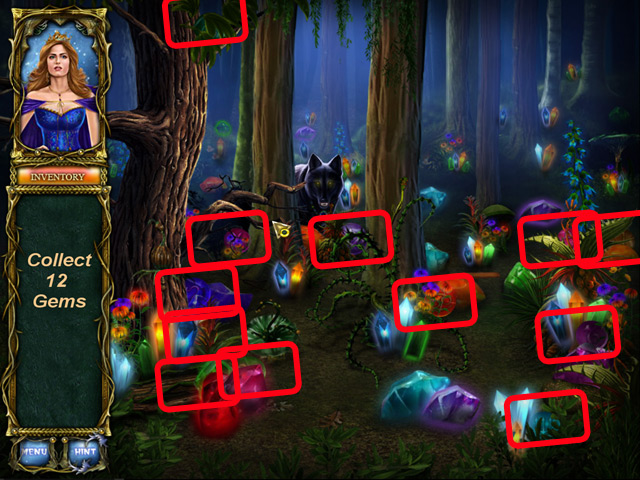
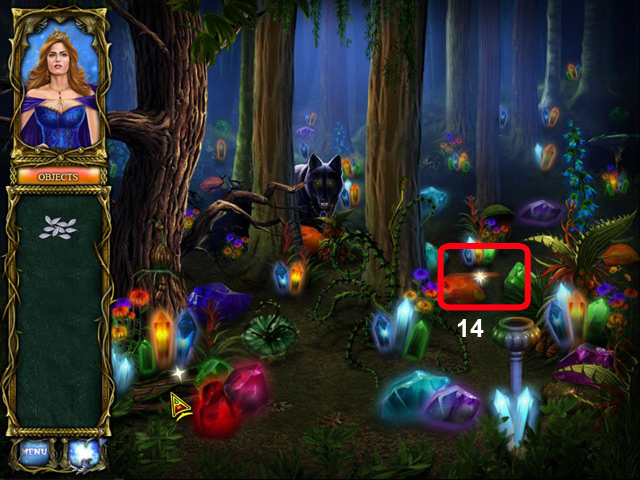
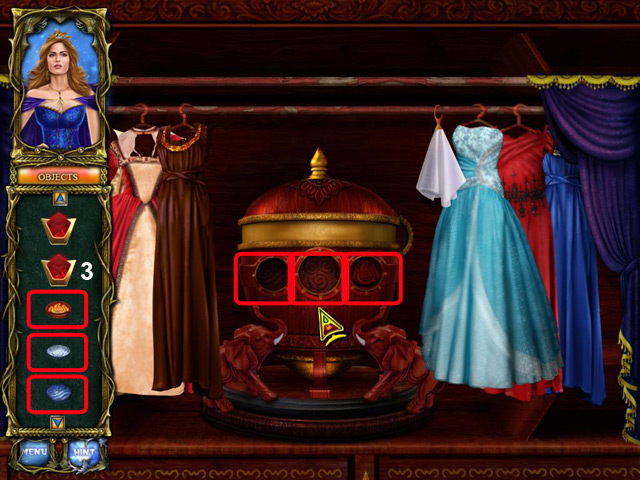
- Collect 12 jewels.
- (14). Replace the jewels to the slots on the emblem.
- Touch the middle are of the emblem.

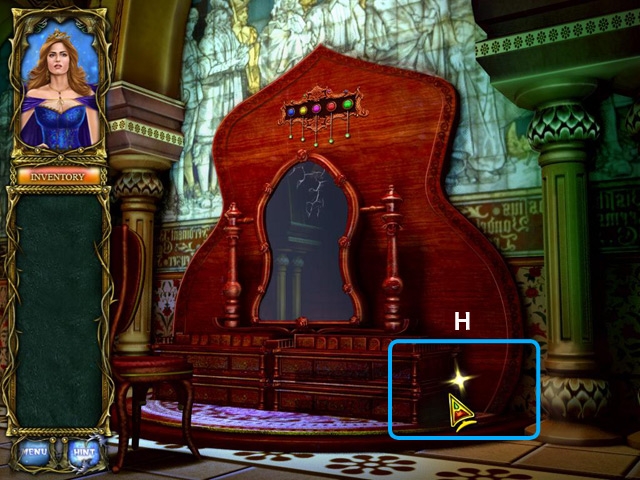
- (1). Touch the stoup.
- (2). Explore the area.
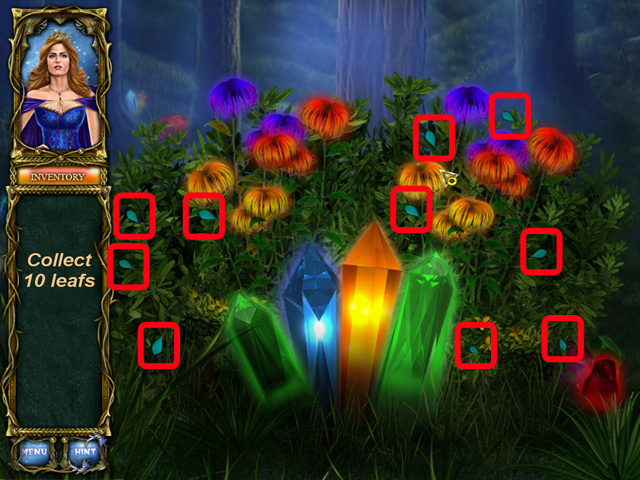
- Collect 10 poisonous leaves.
- Explore the area.
- Click the Explored area to get more details.
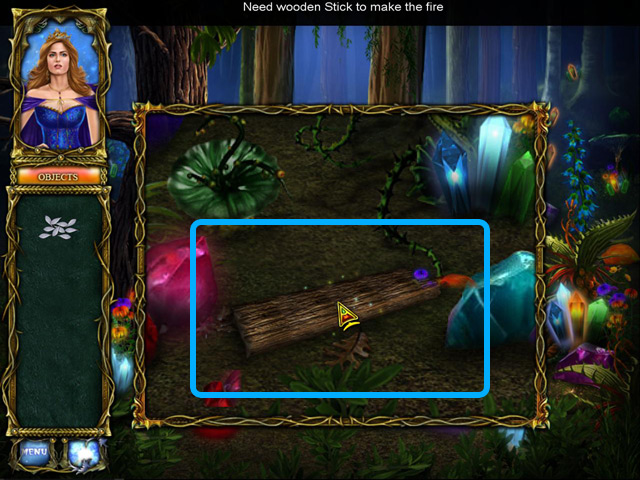
- (14). Collect the stick.
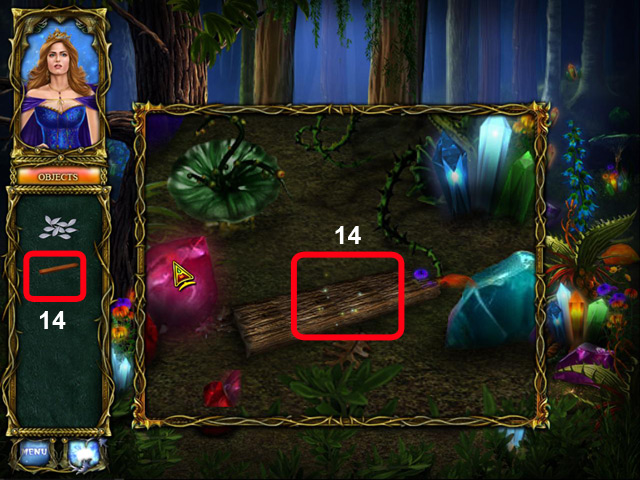
- (14). Use the stick found in inventory and rub against the wooden plank to start a fire.
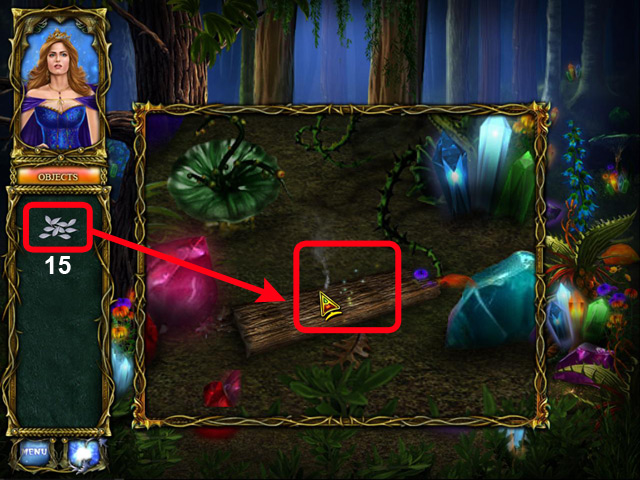
- (15). Place all the poisonous leaves unto the fire.
- (16). Collect the crystal from the neck of the wolf.

- (16). Place the crystal into the middle of the emblem.
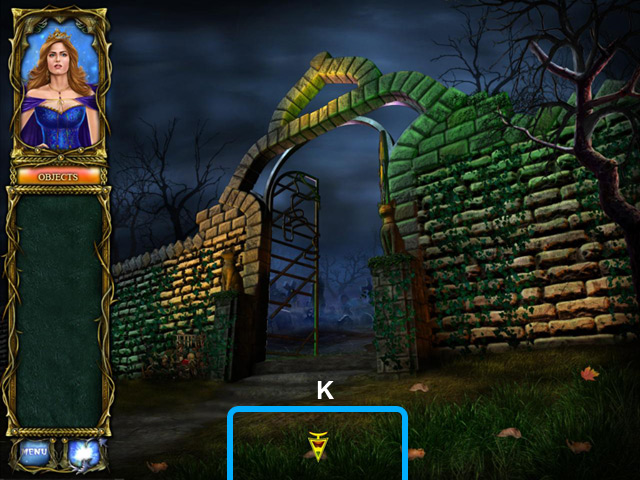
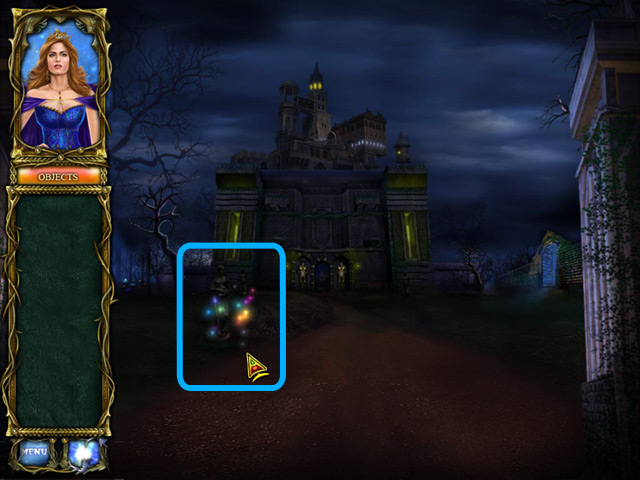
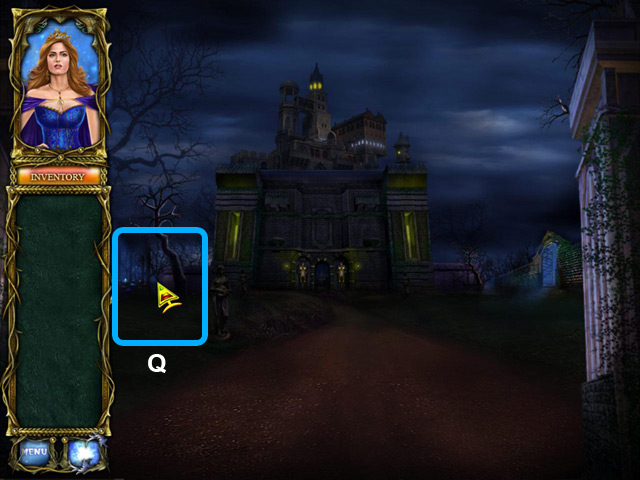
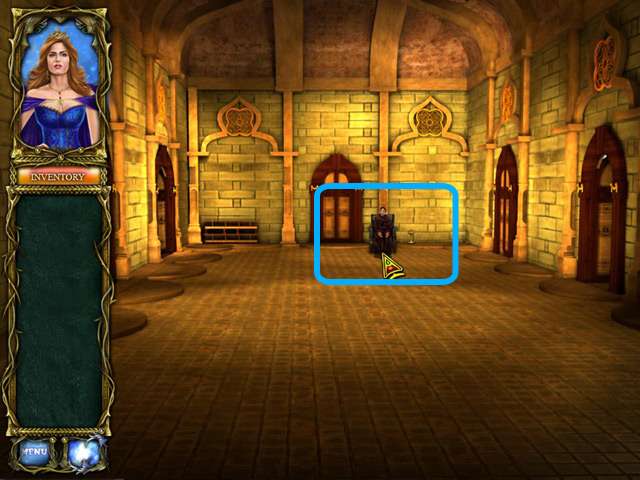
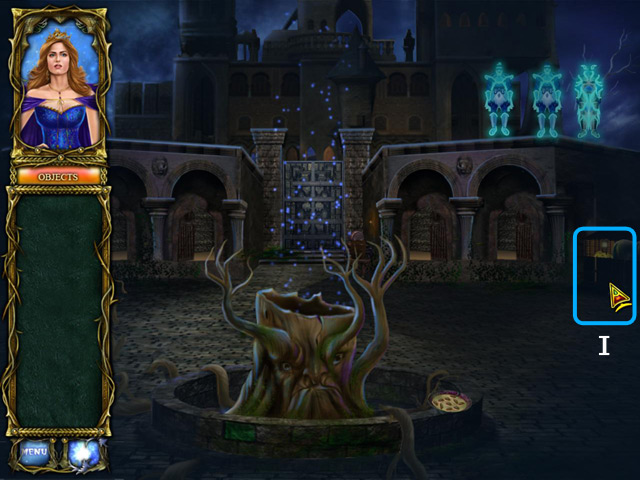
- Enter Black lake Castle.
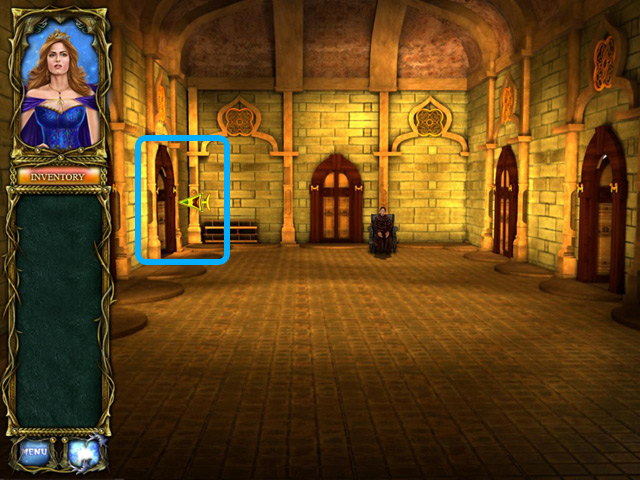
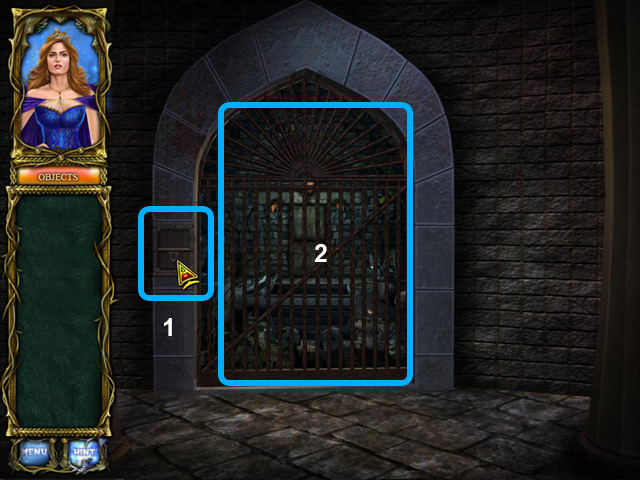
Chapter 3: The Dungeon Guard
- Touch the stoup.
- (A).Move forward into the dungeon area.
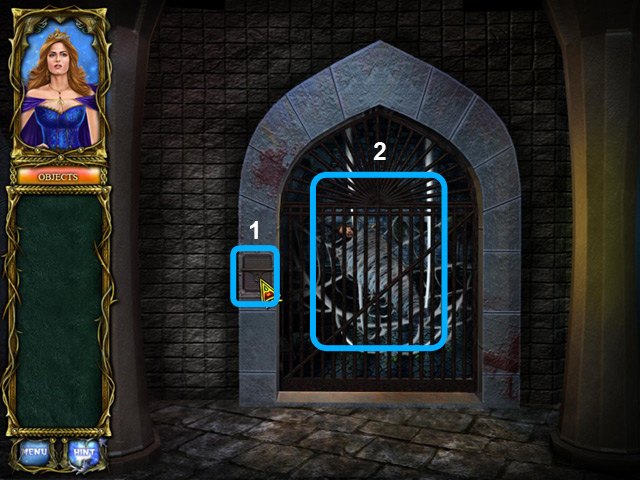
- Explore the locked gate.
- Enter HO area to locate listed items.
- Locate all the listed items and retrieve a tool.
- (1). Use the tool found in inventory to unlock the gate.
- (B). Enter through the gate into the cell.
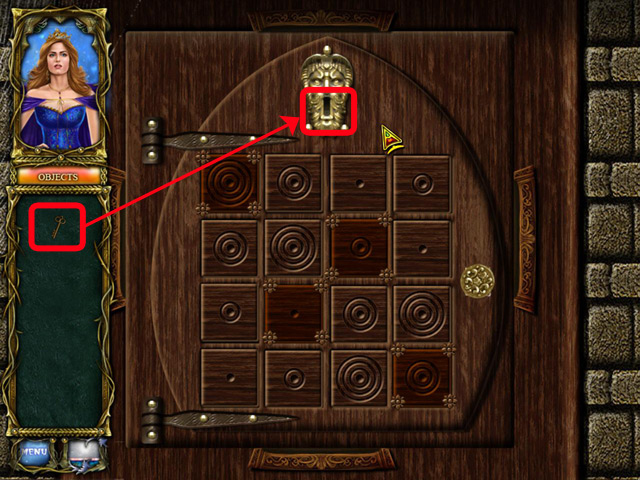
- Explore the wall panel.
- Touch the wooden panel.
- Enter the HO area to locate listed items.
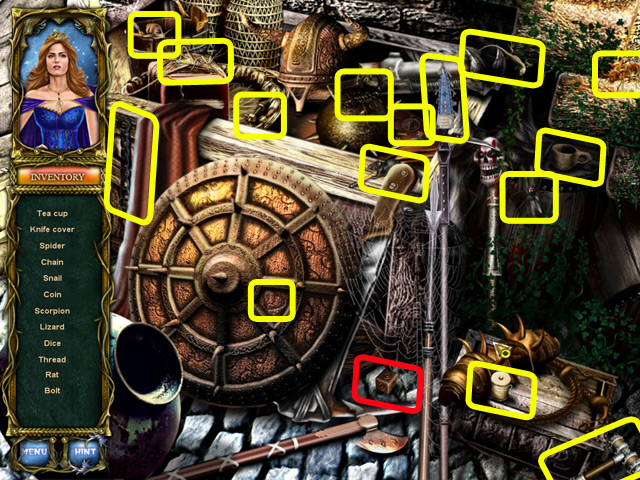
- Locate all the listed items and collect the dice.

- (2). Place the dice in inventory into the slot on the panel.
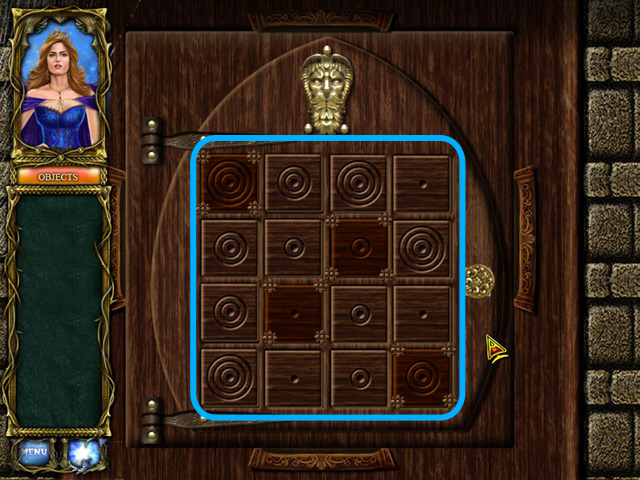
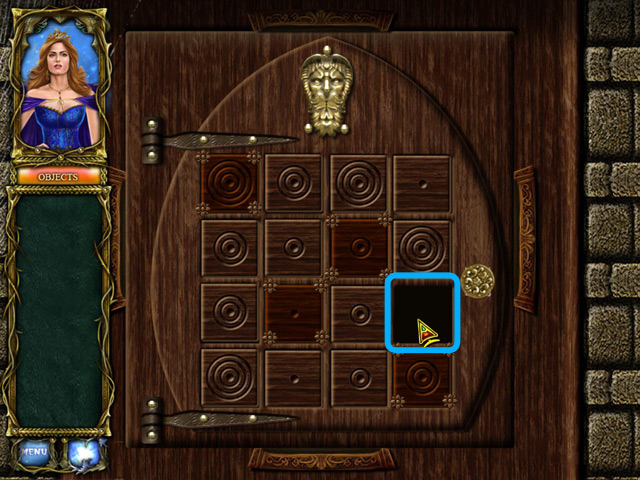
- Solve the puzzle to unlock the panel.
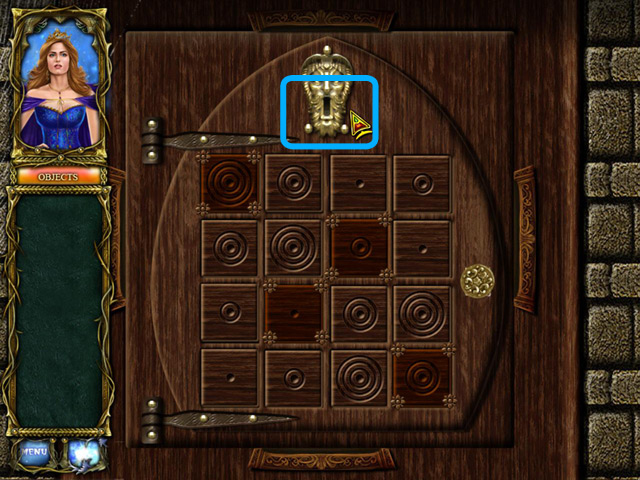
- Touch the keyhole.
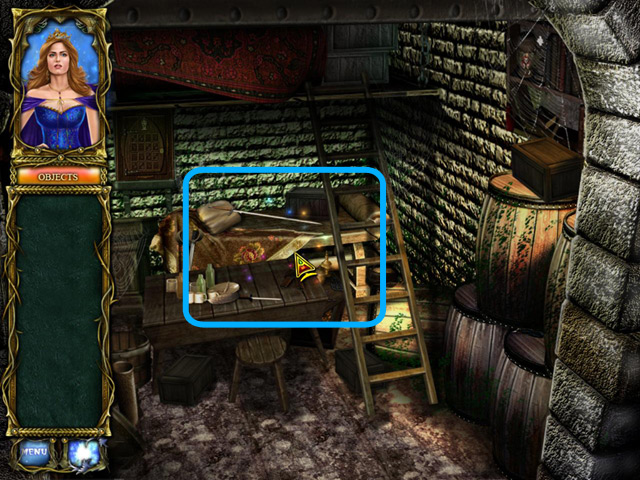
- Enter HO area to locate for listed items.
- Locate all listed items and collect key found.
- Retrieve key from inventory and place into keyhole to unlock the panel.
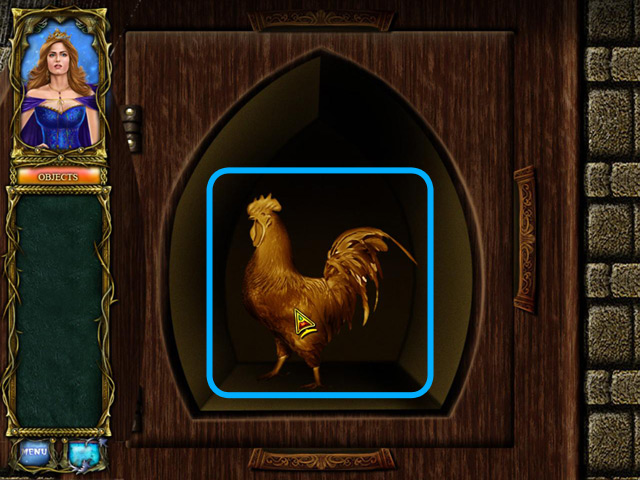
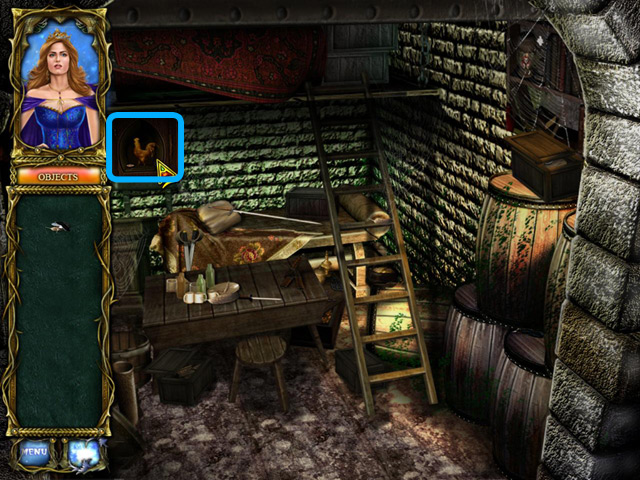
- Touch the rooster.
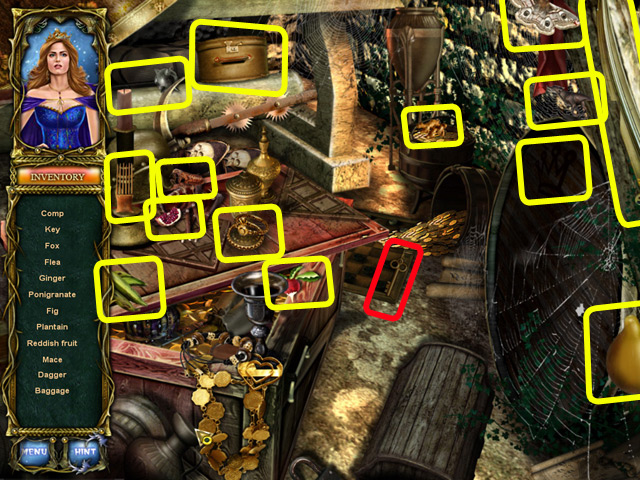
- Enter the HO area to locate items.
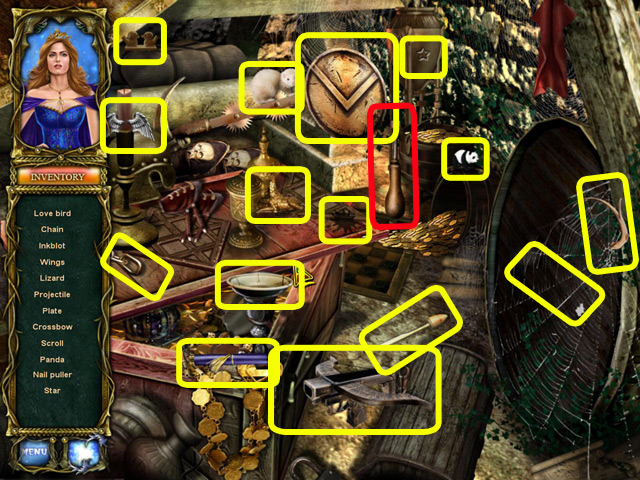
- Locate all listed items and collect screwdriver found.
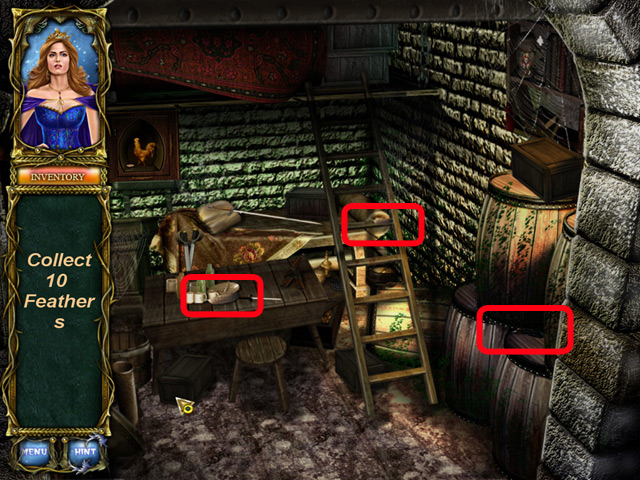
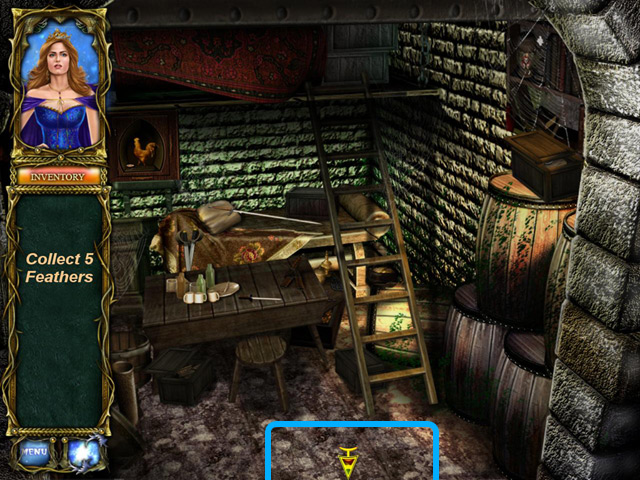
- Collect some of the feathers in the cell.
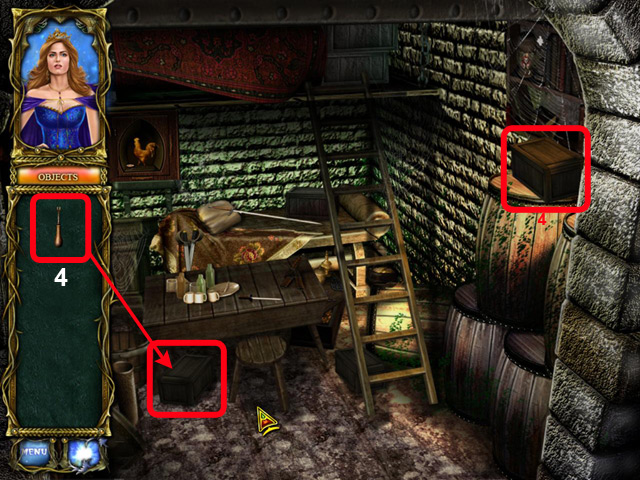
- (4). Use the screwdriver to unlock the locked boxes found in the cell.
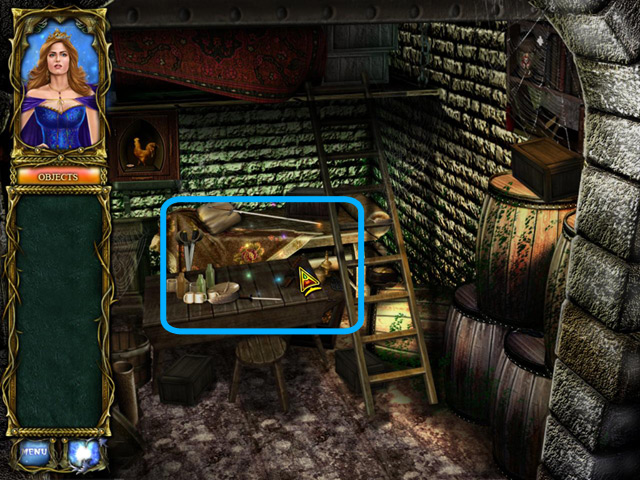
- Return to previous area.
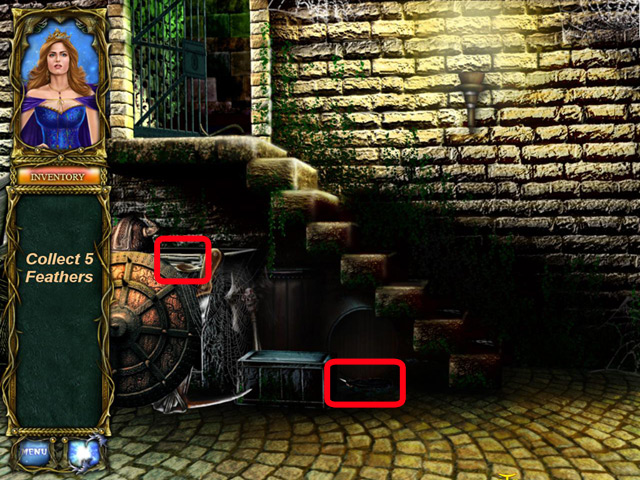
- Locate more feathers in this area.
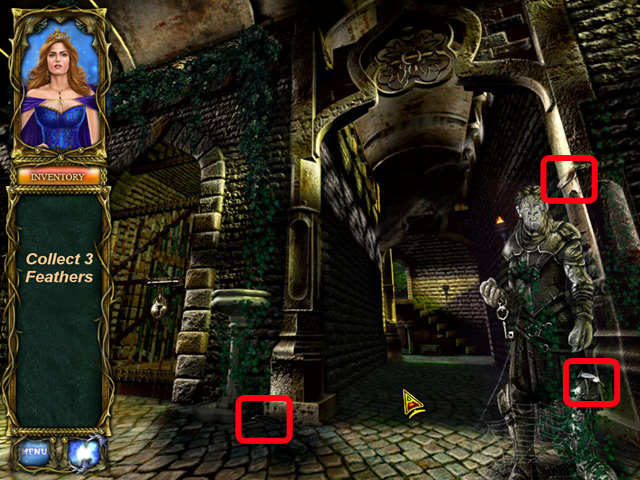
- Locate the remaining feathers found in this area.
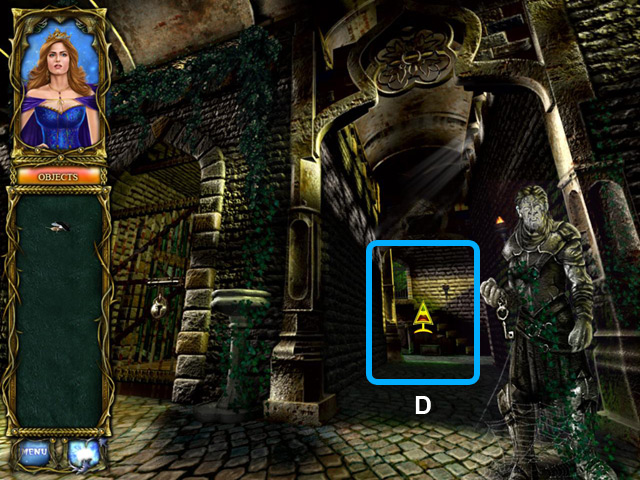
- (D). Return to dungeon area.
- Examine the rooster.
- (5). Replace the feathers onto the rooster.
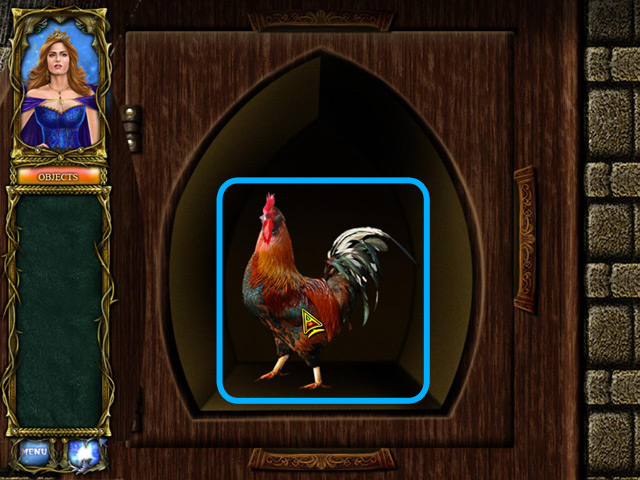
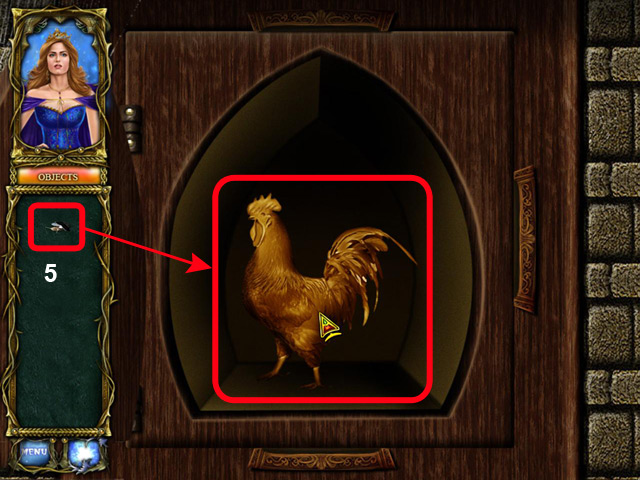
- Collect the rooster.
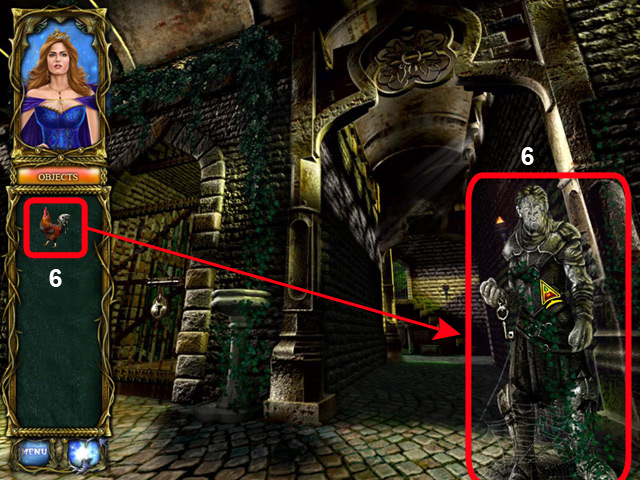
- (6). Retrieve the rooster and place it with the statue of the knight.
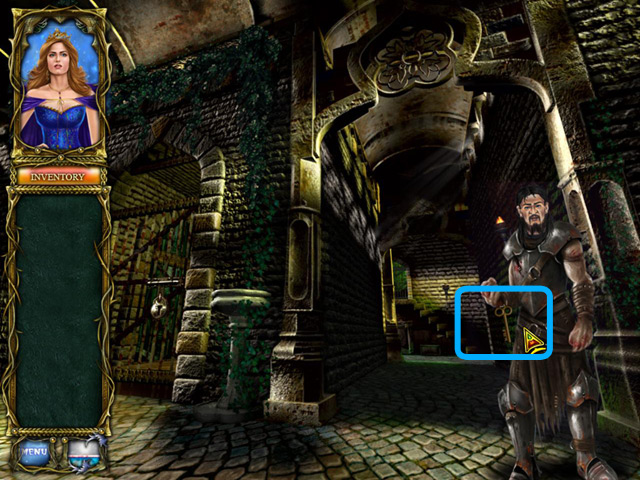
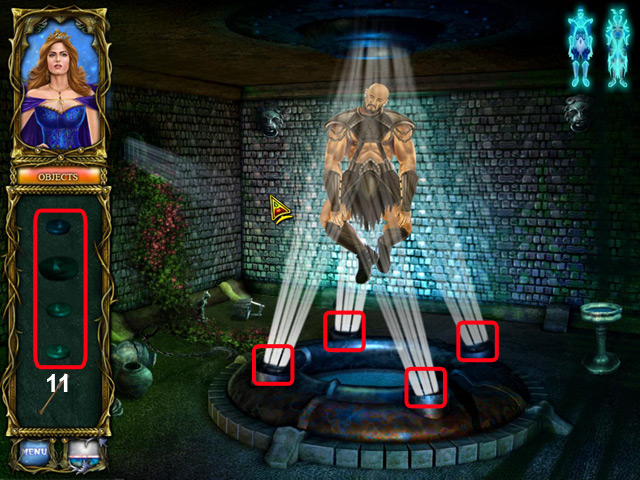
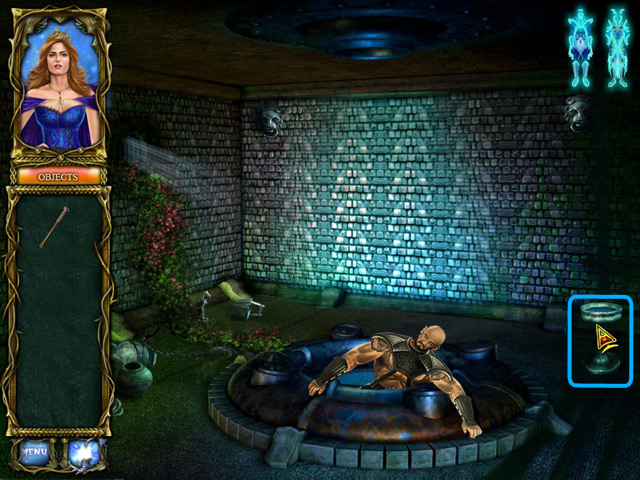
- Retrieve the key from the Knight.

- (7). Retrieve key from inventory and use it to unlock the gate on the left.
- Enter to explore.
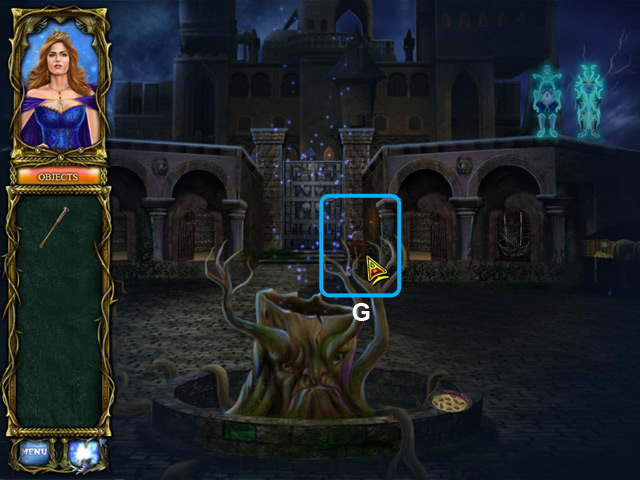
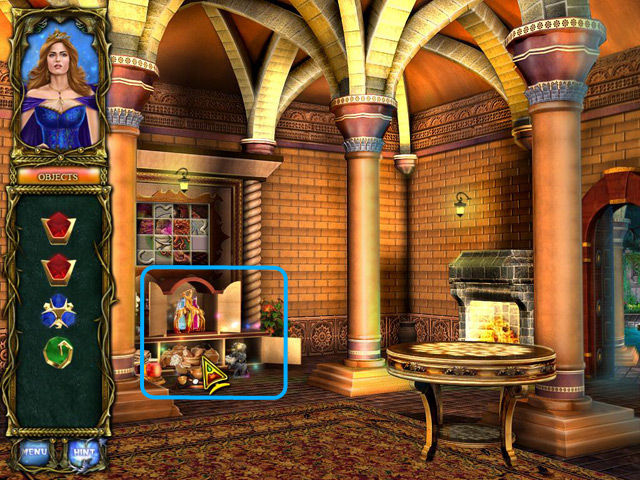
Chapter 4: The Healer and Priest
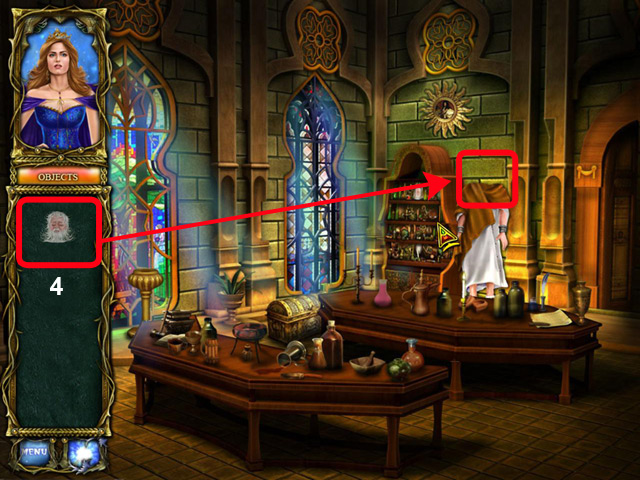
- Go and examine the priest.
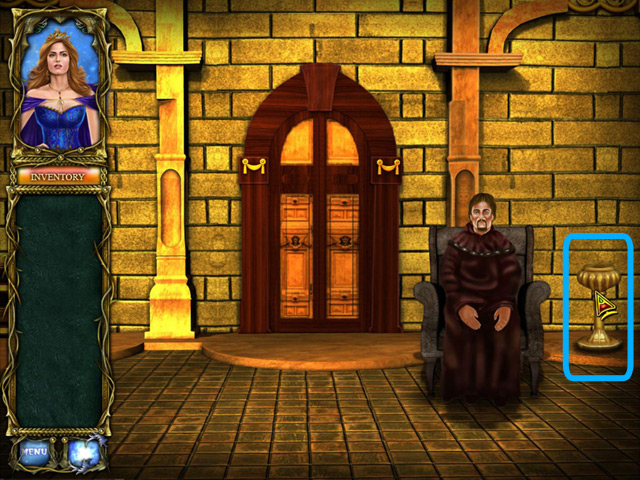
- Touch the stoup.
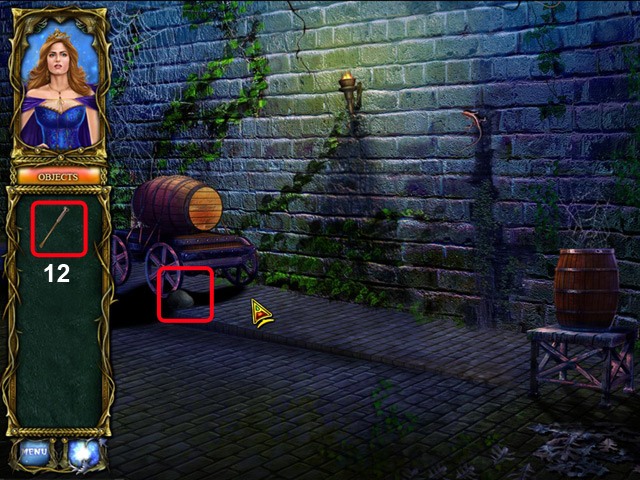
- Enter to explore new location.
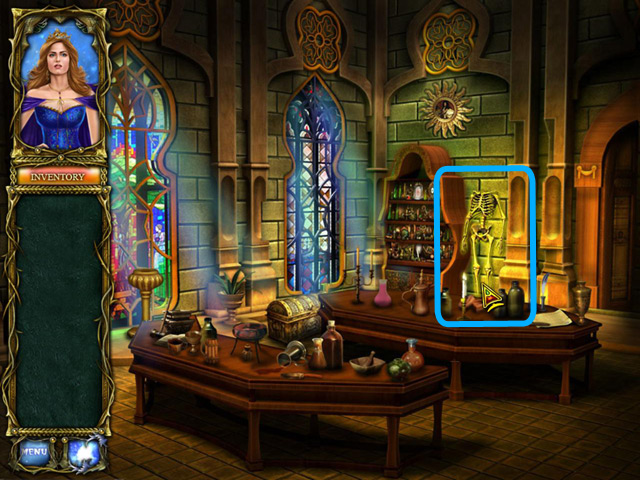
- Explore the skeleton by the wall. It is a bewitched man missing parts of his body.
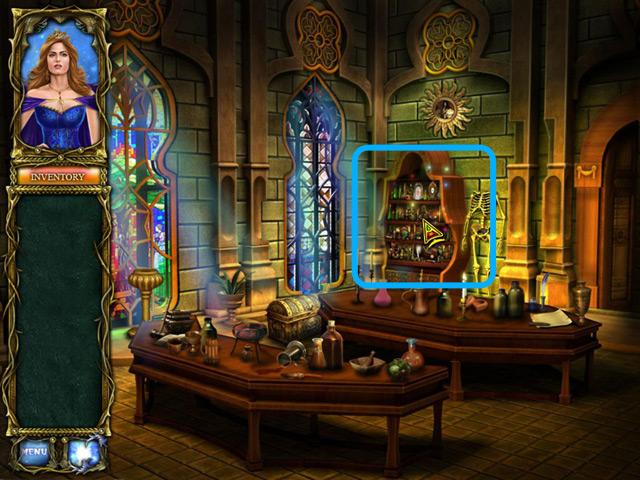
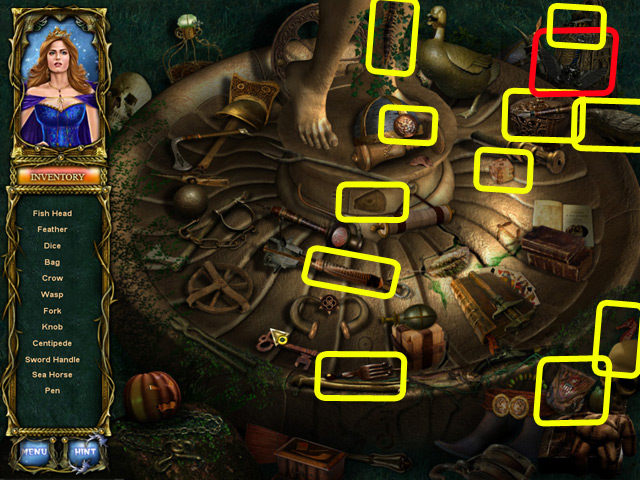
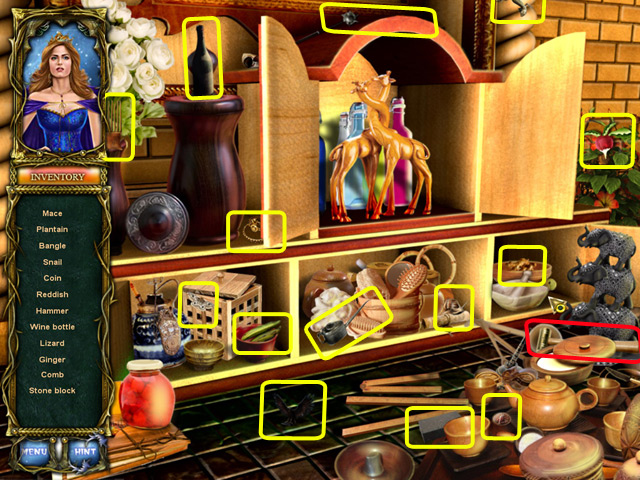
- Enter HO area to locate listed items.
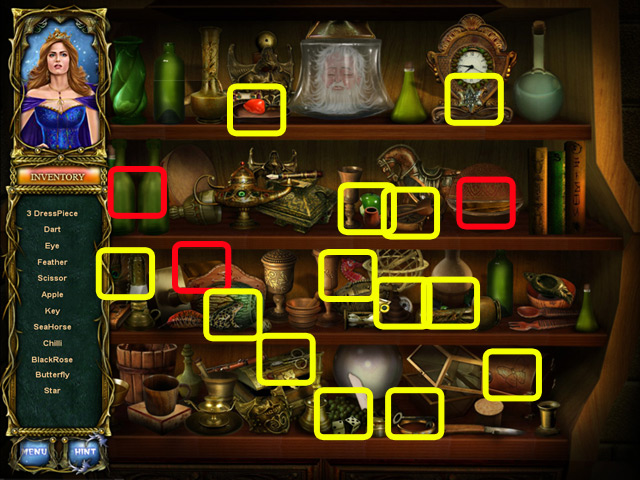
- Locate all the listed items and collect some of the man’s body parts.
- Enter HO area to locate for items.
- Locate all the listed items and some missing body parts of the man.
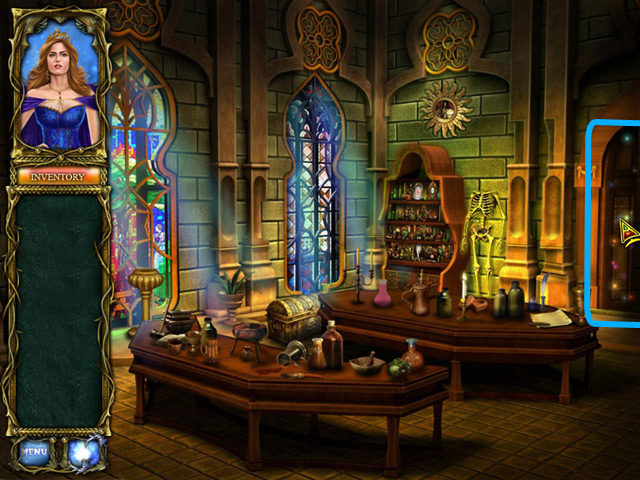
- Return to previous location.

- Enter the chamber on the left again.
- Enter the HO area.
- Locate all the listed items and collect more missing body parts of the man.
- Replace the body parts unto the bewitched skeleton.
- Now touch the bewitched man’s body.
- Enter the new area to explore further.
- Locate all the listed items.
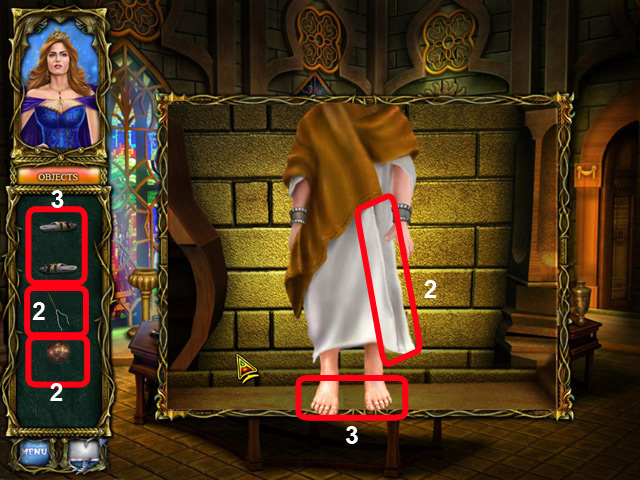
- (2) Use the thread and needle on the robe and (3) place the sandals on the feet.
- Touch the bewitched man. He needs his missing head.
- Examine the cupboard.
- Collect and retrieve the man’s head from the jar.
- (4). Replace the man’s head to his bewitched body.
- Return to the previous area.
- Enter to explore a new area.
- Enter to explore a new area.
- Locate all the listed items.
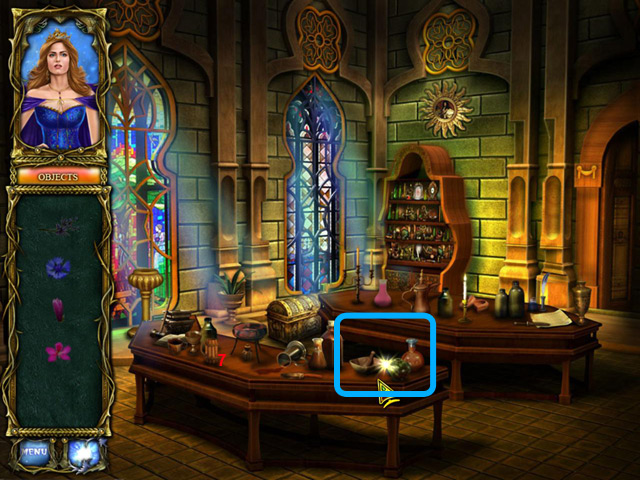
- Examine the blinking area on the table.
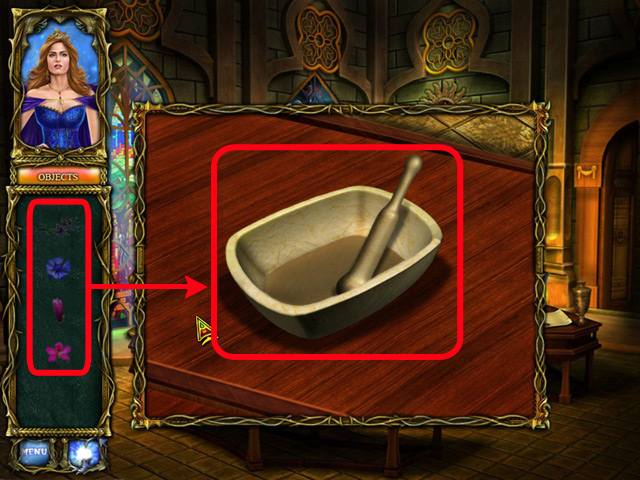
- Place all the flowers in inventory into the mortar and pestle.
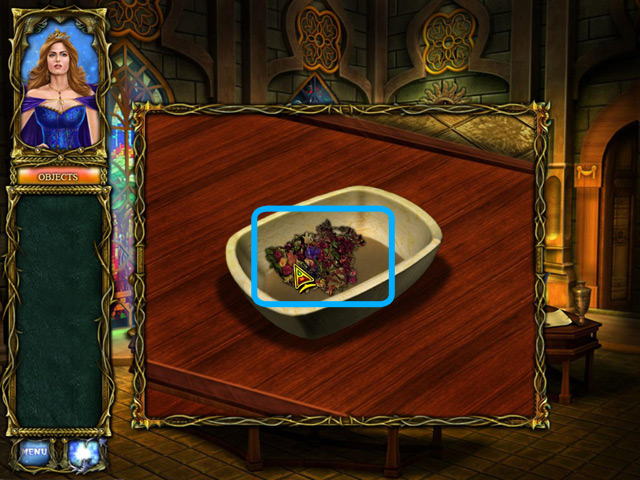
- Collect the crushed blossom mix.

- Examine the blinking pot.

- Place the blossom mix in inventory into the pot.
- Touch the pot.
- Back out to previous area.
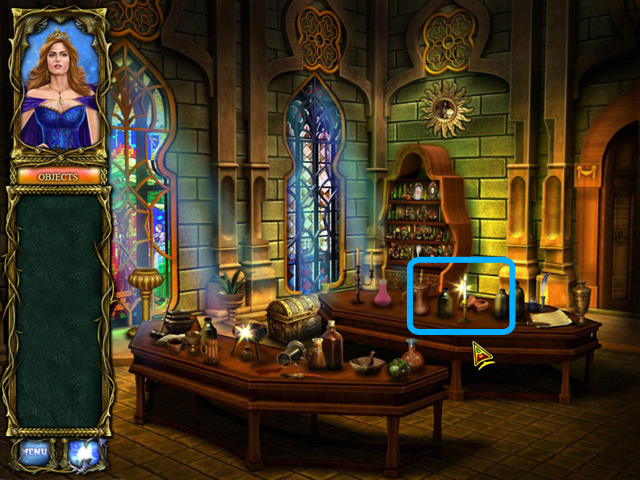
- Retrieve the lighted candle from the table.

- (6). Use the candle to light the burner.
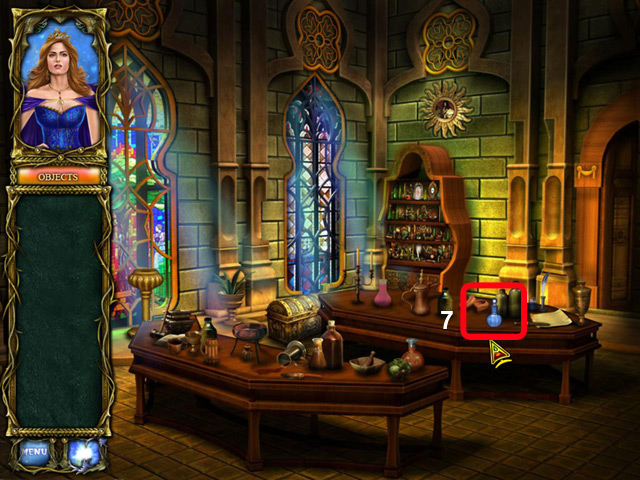
- (7). Retrieve the blue bottle of medicinal potion from the table.
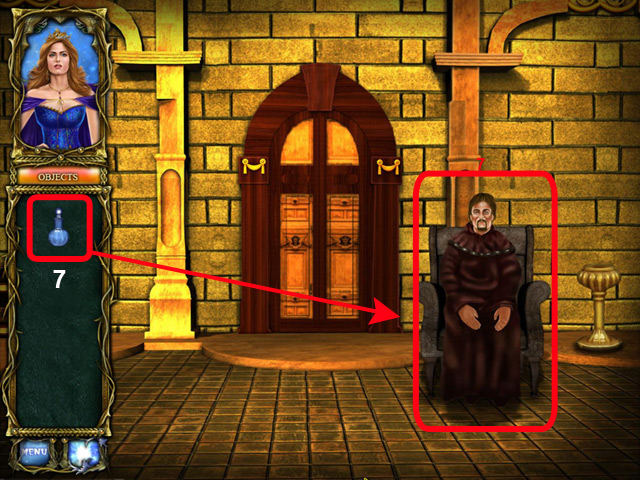
- (7). Feed some of the potion from the bottle to the priest. It shall break the curse he is in.
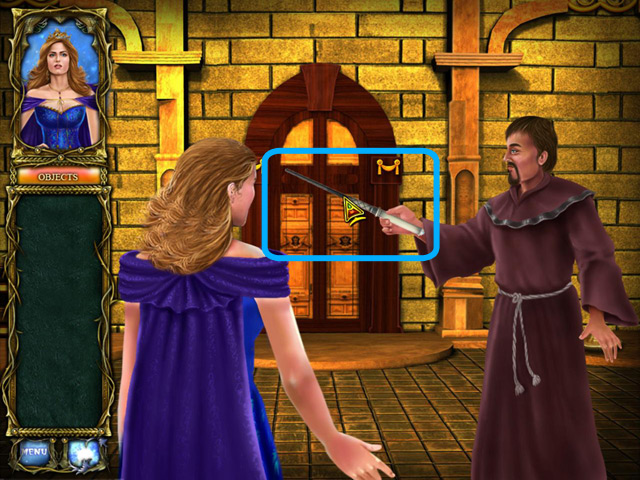
- Retrieve the wand from the priest.
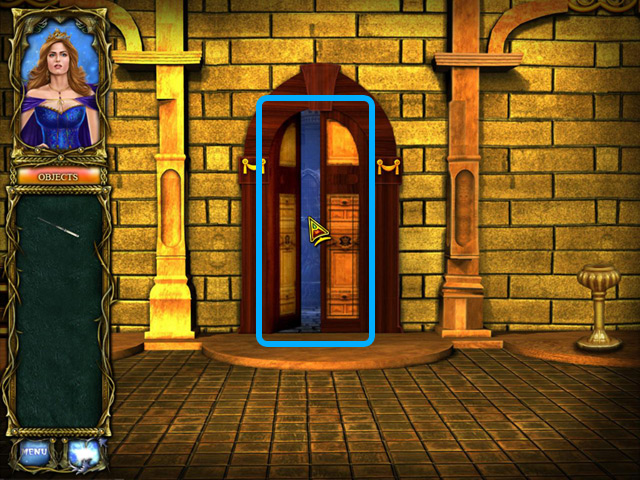
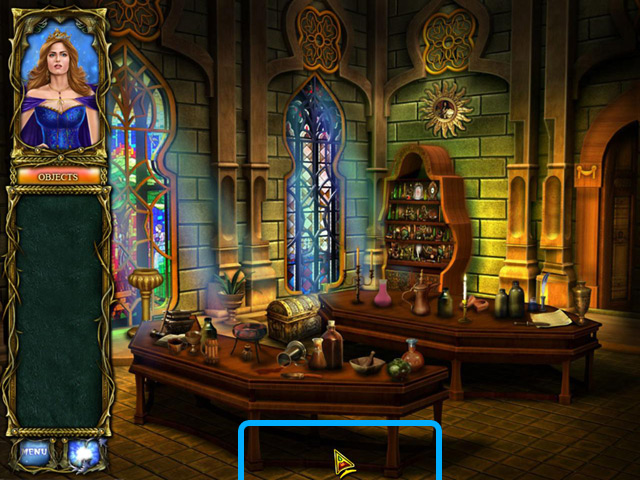
- Enter through the door to examine Black Lake Castle further.
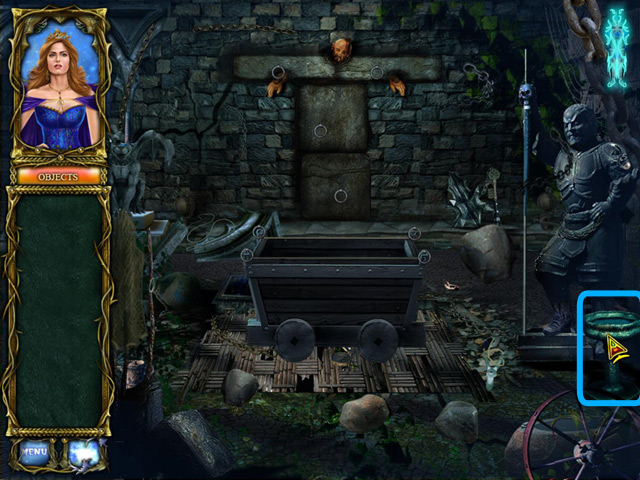
Chapter 5: Four Knights
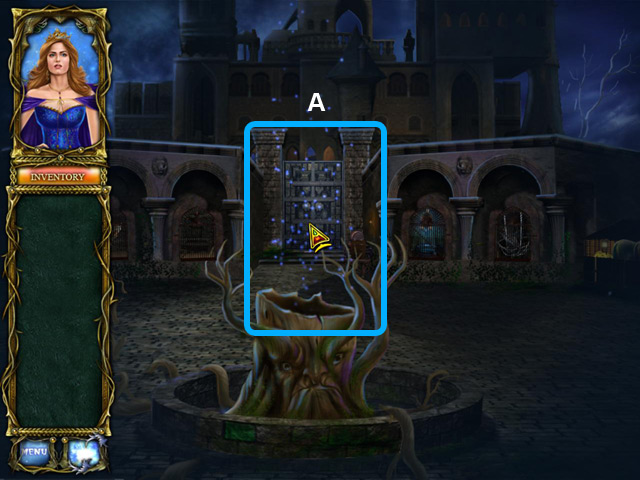
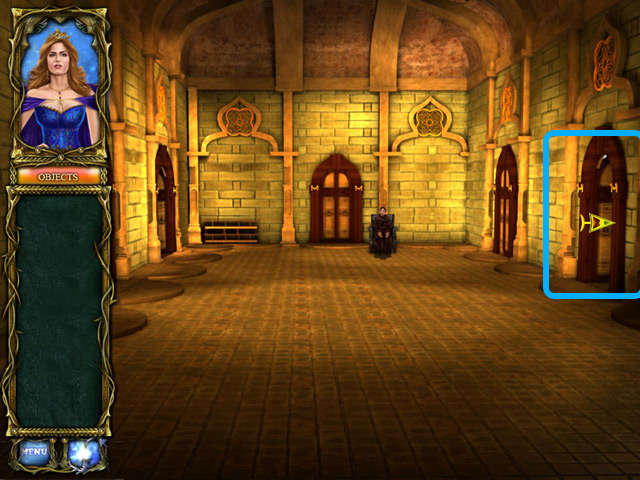
- (A).Head towards the Castle gate. The pointer shall be activated.
- Touch the door to know more.
- (B).Head towards the location indicated by the pointer.
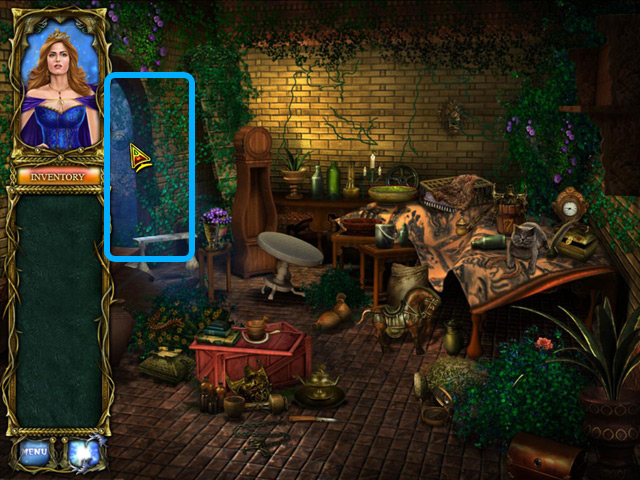
- (1).Touch the locker.
- (2).Explore the marked Area.
- Touch the stoup to discover more.

- (1).Go to the tree trunk in the courtyard and look at one of the brick on the wall surrounding it. It shall activate the puzzle.
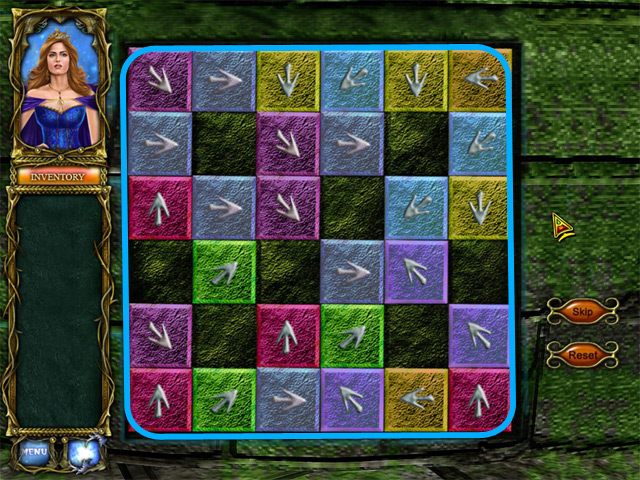
- Touch the puzzle to discover how to solve it.
- (C).Return to the trapped knight.
- Locate all the items listed. You shall also find 8 arrows that is needed for the puzzle.
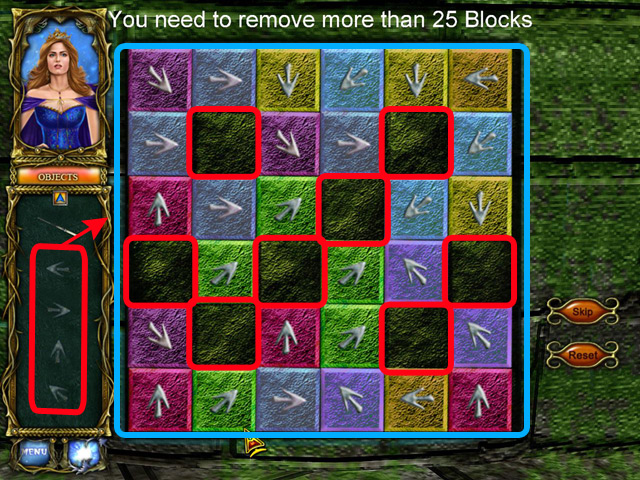
- Place all the arrows that were collected into the empty slots to activate the puzzle.
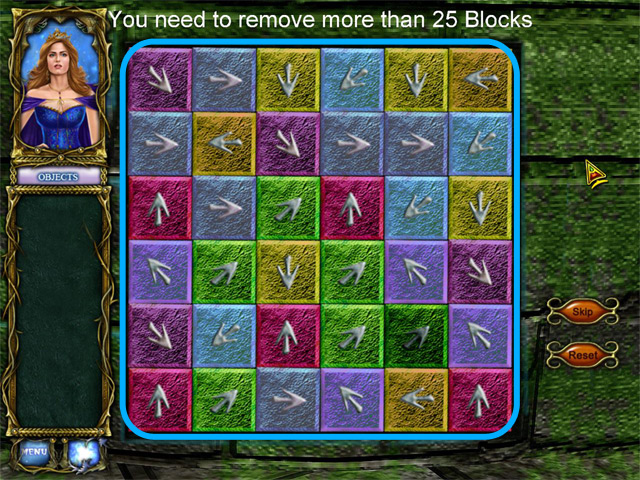
- To solve this puzzle, 25 bricks need to be removed.

- Touch the stoup to discover more information.
- (D).Move towards the wall beside the Castle’s gate.
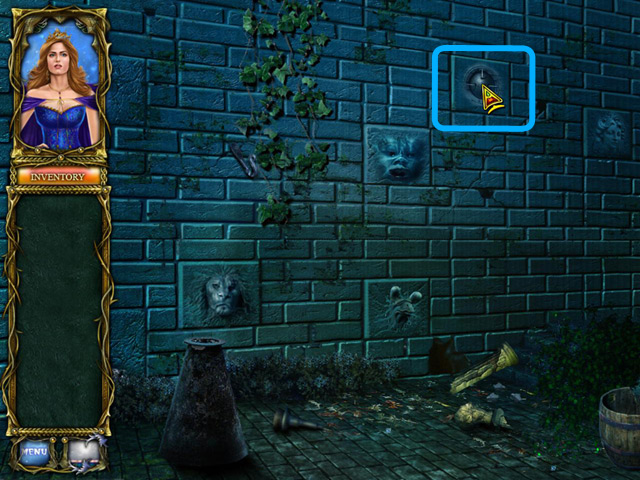
- Touch the marked ball on the wall that is located at the highest point from the rest to discover more.
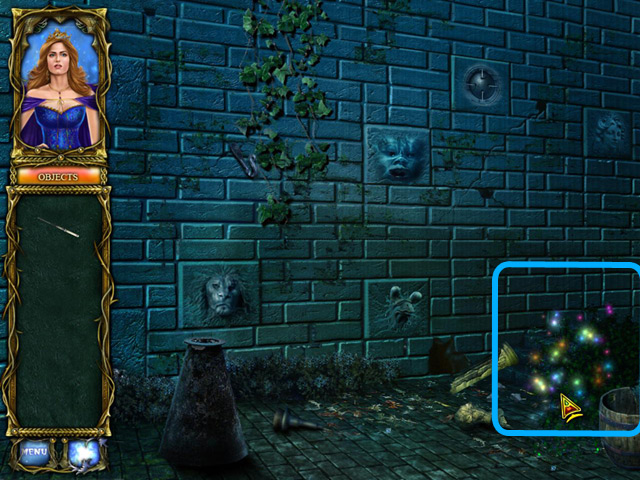
- Enter the Hidden Object area at the bottom of this wall to search for items.

- Collect all the items listed and retrieve an axe as part of your inventory.
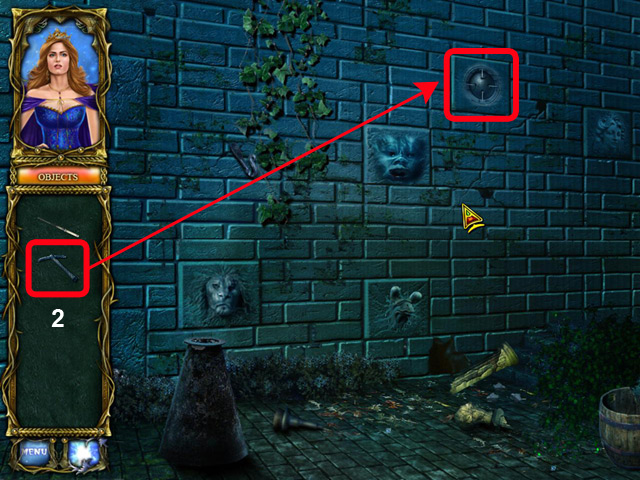
- (2). Retrieve the axe from inventory and place it at the marked spot on the wall.
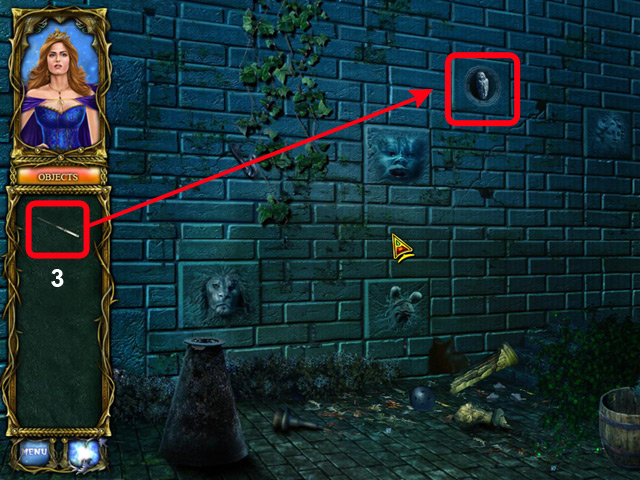
- (3). Now pick up the wand from inventory and use it against the owl within the caveat.
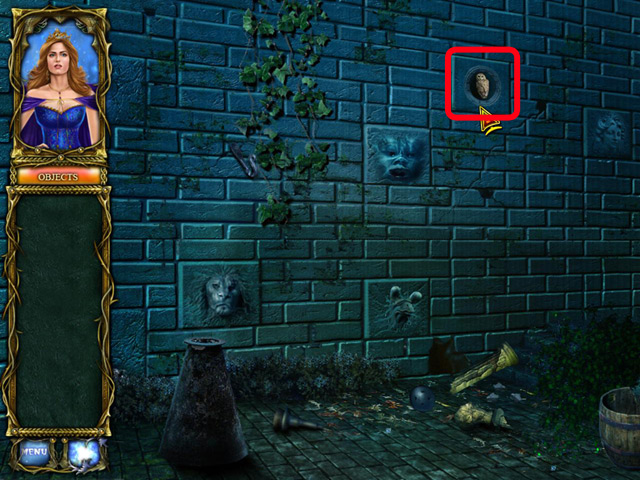
- Retrieved the revived owl so that it can be used to return the soul of the knight.
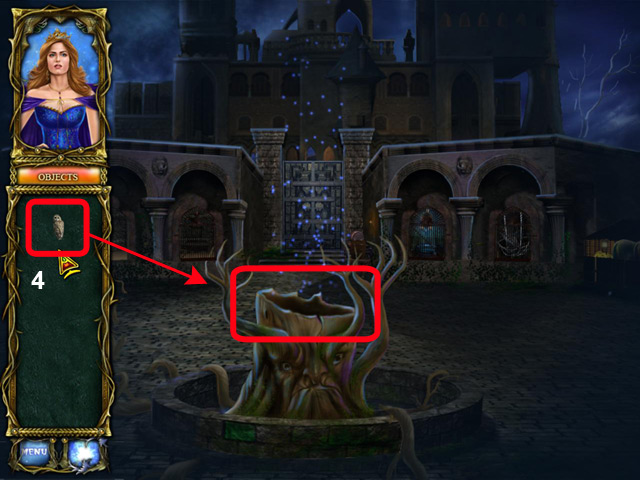
- (4). Remove the owl from inventory and place it within the Tree of Soul to free the trapped knight’s soul.
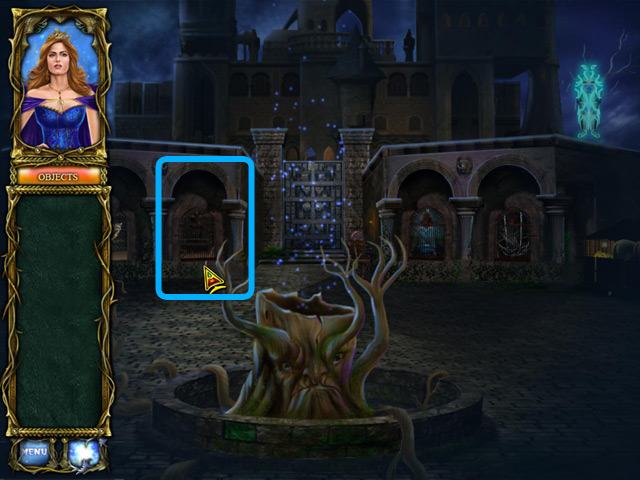
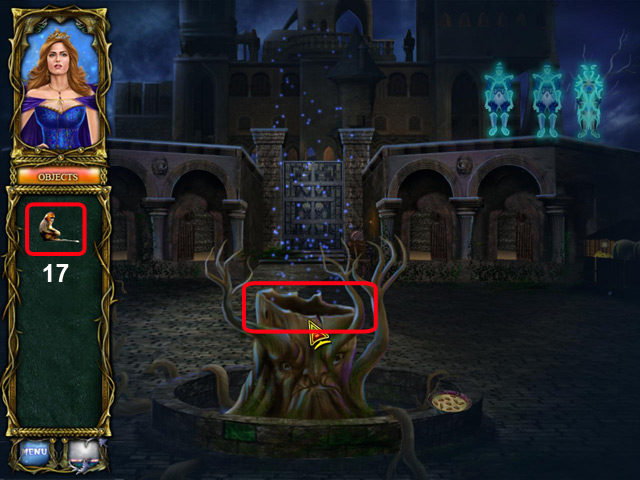
- (E).Enter a new location to explore the area.
- (1).Touch the locker.
- (2).Explore the marked Area.
- Touch the stoup to discover more.
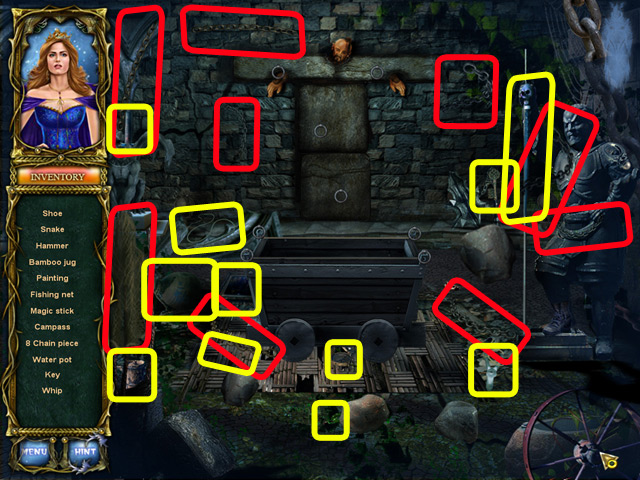
- Locate all the items listed. Retrieved a fishing net and 8 pieces of chain.
- (5). Look at the rings around this area, place all the missing chain that was collected at these rings.
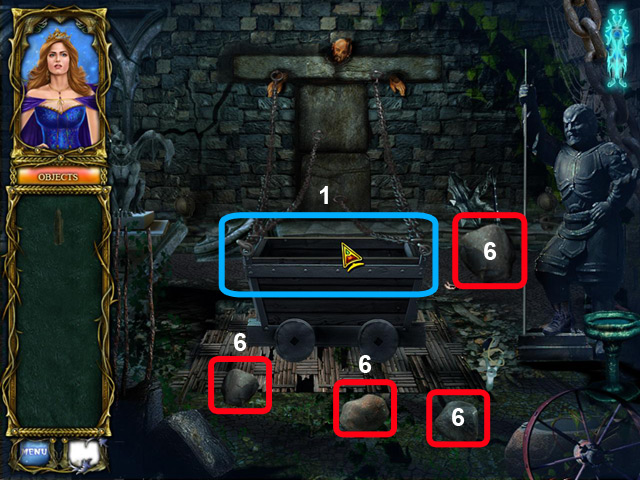
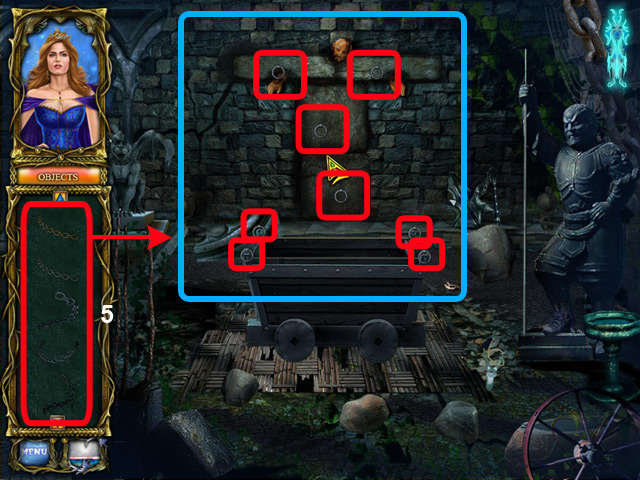
- (1). Touch the cart to discover some information.
- (6).Collect all the stones found around the cart.
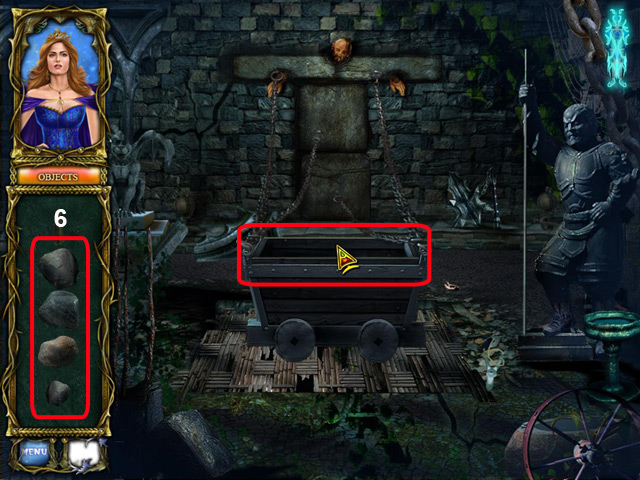
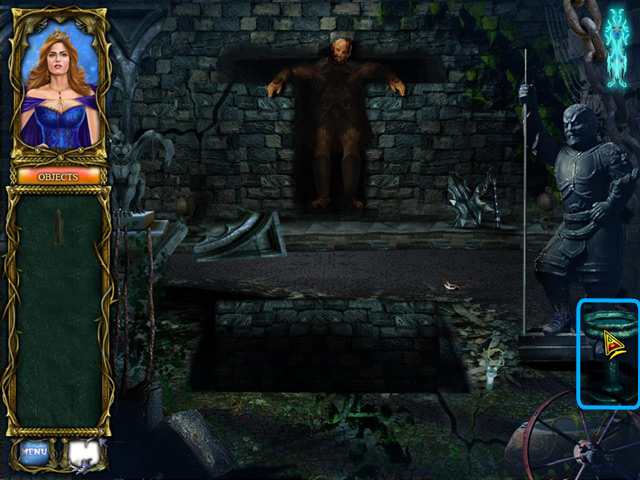
- (6). Now place all the stones that was collected within the cart to release the man from the wall.
- Touch the stoup to find out more information.
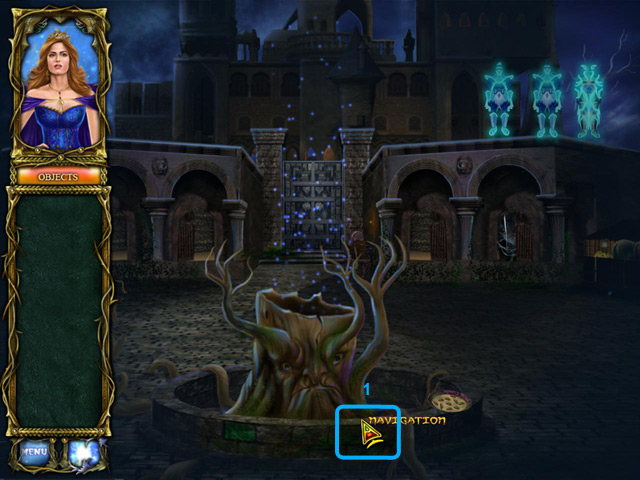
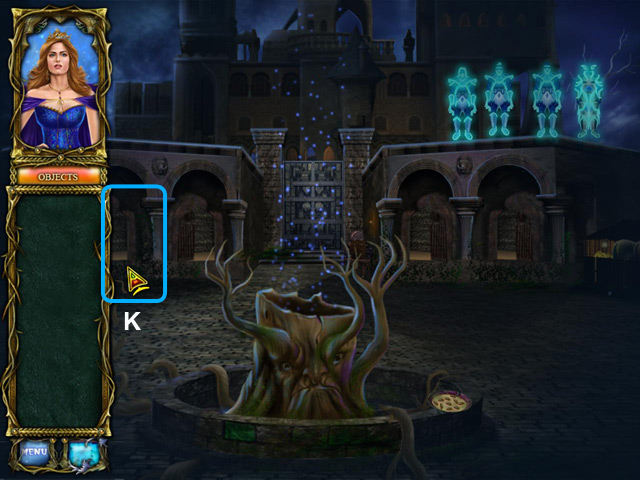
- (1). Now touch one of the roots of the Tree of Soul.
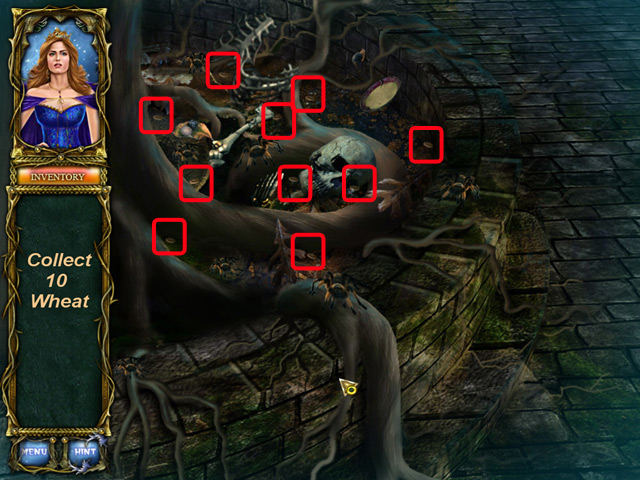
- Collect the wheat and a plate. It shall be useful to capture the crow.
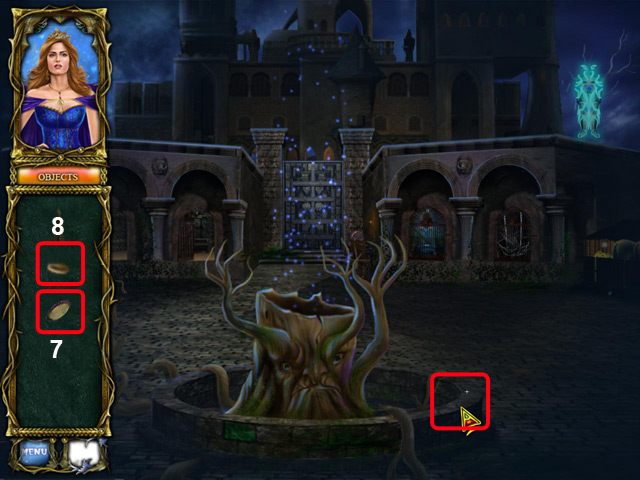
- (7). Retrieve the plate from inventory and place it beside the Tree of Souls and (8) place the collected wheat on the plate.
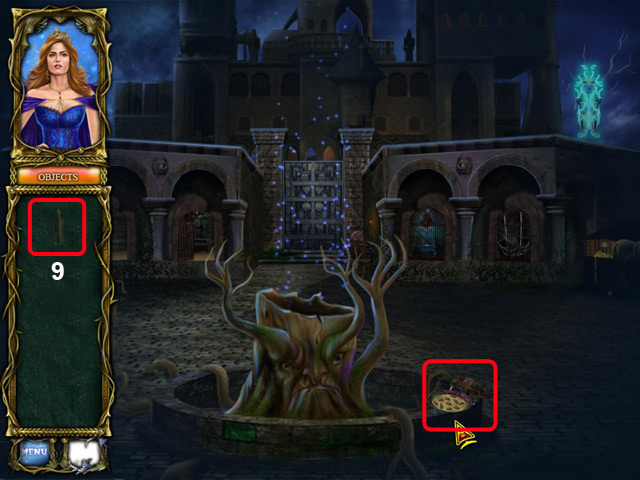
- (9). Now retrieve the fishing net from inventory and onto the crows that are pecking on the plate of wheat.
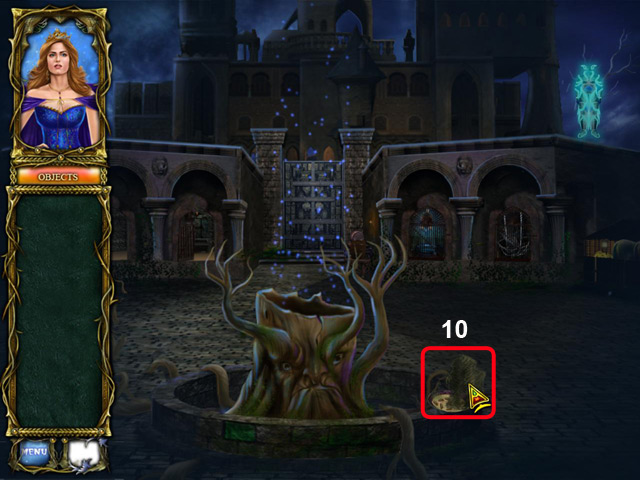
- (10). Retrieve the captured crow.

- Now place the captured crow within the Tree of Souls to release the second knight’s soul.
- (F). Enter a new area to explore.
- (1).Touch the locker.
- (2).Explore the marked Area.

- Touch the stoup for more information.
- Enter the Hidden Object area to look for items.
- Locate all the items listed and retrieve 4 metal covers. These shall be useful to help release a trapped knight.
- (11). Now retrieve the metal caps from inventory and place them onto light to release the trapped knight from the rays.
- Touch the stoup to find out how to save the knight.
- (G). Enter a new area beside the Castle Gate.
- (12). Pick the rod from inventory and use it to remove the rock below the wheel of the cart.

- Move in close to inspect the broken drum.
- (13). Catch the turtle from escaping.
- (13). Remove the turtle from inventory and place it within the Tree of Souls to release the third knight’s soul.
- (H). Enter a new area to explore.
- (1).Touch the locker.
- (2).Explore the marked Area.
- Touch the stoup to discover more.
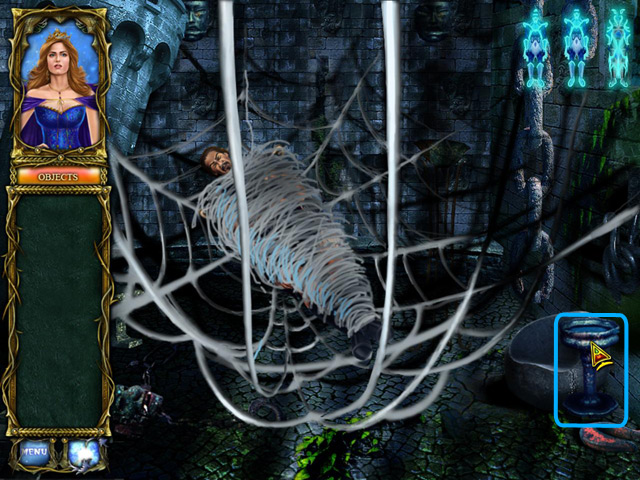
- (1). Enter the Hidden Object area by the roots of the Tree of Souls to locate items.
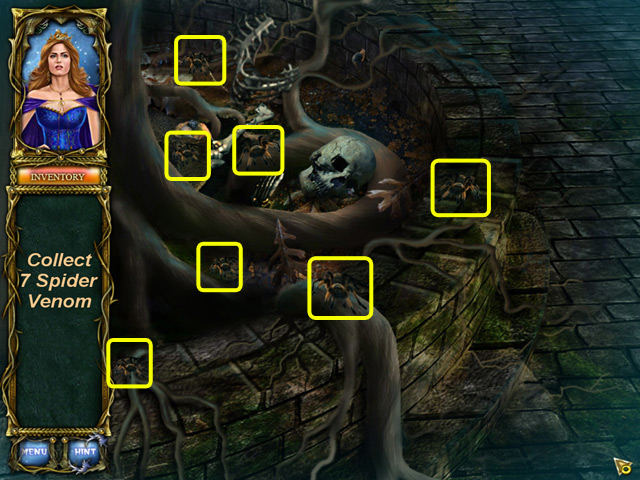
- Collect all the listed items.

- (14). Remove the spiders’ venoms and place it onto the web encircling the trapped knight.
- Now touch the stoup to find out how to revive the downed knight.
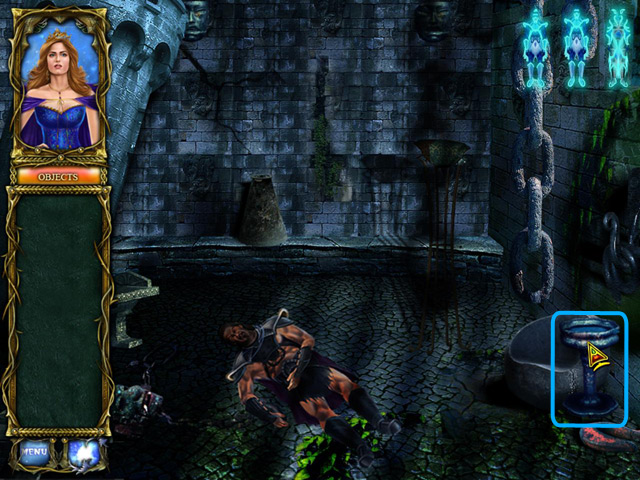
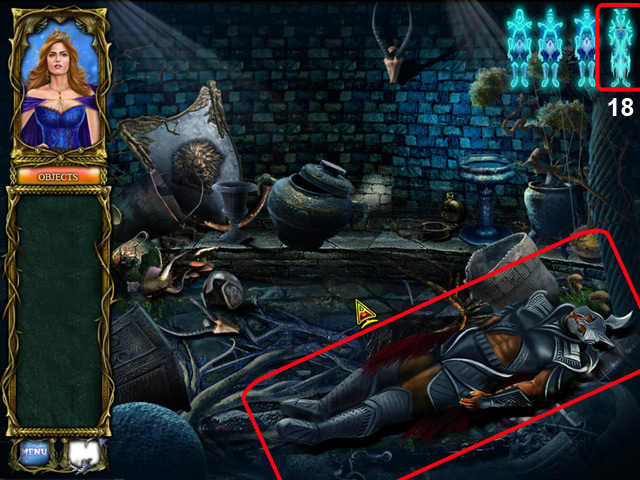
- (I). Enter a new area to explore indicate by the twinkling star.

- Discover who is hiding within that pile of hay.
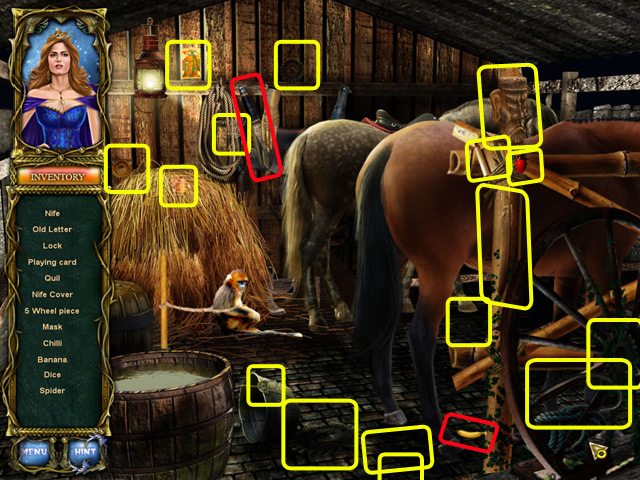
- Collect all the listed items and retrieved a banana into the inventory.
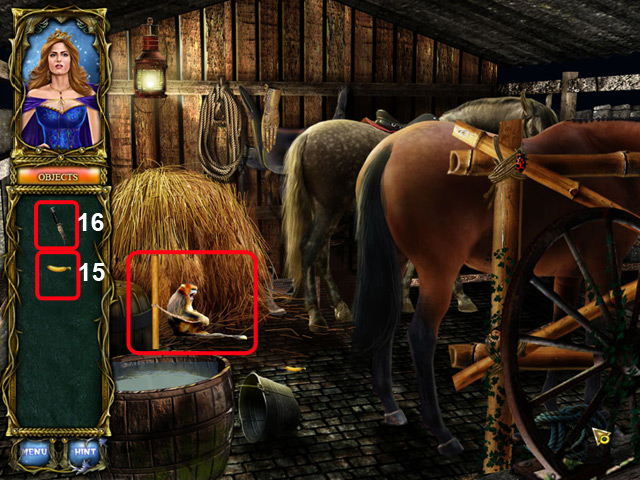
- (15). Give the banana in inventory to the monkey and (16) use the knife to cut the rope tied around the monkey’s wrist.
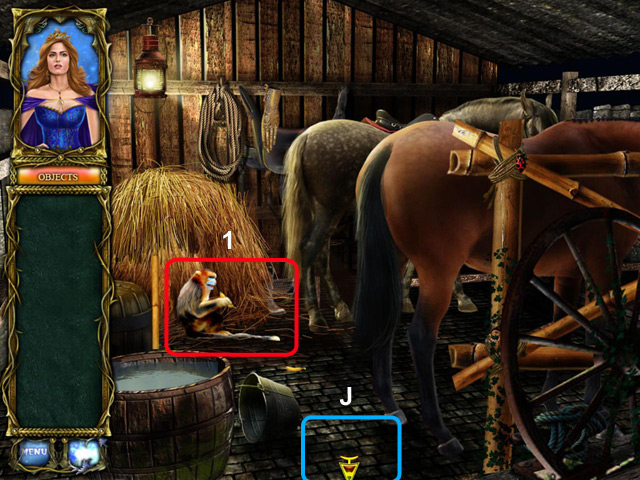
- (1). Retrieve the monkey.
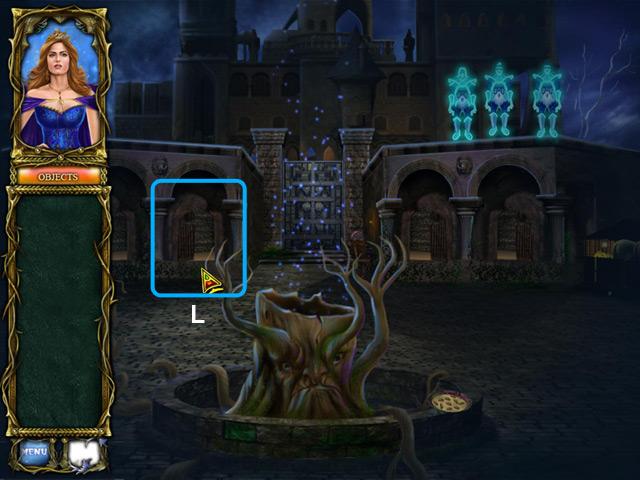
- (J). Leave the area back to courtyard.
- (17). Place the monkey within the Tree of Souls to release the last knight’s soul.
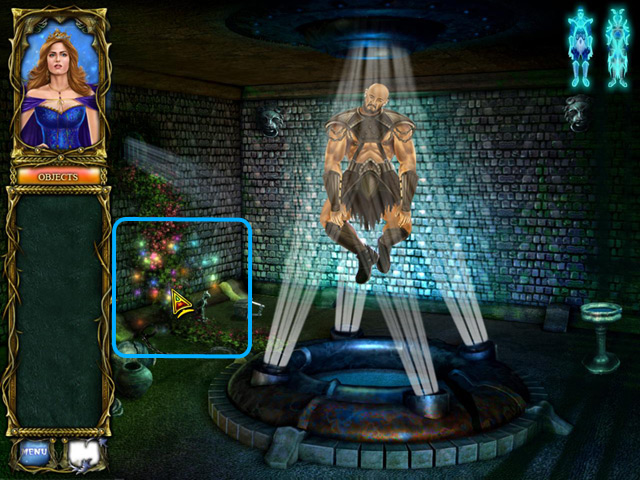
- (K). Now follow the blinking star and enter the first knight’s chamber.
- (18). Remove one of the released souls and place it onto the body of the knight.
- (L). Now enter the second knight’s chamber.
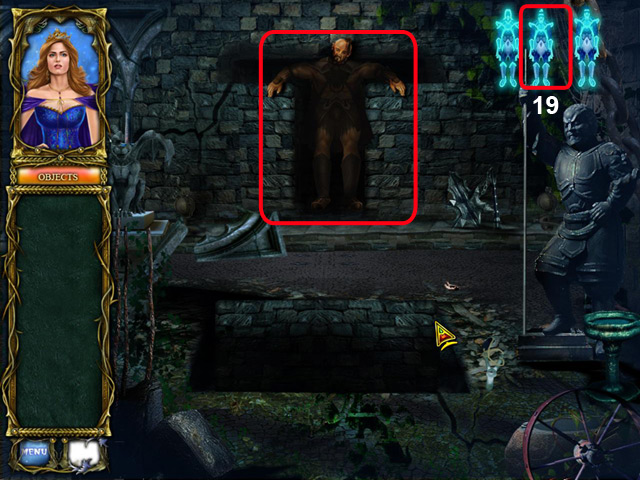
- (19). Remove and place one of the released souls onto the knight’s body to revive him.
- (M). Now enter the third knight’s chamber.
- (20). Placed one of the released souls onto the knight’s inert body to revive him.
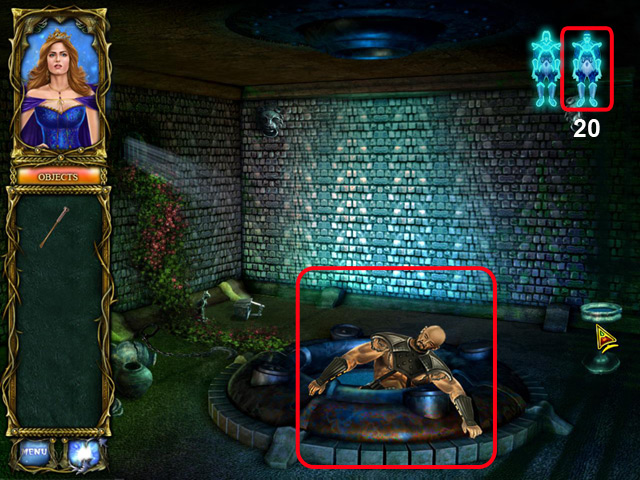
- (N). Move to the final knight’s chamber.
- (21). Place the last of the released soul into the final knight’s body to revive him.
- Ask the soldiers for more information.
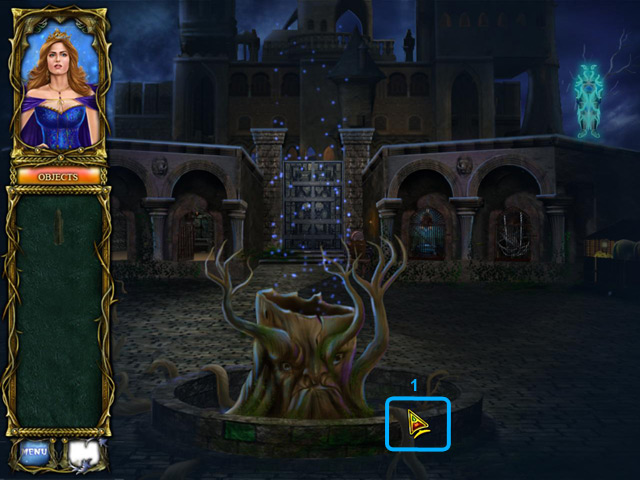
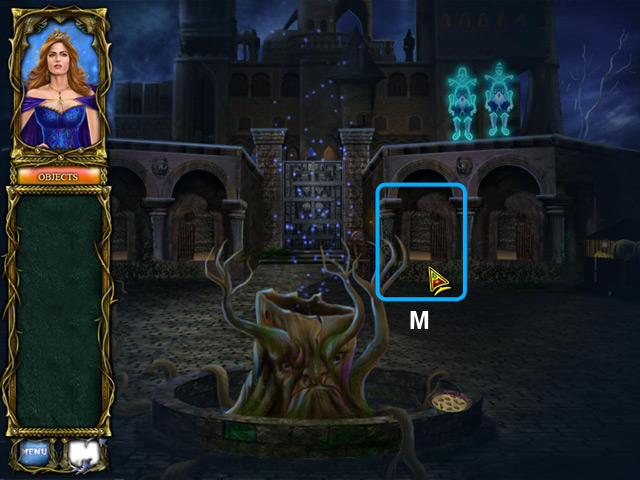
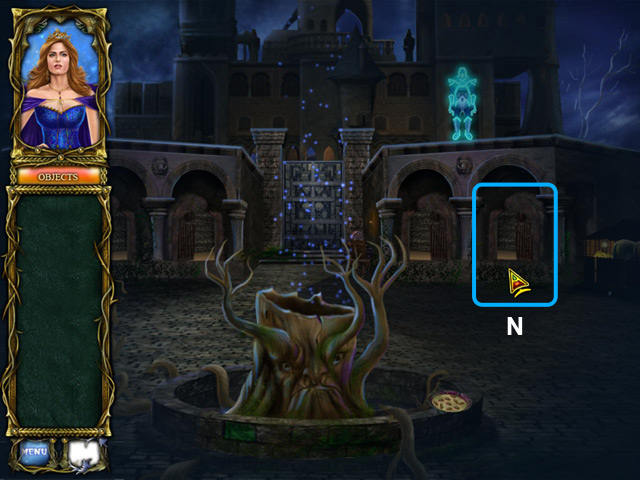
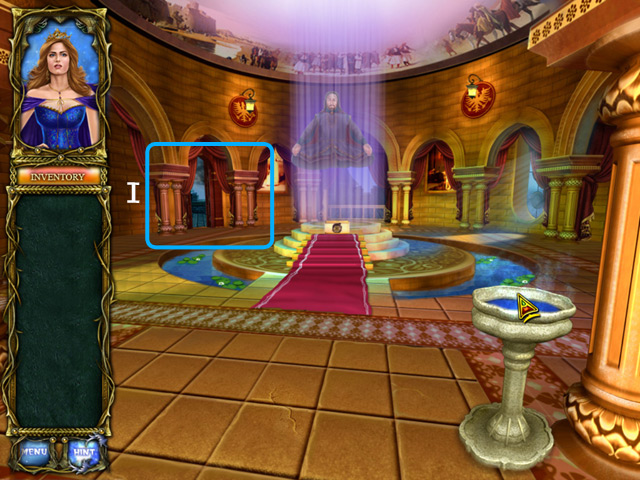
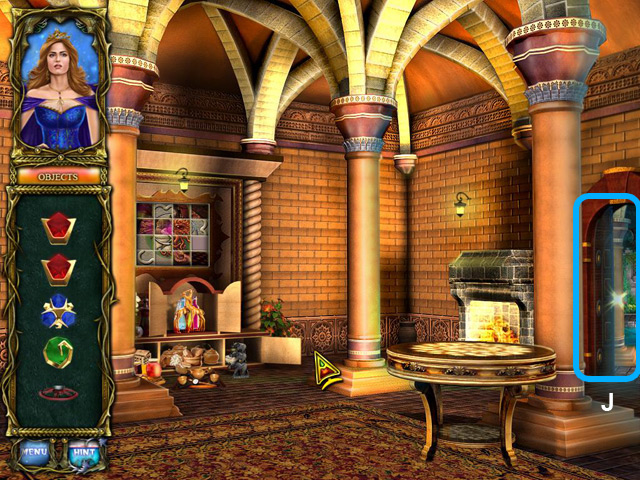
- (O). Now enter the Castle’s compound and into the illuminated hallways ahead.
Chapter 6: The Astrologer
- (A). Walk towards the lighted pedestal area and touch the stoup to discover more.
- (B). Enter to explore a new area.
- Enter the Hidden Object area to locate listed items.
- Locate all items listed and collect a wooden ball into the inventory.
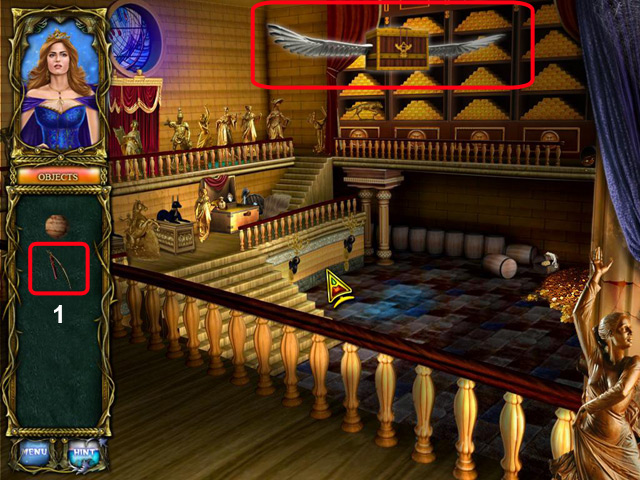
- Touch the floating chest.
- (C). Explore the new area.
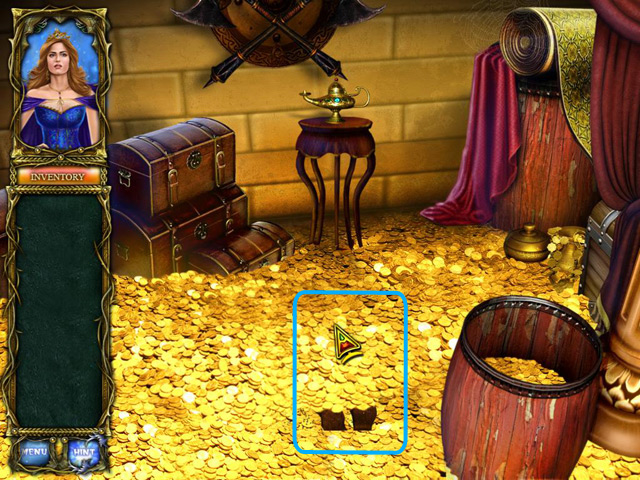
- Examine the gold coins closely.
- (D). Explore a new area.
- Enter the Hidden Object area to locate all the listed items.

- Locate all listed items and collect the bow and some arrows into the inventory.
- (1). Use the bow and arrows found in inventory against the flying chest.
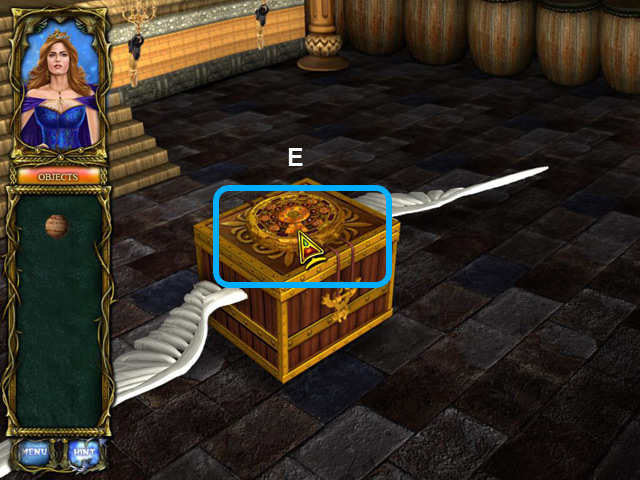
- (E). Examine the chest; it will trigger the puzzle to unlock the chest.
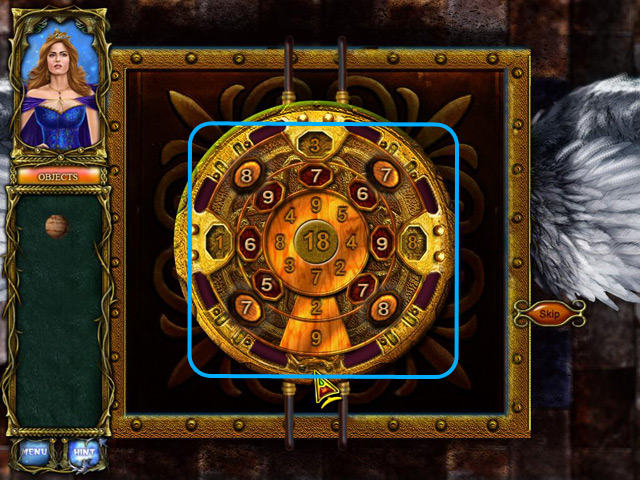
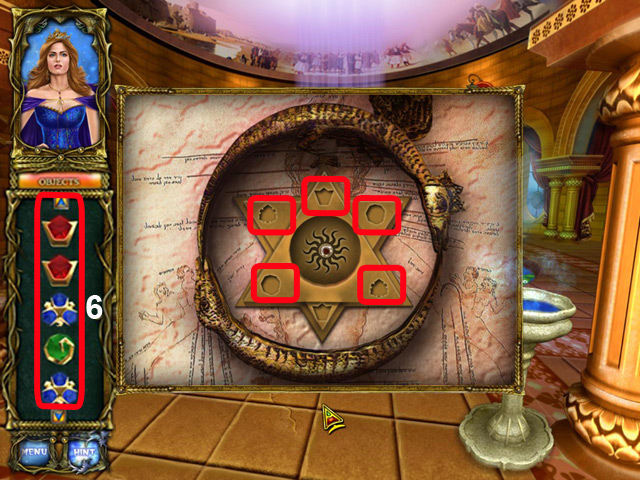
- Solve the puzzle by swapping the numbers within the circles. Each diagonal lines form must totaled 18.
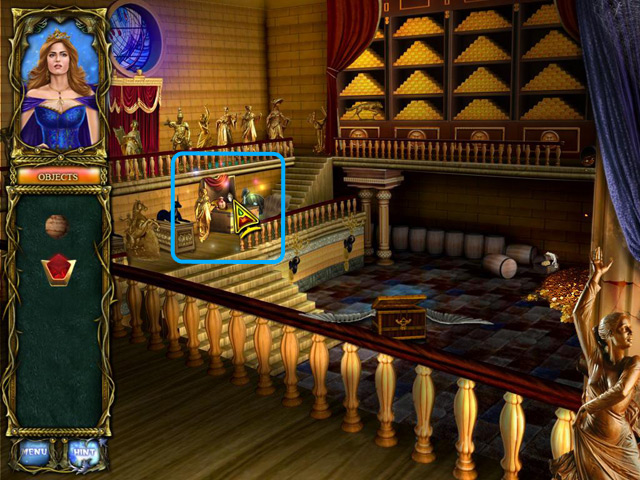
- Enter the Hidden Object area to locate listed items.
- Locate all the listed items and retrieve the shovel into inventory. It will come in handy later.
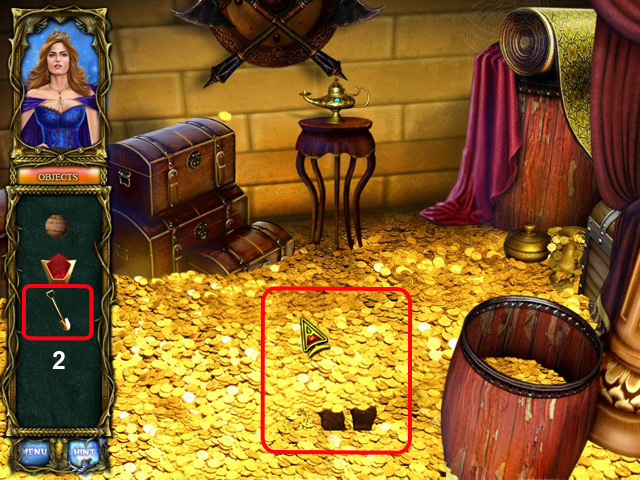
- (2). Use the shovel, found in inventory to scoop the gold into the barrel nearby.
- Enter the Hidden Object area to locate listed items.
- Locate all the listed items and collect 3 carved reliefs into the inventory.
- (F). Explore the twinkling area.
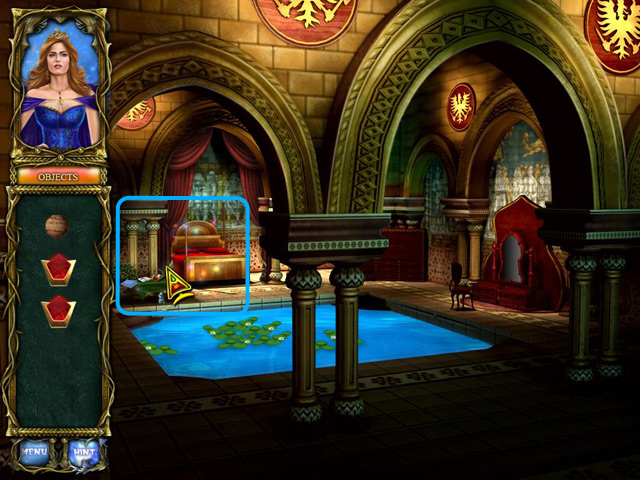
- (G). Examine the urn on the dresser closer.
- (3). Retrieve the 3 carved reliefs from inventory and placed them into the slots found on the urn.
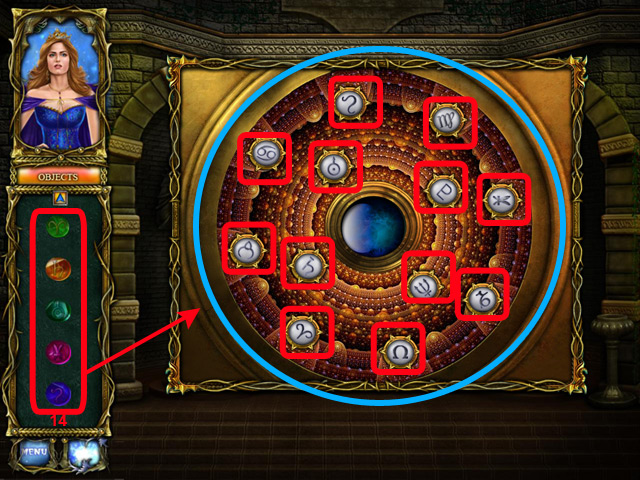
- (H).Examine the twinkling area beside the mirror.
- (2).The panels seem to be missing a wooden ball. Retrieve the one in inventory and replace within the panels.
- Examine the panel above the mirror closer to discover how the puzzle works.
- Discover the sequence and pull the chains attached to the corresponding colored crystals accordingly.
- (I). Explore a new area.
- Enter the Hidden Object area to locate all the listed items.
- Locate all the listed items and retrieve a valve knob into the inventory.
- (J).Explore the twinkling area.
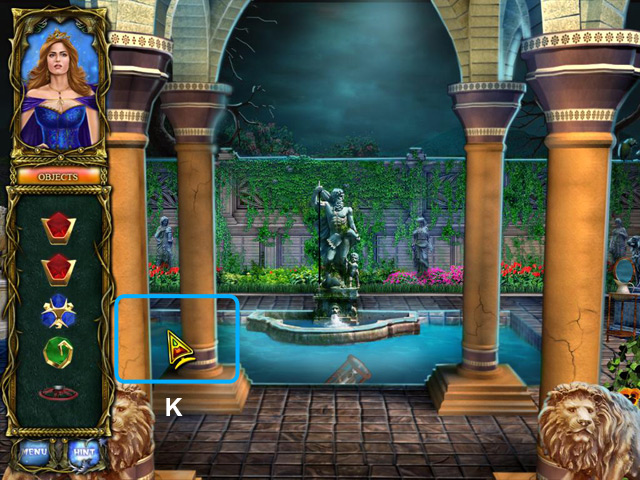
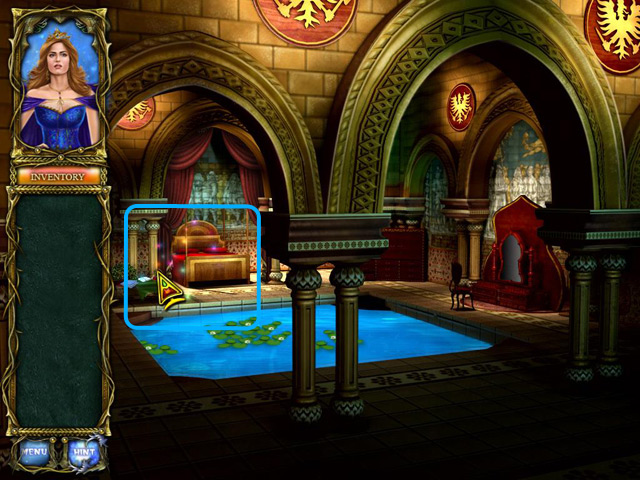
- (k).Explore the area beside the pool.
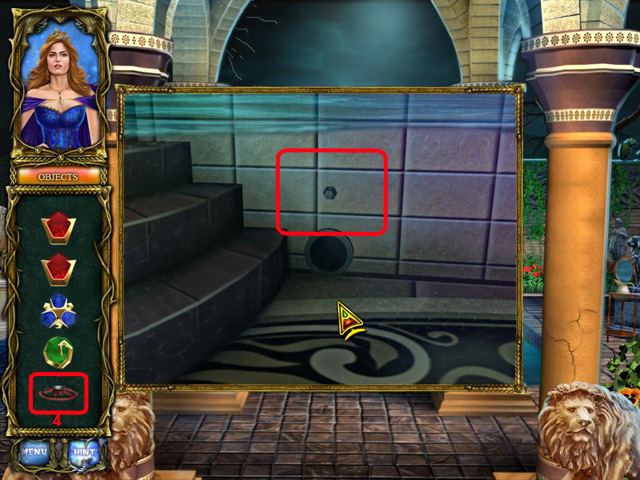
- (4). Retrieve the water valve from inventory and repair to the pipes in the pool. It will drain the pool for further explorations.
- Examine the glass jar closely.
- Enter the Hidden Object area to locate listed items.
- Locate all the listed items and retrieve a hammer into the inventory.
- (5). Use the hammer in the inventory to break the glass jar.
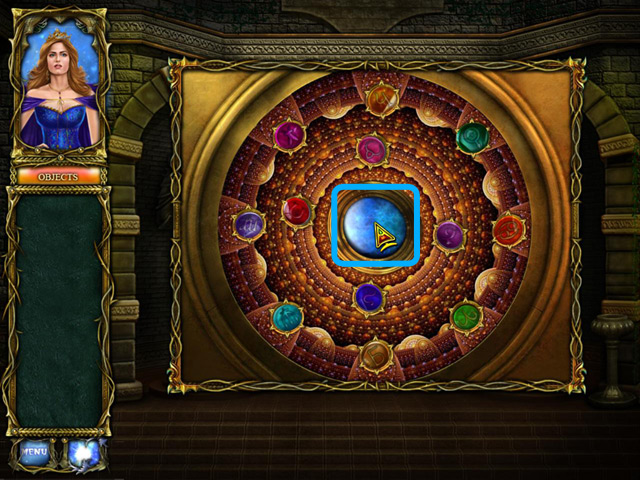
- Examine the painting closely to solve the puzzle.
- Replace all the crystals from inventory to its corresponding slots.
- (6). Replace all the crystals from inventory to its corresponding slots.
Chapter 7: The Myth Tree
- (A). Explore the new location.
- Touch to the stoup for further information.

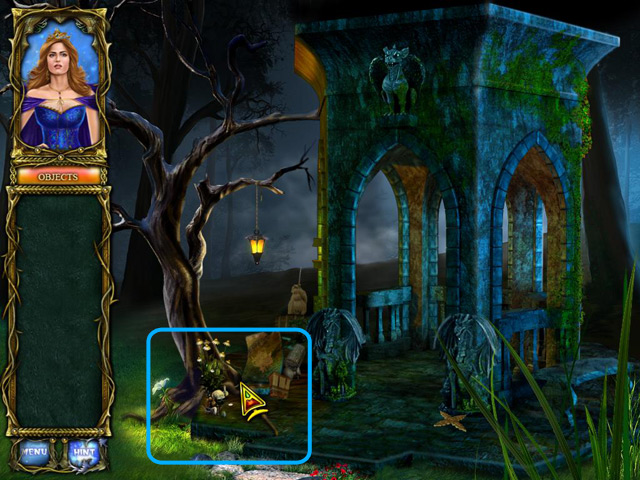
- (B). Explore the ruins towards the right.

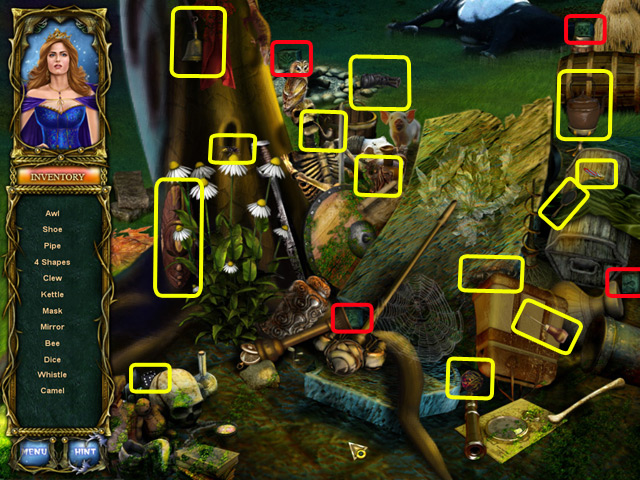
- Enter to Hidden Objects area to locate for listed items.
- Locate all listed items to retrieve oil can and a lighter to the inventory.
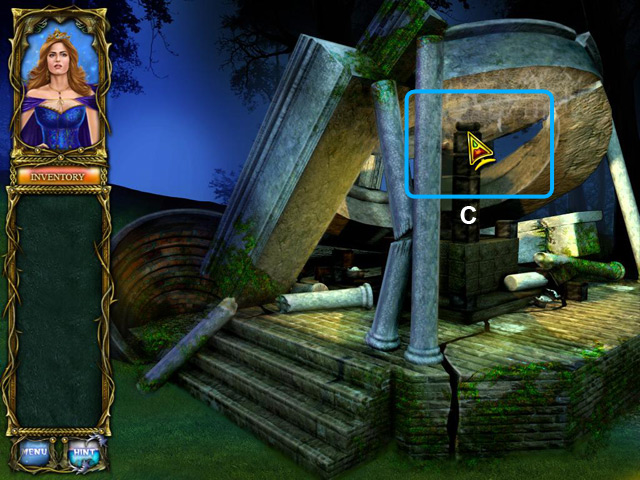
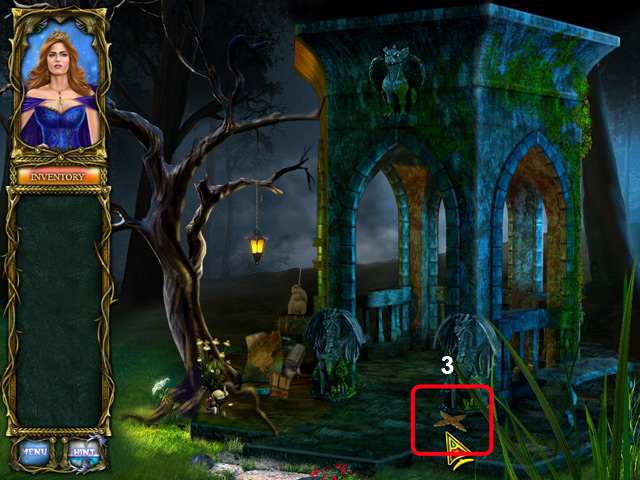
- (C). Examine the ruin closely.

- Use the button to lower the column and bring the lamp for lighting.
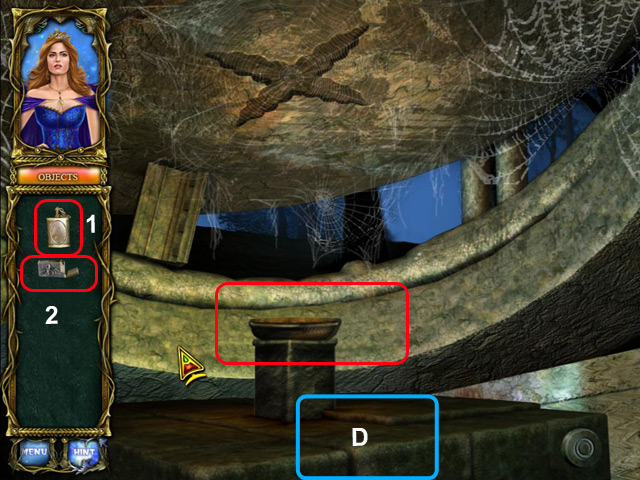
- (1). Retrieve the oilcan and (2) lighter to light the lamp.
- (D). Return back to previous location.
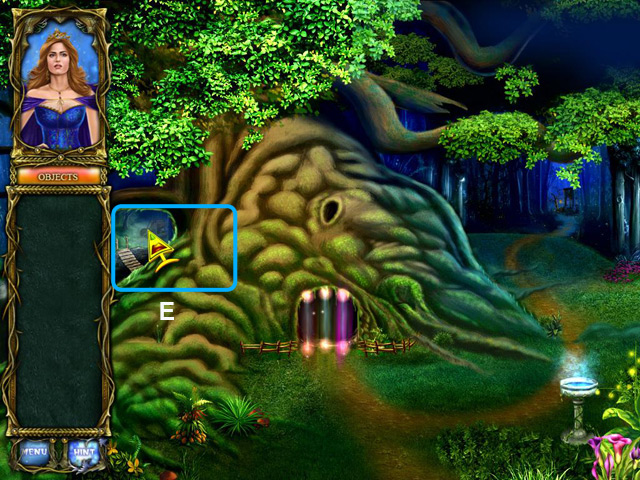
- (E). Explore a new location.
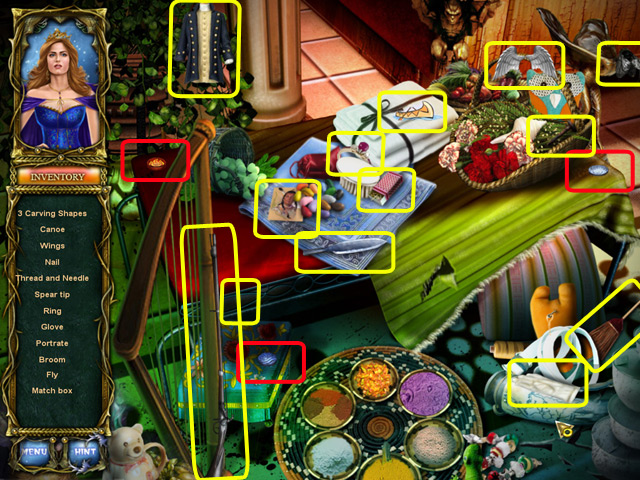
- Enter the Hidden Object area to locate listed items.
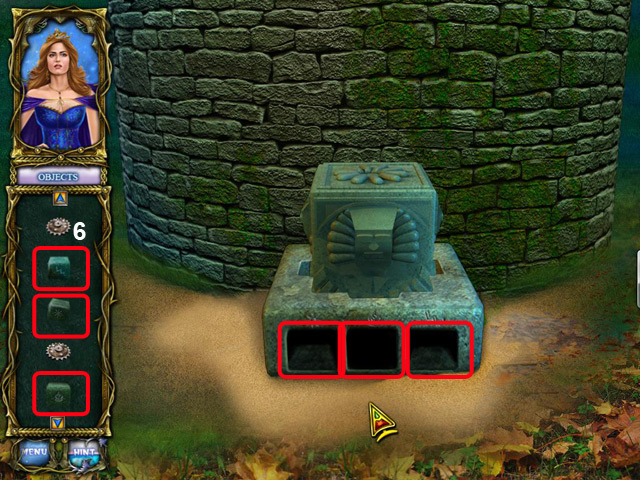
- Locate all the listed items and collect 4 engraved stone blocks into the inventory.
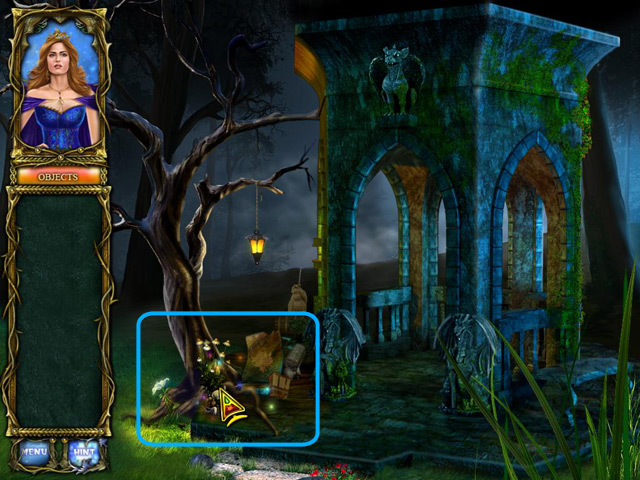
- (3).Collect the cross on the floor beside the gazebo.
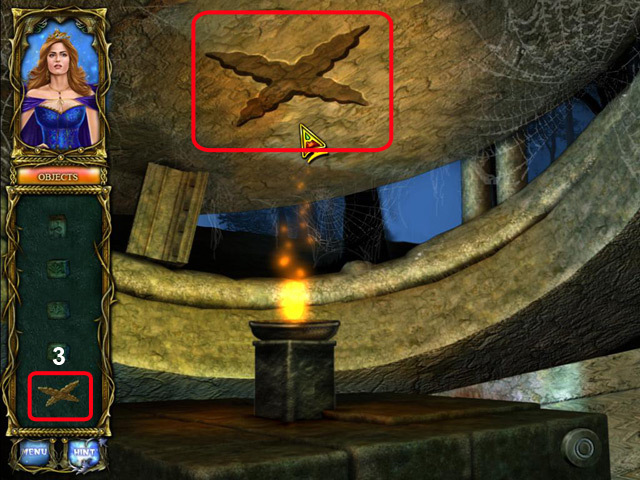
- (3). Replace the cross from the inventory into the hallowed star shaped slot above the lit lamp at the ruins.
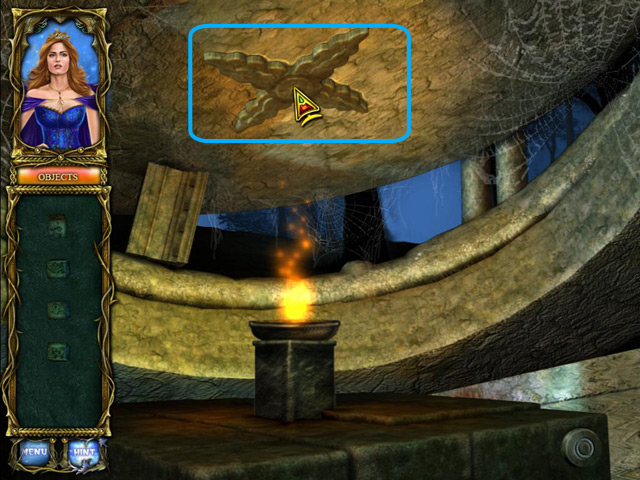
- Examine closely the Cross and discover a way to unlock the entrance into the cave.
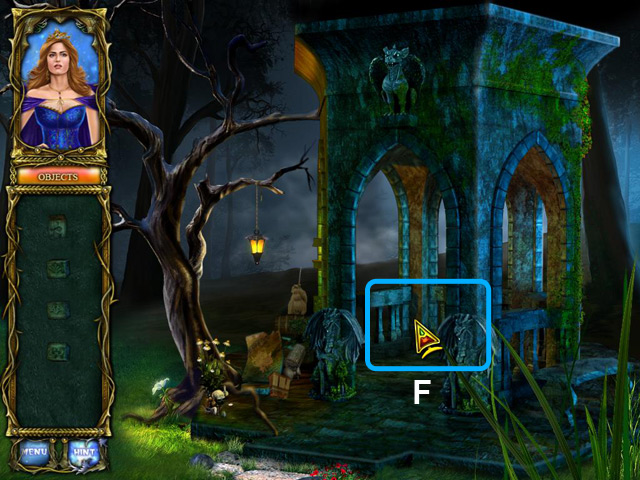
- (F). Examine the gazebo closely.
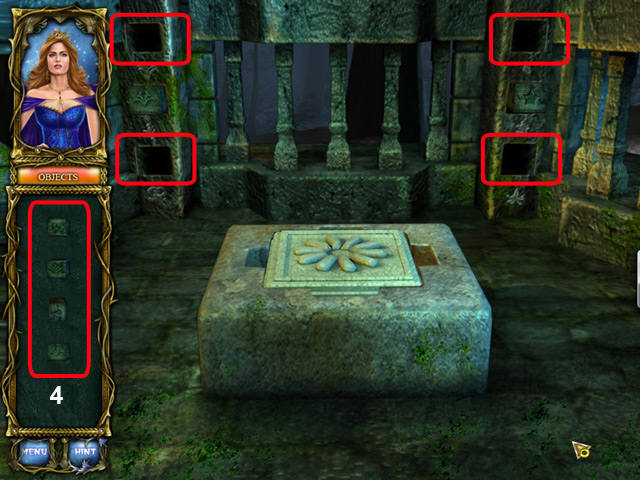
- (4). Replace the engraved stone blocks from the inventory into the corresponding slots.
- Press all of them to release the lock by the front of the cave.
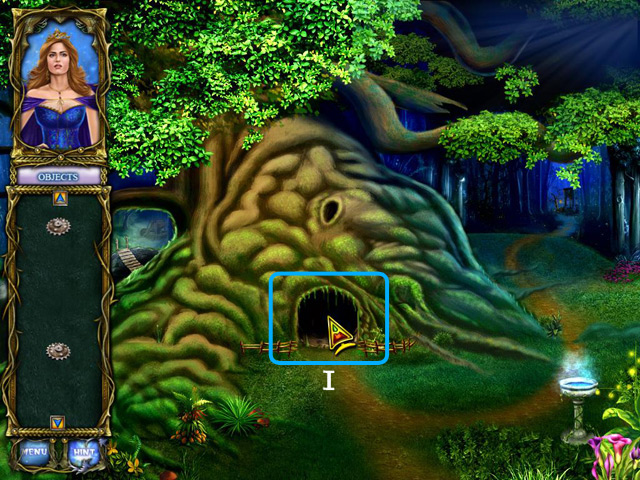
- (G). Explore a new area.
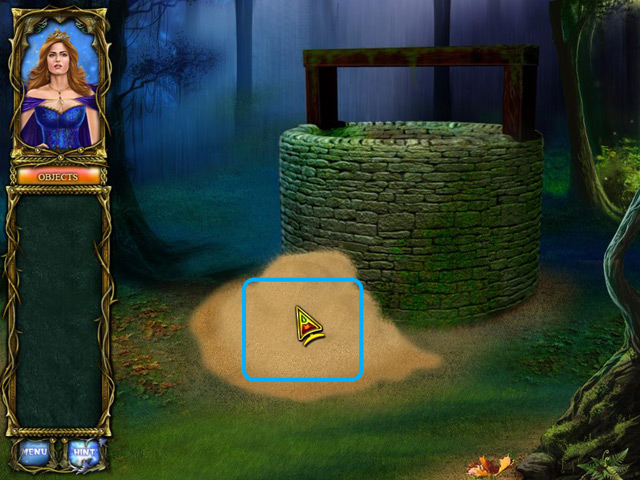
- Examine the sand closely.
- (H). Return to the gazebo area.
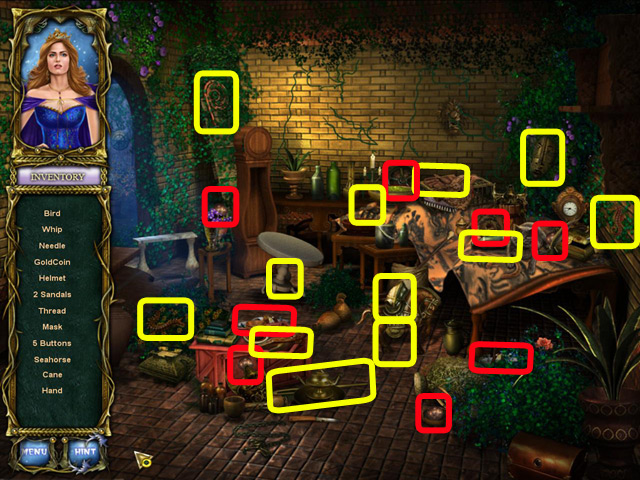
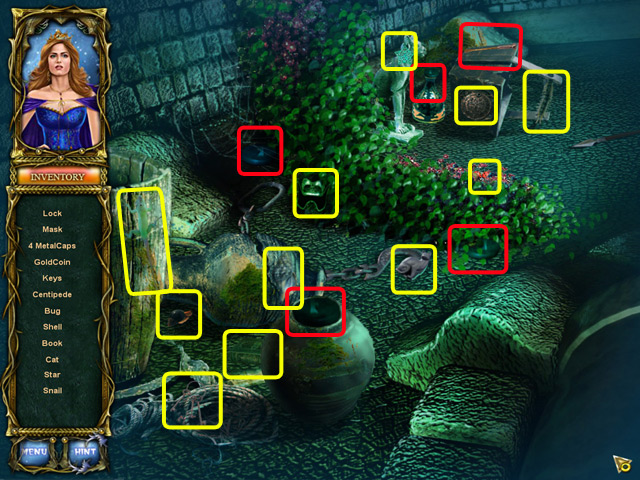
- Enter the Hidden Objects area to locate items.
- Locate all the listed items to retrieve a key and shovel into the inventory.
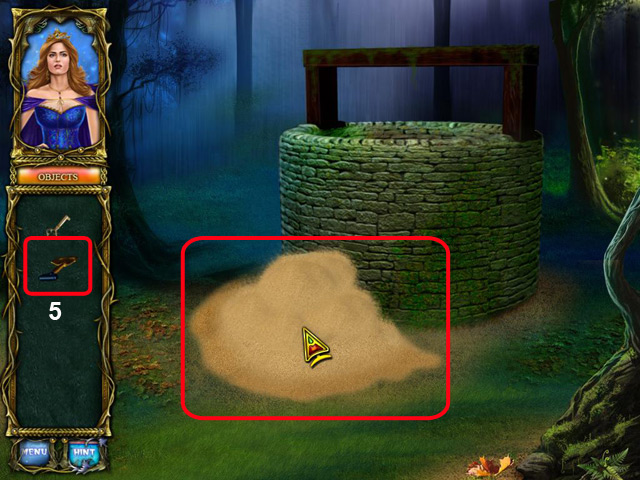
- (5). Use the shovel in the inventory to remove the sand pile beside the well.
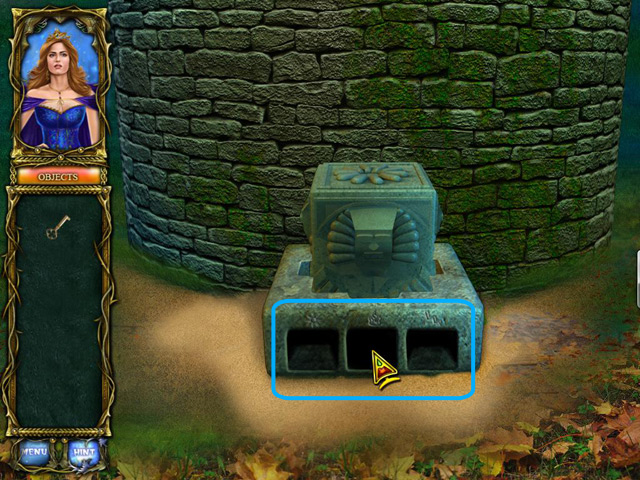
- Examine the empty slots closely.
- Enter the Hidden Object area to locate for items.
- Locate all the items listed to retrieve 3 carved stone blocks and 3 gears into the inventory.
- (6). Replace the engraved stone blocks from the inventory into the corresponding slots.
- Press all of them to release the last lock by the front of the cave.
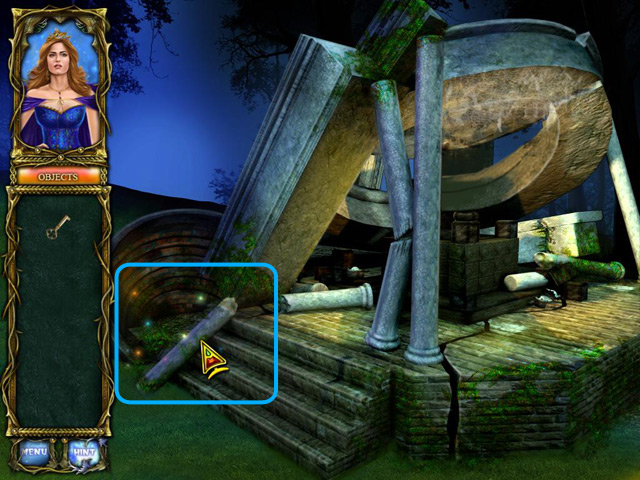
- (I). Follow the mouse pointer.
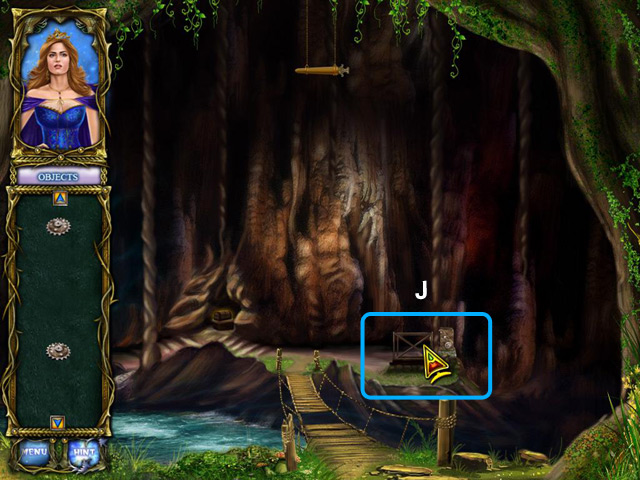
- (J). Follow the mouse pointer.
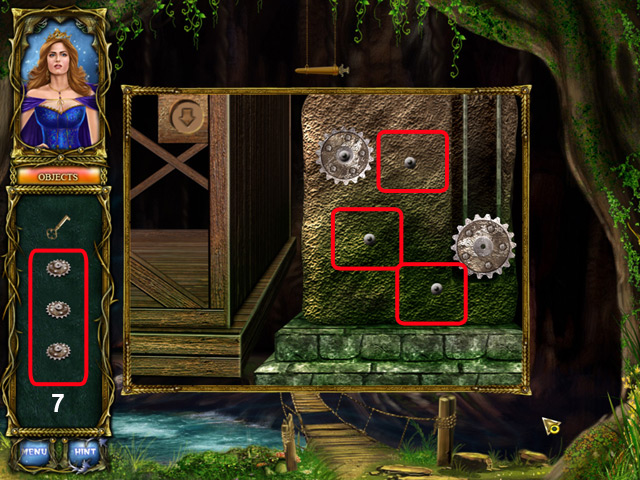
- (7). pick the gears from inventory and place into the respective place to activate lift.
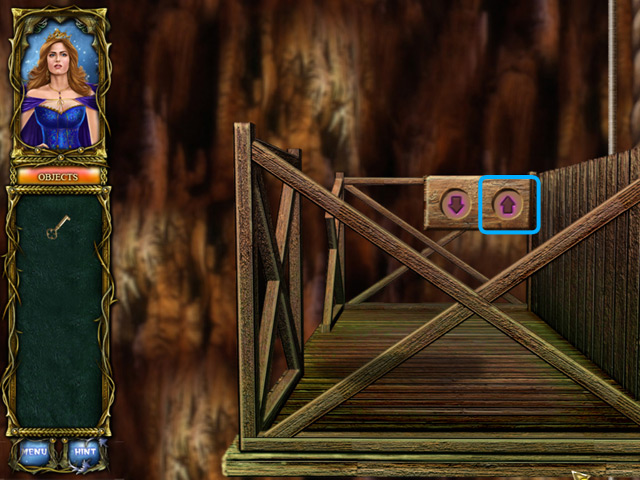
- Press up button until you reach sword.
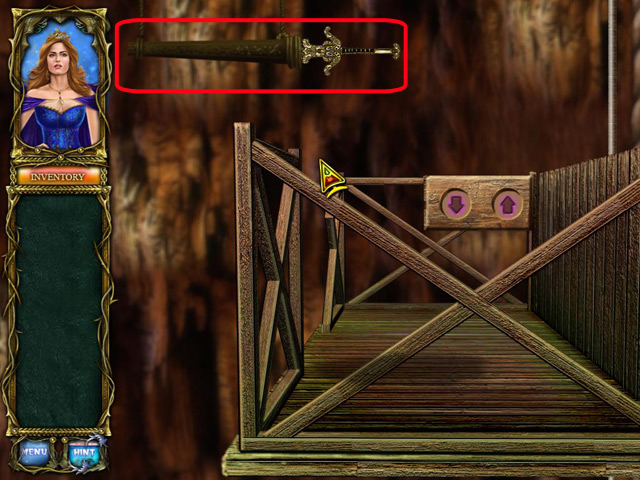
- Collect the sword to your inventory and press down the lift until you reach down.
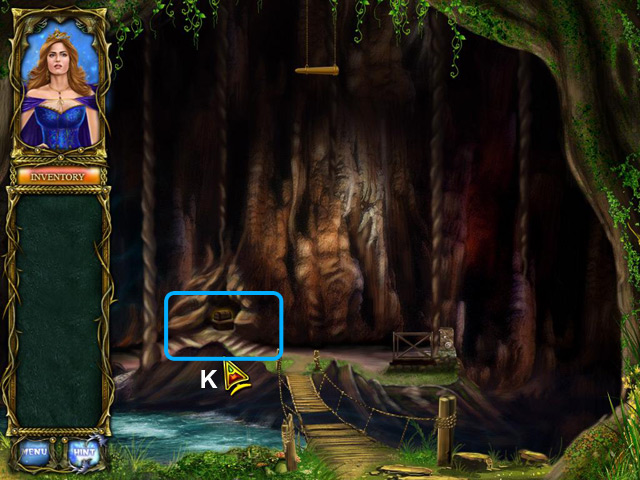
- (K). Follow the mouse pointer.

- (8). Pick the key from inventory and place into the box lock to open that box.
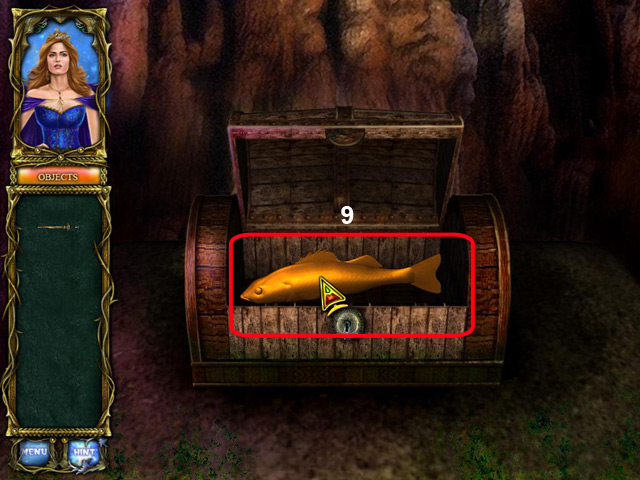
- (9). Collect the golden fish to your inventory.
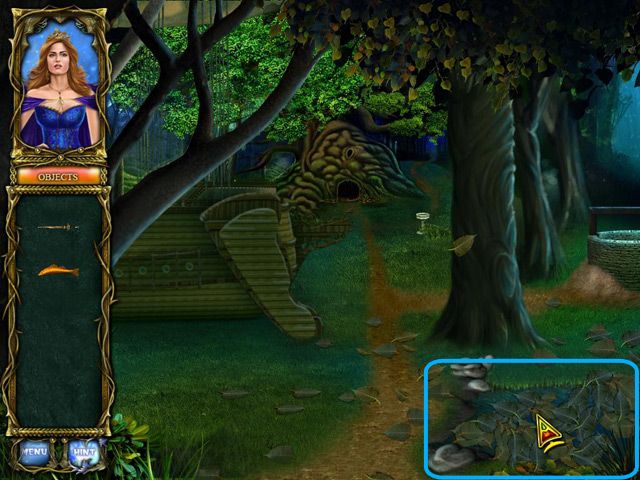
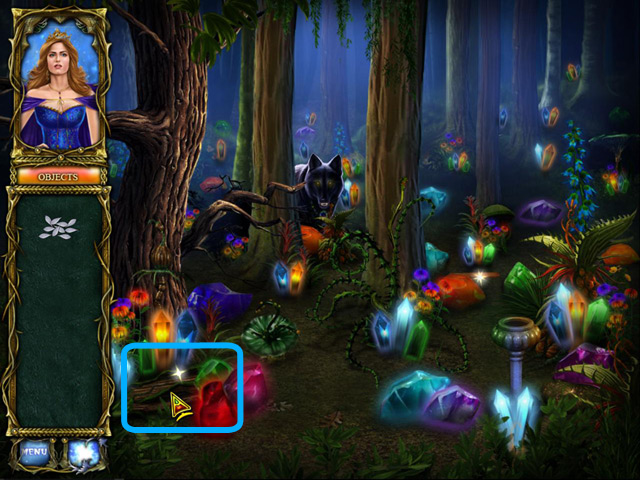
- Click and remove the leafs to get the information.
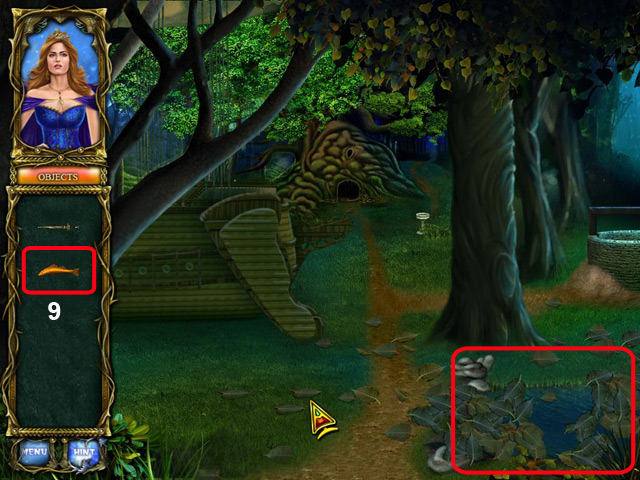
- (9). Pick the Golden Fish from inventory and place into the small lake.

- Pick the book to your inventory.
Chapter 8: Chamber of the Witch
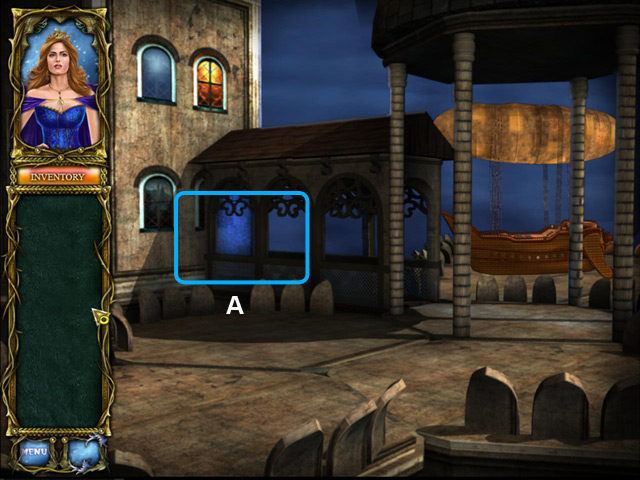
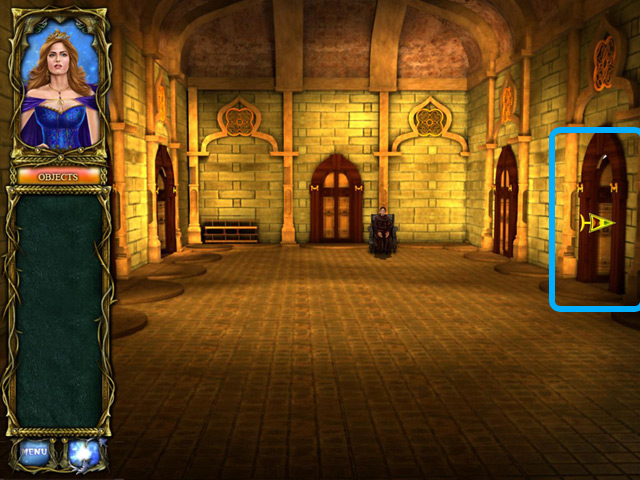
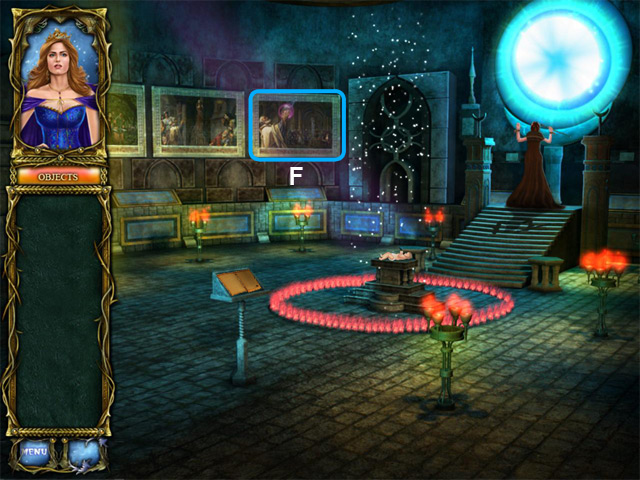
- (A). Follow the Mouse Pointer.
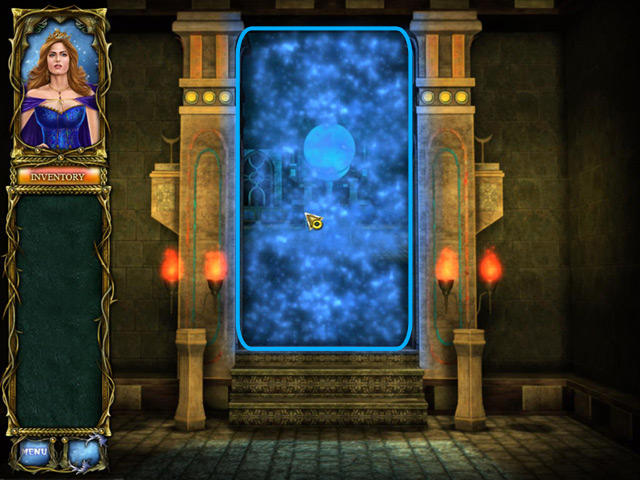
- Click the sparkling spot to get information.
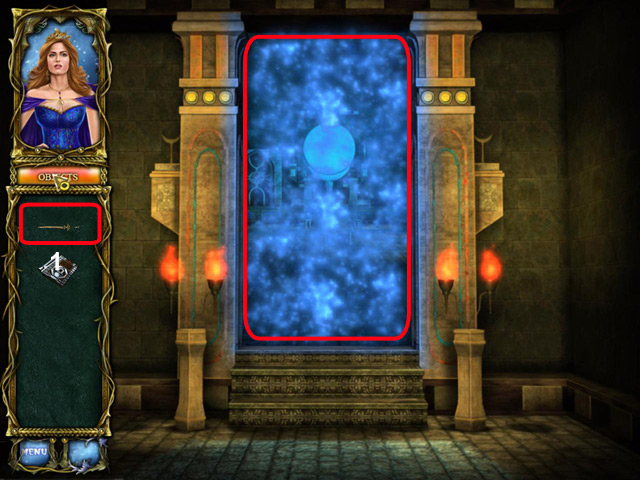
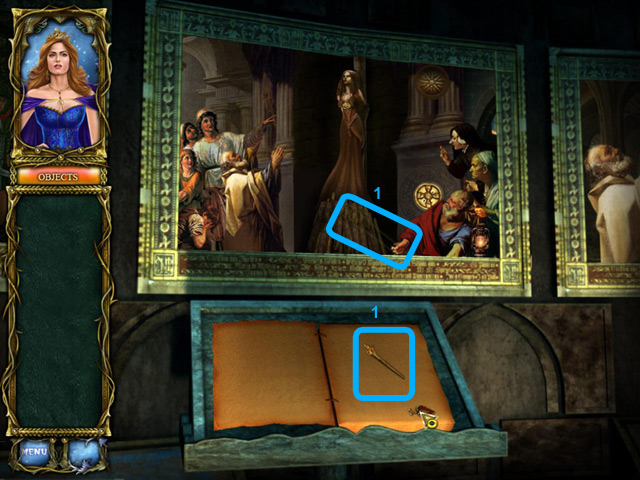
- pick sword from inventory and place into the marked place to unlock the door.
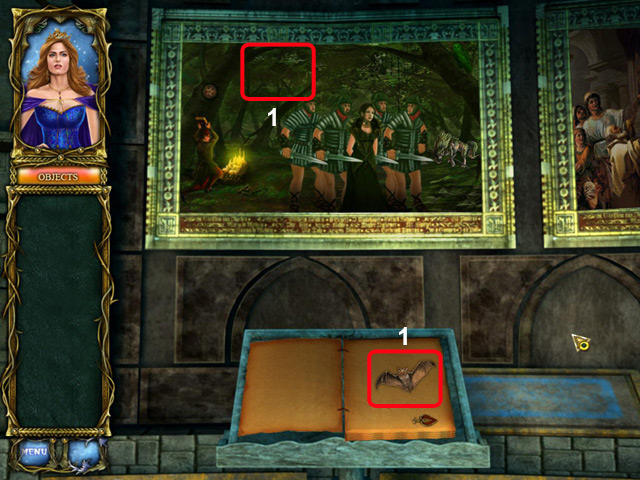
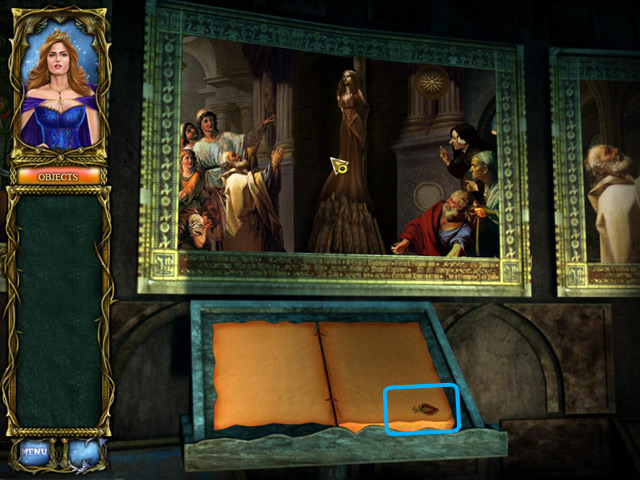
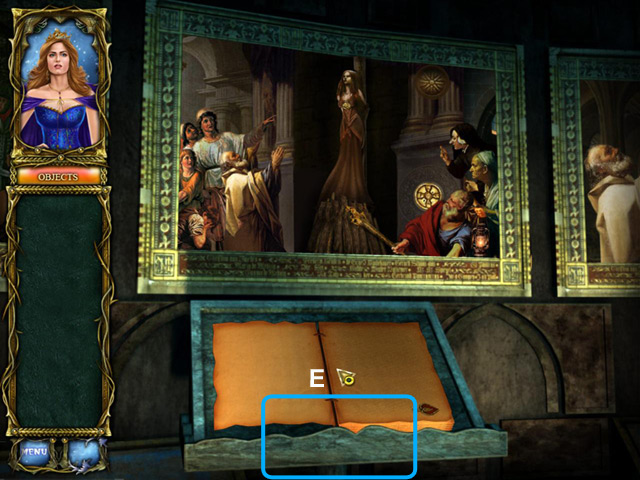
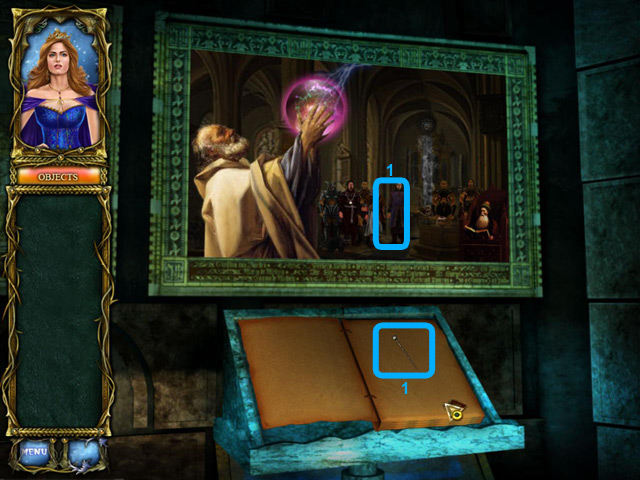
- Pick the book from inventory and place into the book stand.
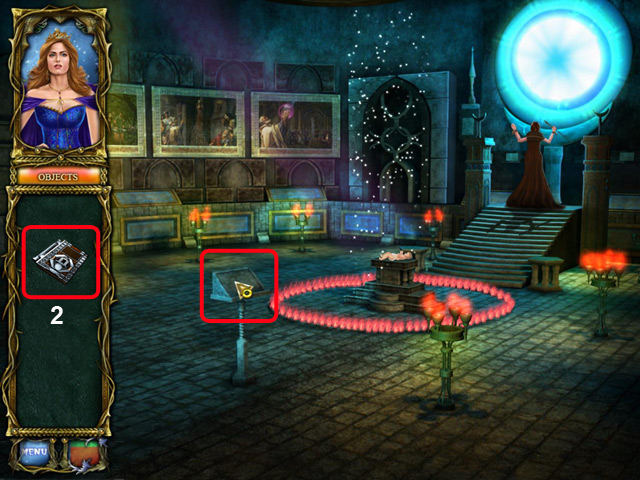
- (B). Follow the Mouse Pointer.
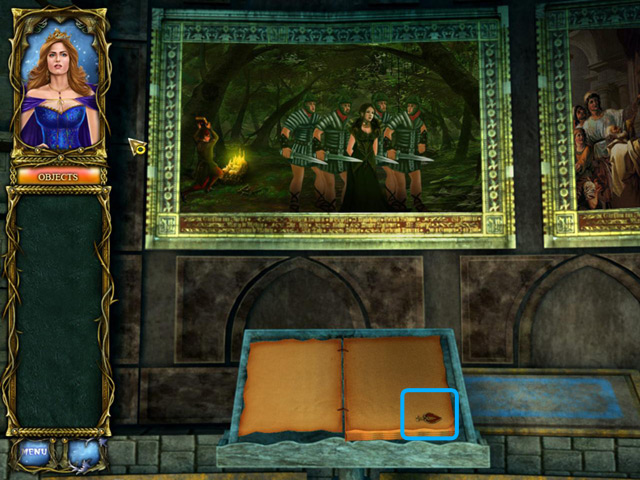
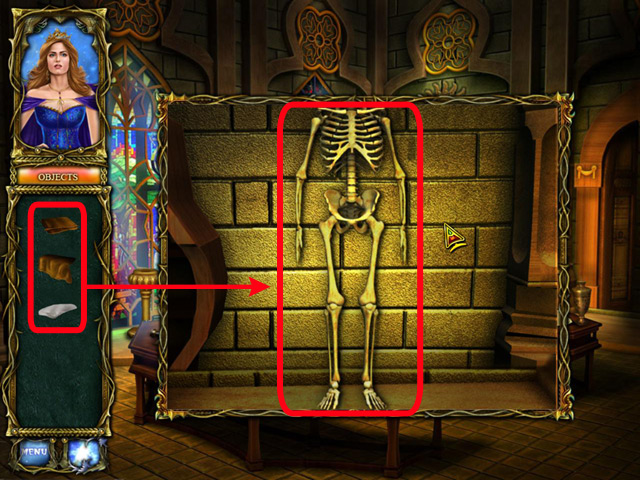
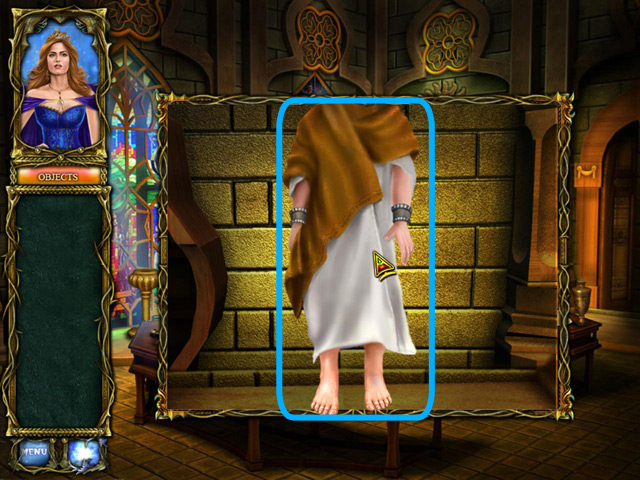
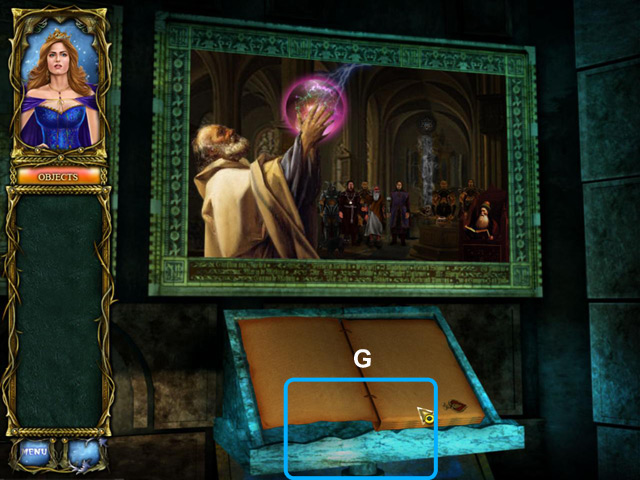
- Click the button to change the page of book.
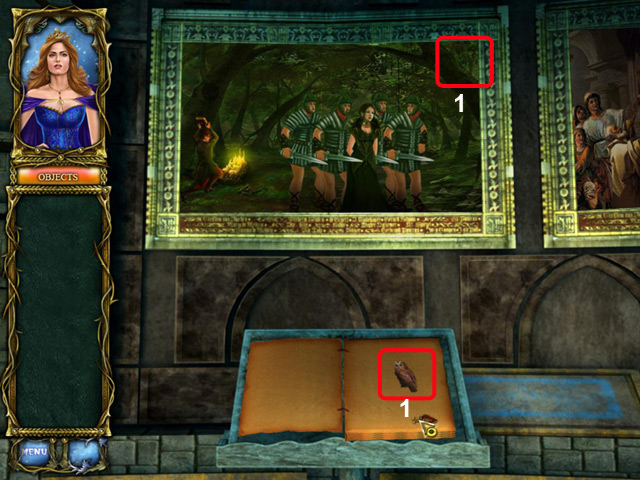
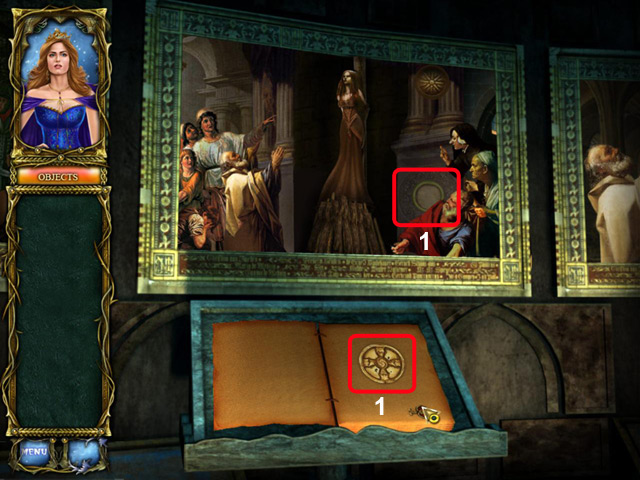
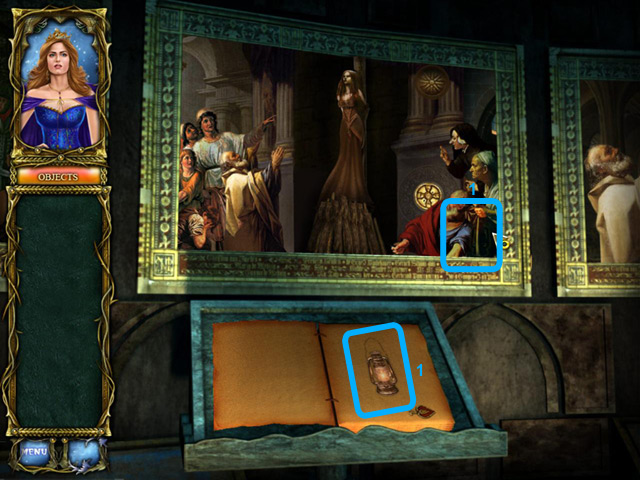
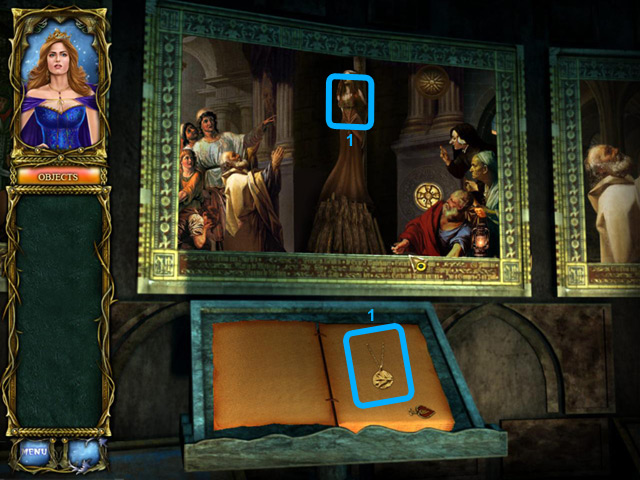
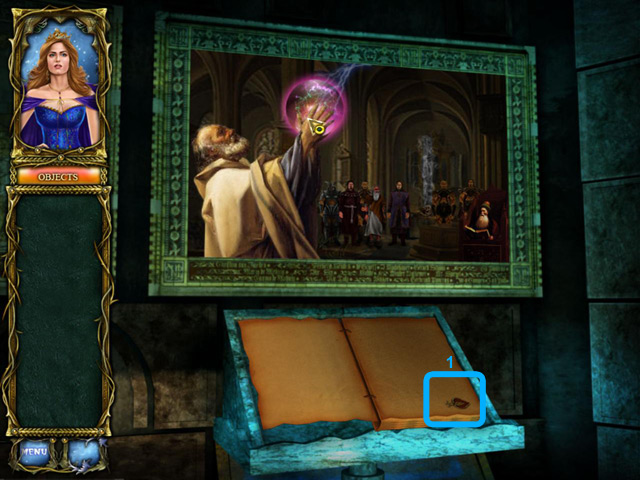
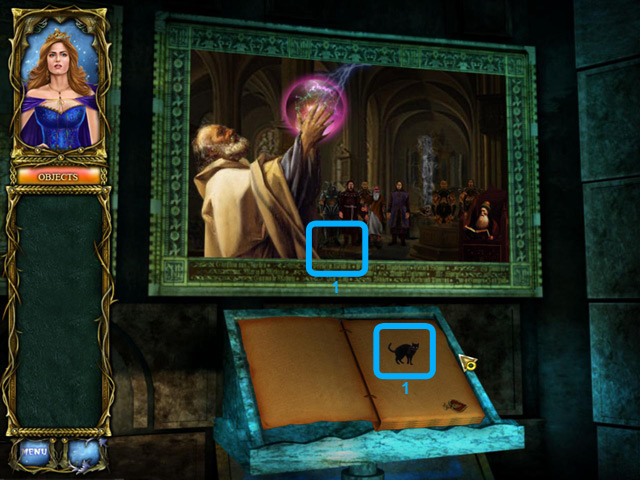
- (1). Pick object from the book and place into the glowing spot of the image.
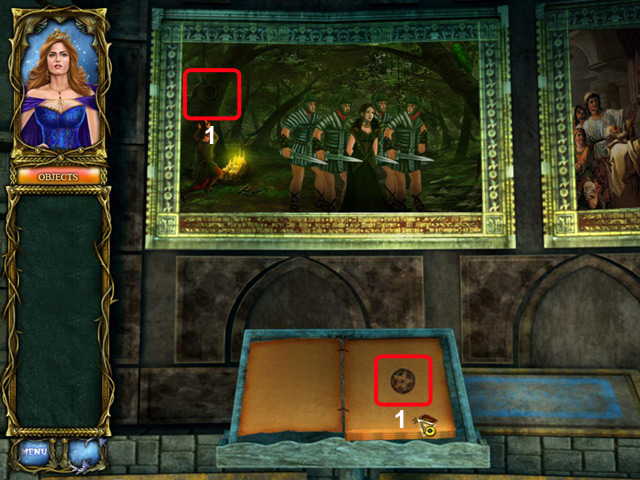
- (1). Pick object from the book and place into the glowing spot of the image.
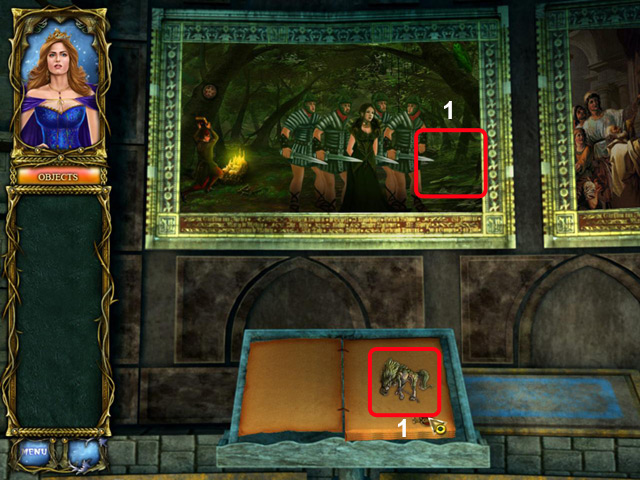
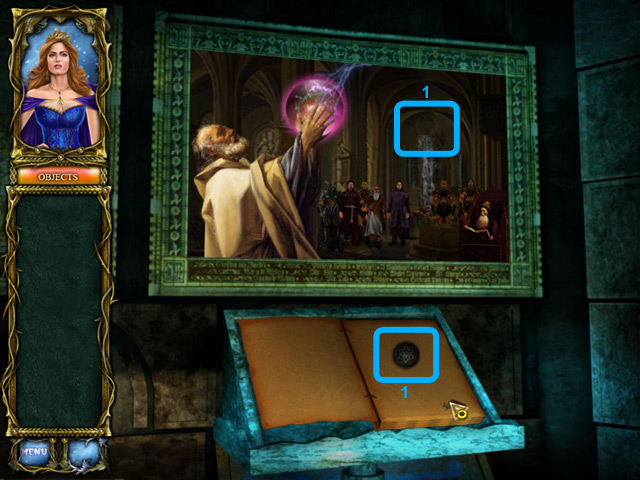
- (1). Pick object from the book and place into the glowing spot of the image.
- (1). Pick object from the book and place into the glowing spot of the image.
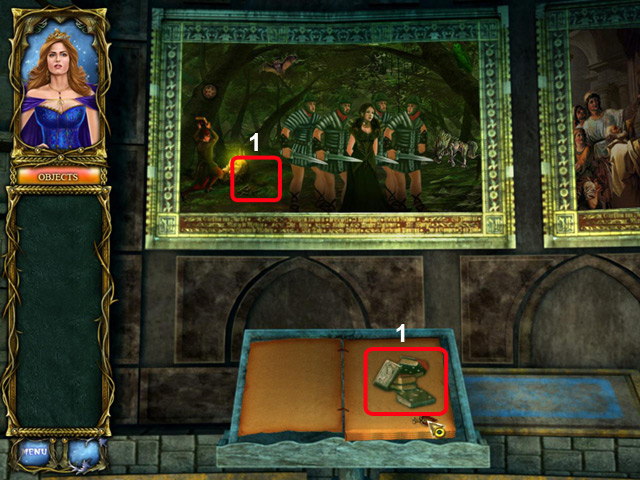
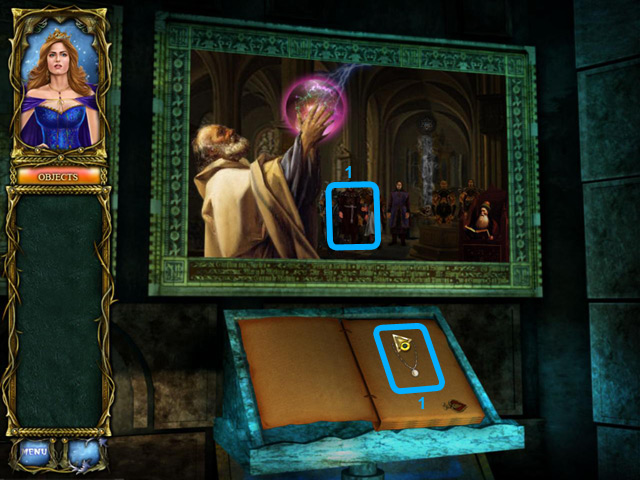
- (1). Pick object from the book and place into the glowing spot of the image.
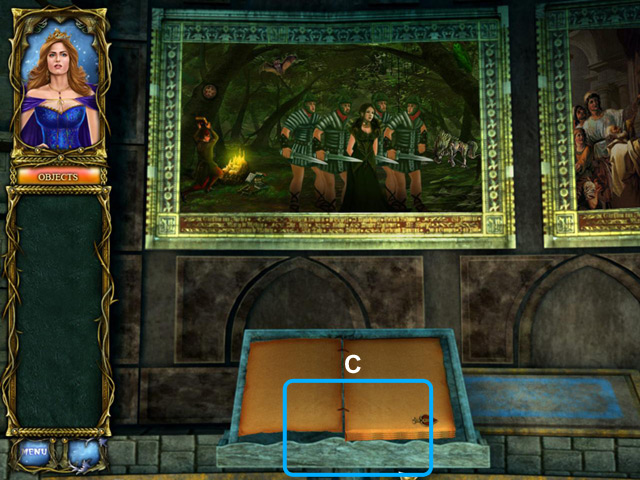
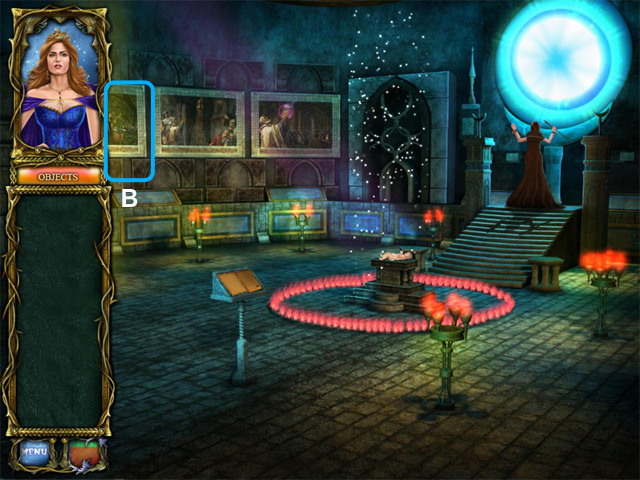
- (c). Follow the Mouse Pointer.
- (D). Follow the Mouse Pointer.
- Click the button to change the page of book.
- (1). Pick object from the book and place into the glowing spot of the image.
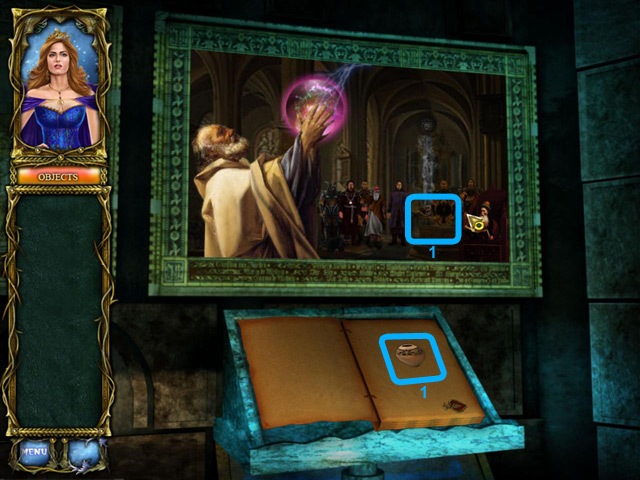
- (1). Pick object from the book and place into the glowing spot of the image.
- (1). Pick object from the book and place into the glowing spot of the image.
- (1). Pick object from the book and place into the glowing spot of the image.

- (1). Pick object from the book and place into the glowing spot of the image.
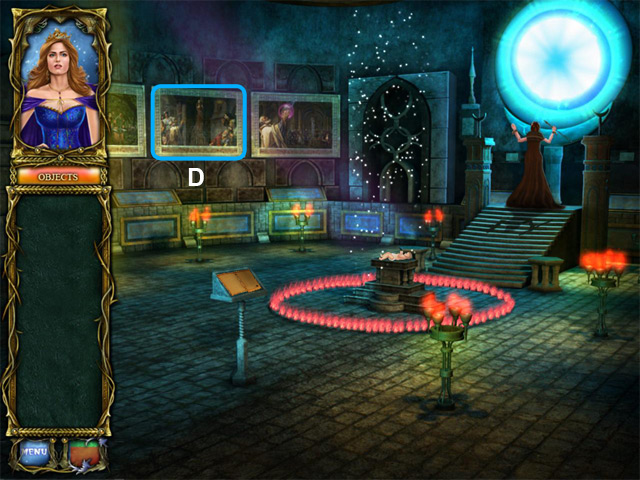
- (E). Follow the Mouse Pointer.
- (F). Follow the Mouse Pointer.
- Click the button to change the page of book.
- (1). Pick object from the book and place into the glowing spot of the image.
- (1). Pick object from the book and place into the glowing spot of the image.
- (1). Pick object from the book and place into the glowing spot of the image.
- (1). Pick object from the book and place into the glowing spot of the image.
- (1). Pick object from the book and place into the glowing spot of the image.
- (G). Follow the Mouse Pointer.
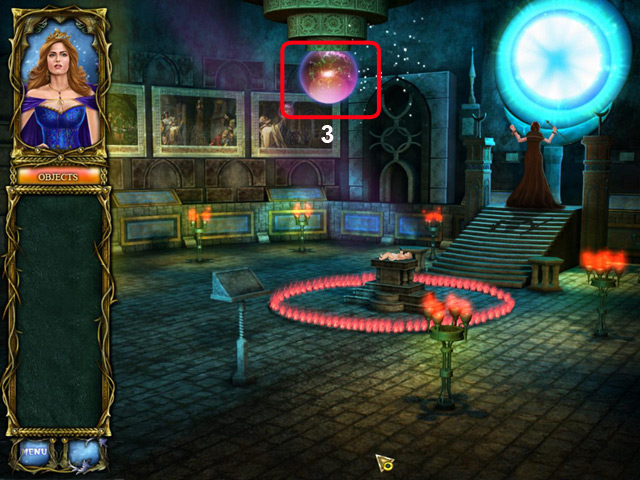
- Collect the crystal to your Inventory.
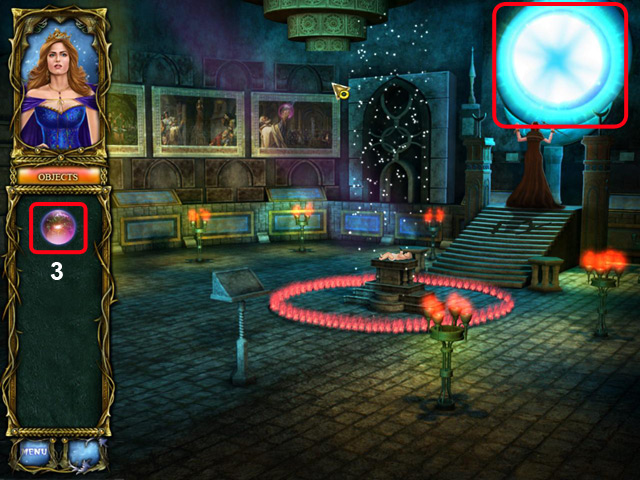
- Pick the crystal from inventory and place into the glowing space.
Created at: 2011-03-31